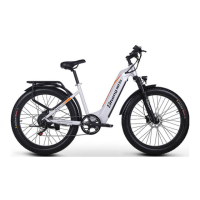
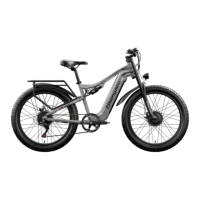
Step 3: Install the front wheel.
Locate the quick release lever, which holds the protector plate in place during shipment.
Open the lever and remove the thumb nut and cone spring (opposite the lever). Remove the
quick release skewer from the plate, keeping the washer and other cone spring in place on the
lever side.
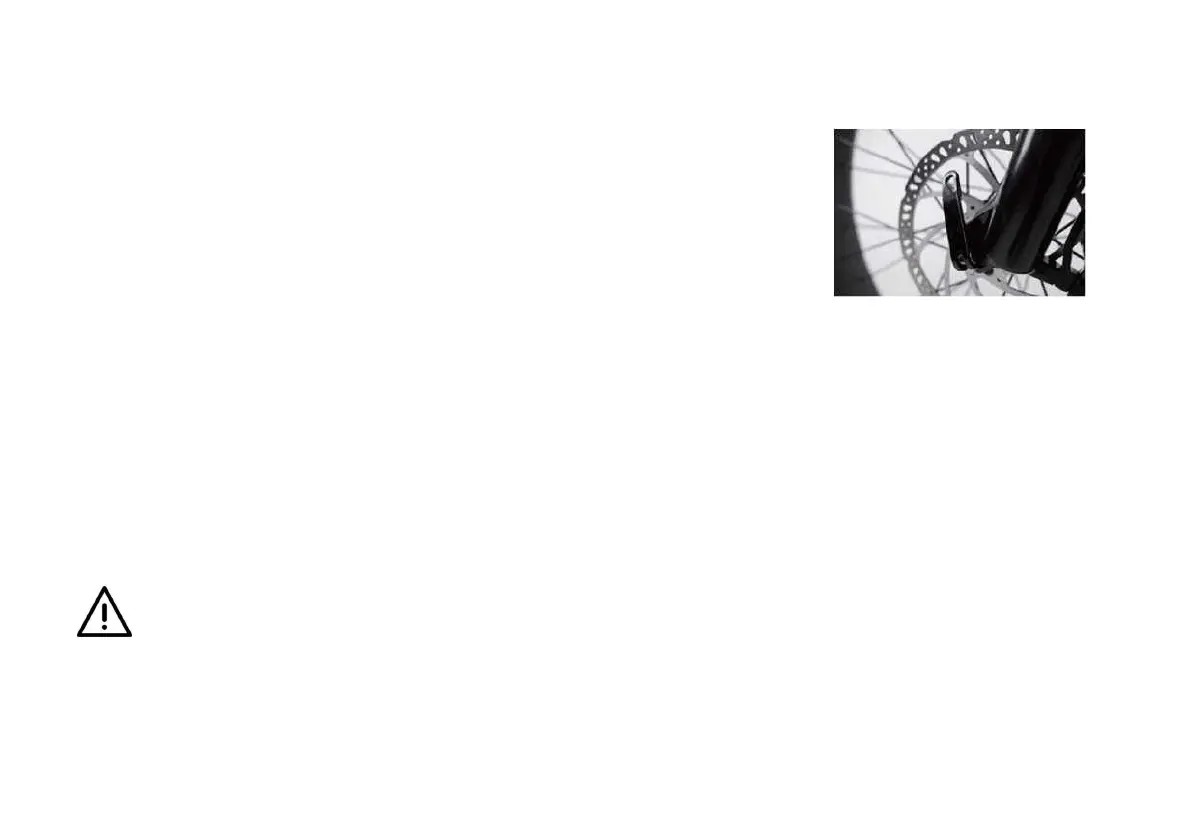
Install the skewer into the front wheel axle from the brake rotor side. Reinstall the cone
spring so it points toward the wheel hub then thread the thumb nut onto the skewer only a
couple turns, leaving room for the fork dropouts. Make sure the lever is open and carefully lower the fork onto the axle and brake
caliper.
Fully seat the skewer in the fork dropouts (and the brake rotor in the caliper) and add tension to the lever by turning the
thumbnut. When there is enough resistance to hold the quick release lever in line with the axle, close the lever using the palm of
your hand without touching the brake rotor.
When properly installed, the front wheel should be fully seated and centered in the dropouts of the front fork, the brake rotor
should be in between the brake pads in the brake caliper, and the quick release lever should be fully and properly secured. Ensure
the front wheel and quick release lever are properly secured before moving on to the next step.
Caution: Never touch the brake rotor, especially when the wheel and/or bike is in motion, or serious injury could
occur. Hand oils can cause squeaking and decrease brake performance; do not touch the brake rotor while inspecting,
opening, or closing the quick release lever.