RB-473-C02G
13
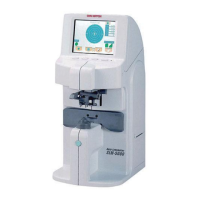
5.9. Marking pen(pin)
1) Hold the pen(pin) tip of the marking pen(pin) (the
plastic part) and turn the screw to the left to remove.
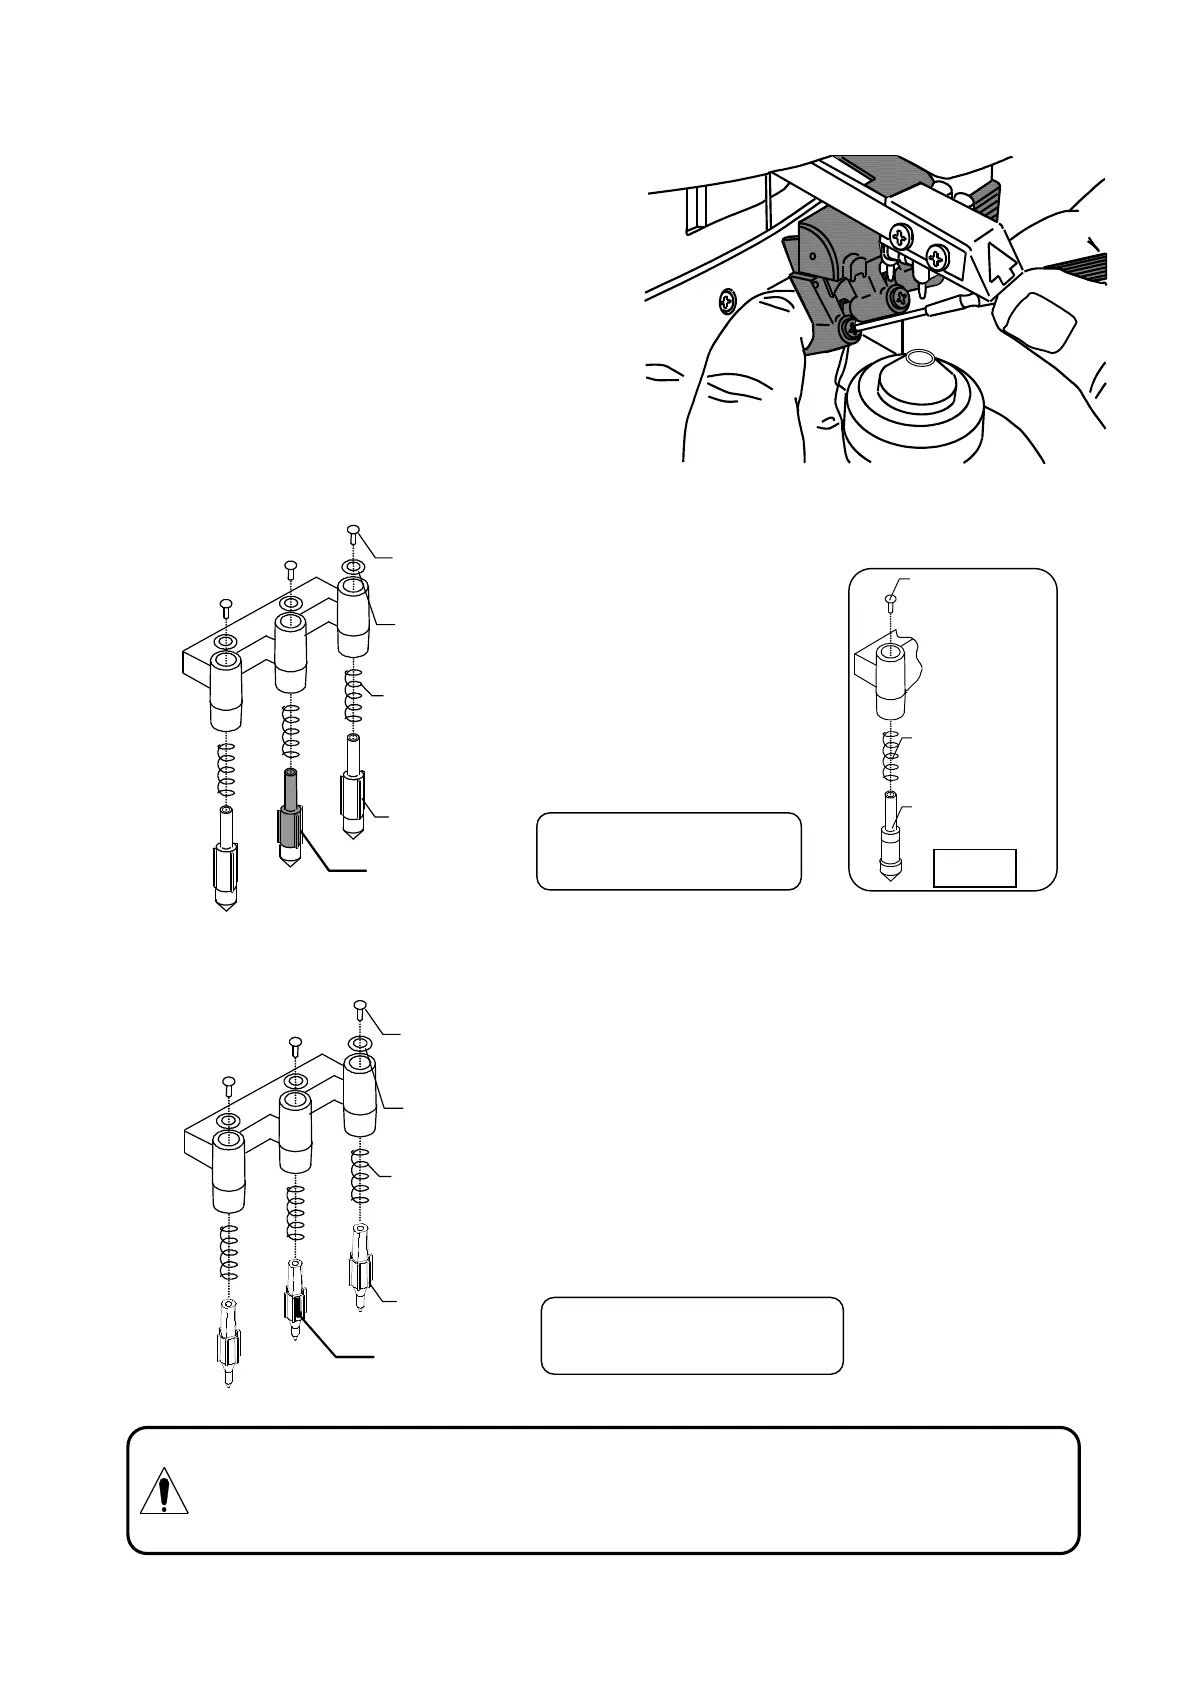
2) Attach the spring to the new marking pen(pin) as
shown in the figure below, and insert it into the
f marking inger.
3) Keep holding the pen(pin) tip (the plastic part) and
lightly fix it with the screw.
【Cartridge specification】
【Inkwell specification】
exclusively designed for SLM
Avoid touching the pen(pin)
tip when replacing. The tip may be damage so that the marking
can not be done.
Do not fasten the screw too tightly when replacing. You may damage the part.
The screw and spring are the part of the unit. Avoid losing them.
Marking pen
Spring
Screw
(M2.6x5L)
old-type
black sign addition and
than pens on both sides.
Marking pen
Spring
Screw(M2
×
4L)
Black
a nominal dia:2
Marking pin
Spring
Screw(M2
×
4L)
Black sign
a nominal dia:2
is black and
pens on both sides.
 Loading...