25
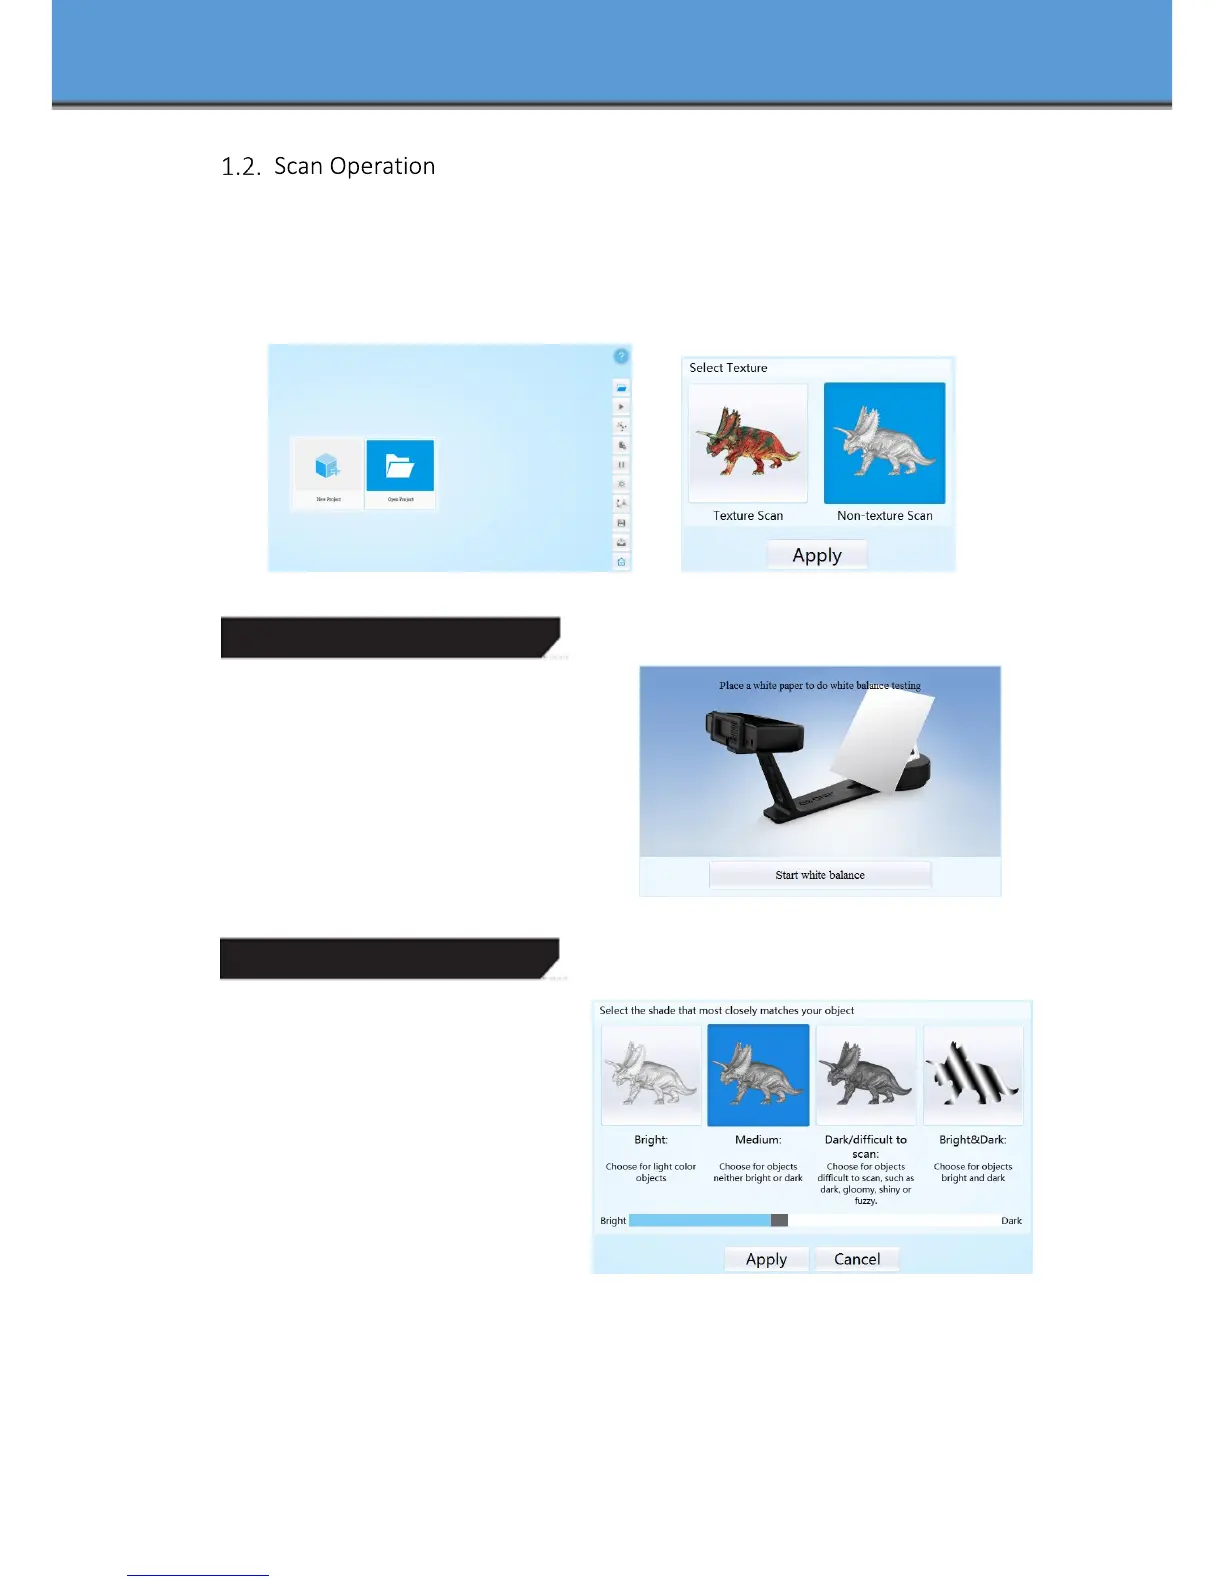
Enter the interface of New Project and Open Project, the default project save location is the
desktop, then it will remember where the user last created a new project. Click “New Project”,
enter the project name, then click ‘Save’ to enter the interface of Non-texture Scan and Texture
Scan selection.
Choose ‘Texture scan’ to enter the white balance test.工
White Balance Test
When scanning a colored object, you’ll need
to perform a white balance test to achieve better
scanning results. Place a sheet of white paper as
shown below on the calibration plate and click
“ Restarting white balance test”.
After the white balance test has completed,
you are free to continue with the texture scan.
Adjust Brightness
Adjust the distance between the
object and device (suitable working
distance is 290 ~ 480mm), until the cross is
clearly to be seen on the object.
Most users will find that the automatic
settings work just fine but for more complex
objects or lighting conditions, you can
manually adjust scanner settings.
Choose your desired brightness setting
if the object is over or under exposed. Click
“Apply” to confirm, or click ” Cancel ” to not save.
Enter the interface of auto scan.
 Loading...