Do you have a question about the Shop fox W1702 and is the answer not in the manual?
Details physical size, weight, and shipping dimensions of the shaper unit.
Outlines electrical requirements, components, and motor specifications.
Covers operation specs, table details, and miter gauge specifications.
Lists materials and finishes for the shaper's construction.
Addresses circuit availability, need for qualified electricians, and shared circuit considerations.
Specifies the required voltage, phase, circuit rating, and plug type.
Details the necessity and procedure for grounding the machine.
Provides guidelines for using extension cords if absolutely necessary.
Lists all parts included in the machine package.
Provides step-by-step instructions for installing the front safety shield.
Describes the forward/reverse switch and its padlock feature.
Explains how to feed the workpiece against cutter rotation for safe operation.
Visual identification of the magnetic switch and motor wiring.
Visual identification of the motor start capacitor and FWD/REV switch wiring.
Steps for mounting switches and installing the handwheel.
Instructions for fence housing and safety guard installation.
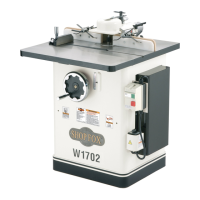
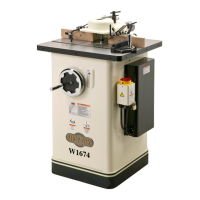
Provides an overview of the SHOP FOX Model W1702 3 HP Shaper features.
Information on contacting Woodstock International for support and service.
Outlines the warranty policy and procedures for returns.
Lists detailed technical specifications of the Model W1702 shaper.
Explains the meaning of DANGER, WARNING, CAUTION, and NOTICE symbols.
Provides general safety guidelines for operating the machine.
Lists essential practices for safe machine operation and maintenance.
Offers specific safety advice for using the shaper safely.
Demonstrates the use of featherboards, push blocks, and jigs for safety.
Details 220V power needs, grounding, and plug/receptacle specifications.
Steps for unpacking the shaper and checking included parts.
Lists the various components included with the shaper.
Instructions for cleaning and the recommended assembly sequence.
Guidance on dust collection and shop layout for shaper use.
Instructions for installing fence facing, safety guard, and auxiliary guards.
Steps to install hold-downs and attach the handwheel crank handle.
Detailed steps for installing shaper or router bit spindles.
Instructions for tightening the spindle and drawbar nut securely.
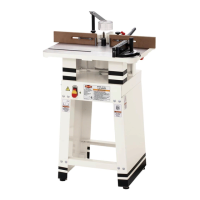
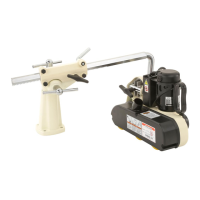
Details accessories like Board Buddies, Right Angle Jig, Feather Board, and Mobile Base.
Describes moulding head, bushings, rub collars, and router bit spindle.
Explains three positions for mounting rub collars and their safety implications.
Details using a starting pin for stable and safer freehand shaping.
Guides on using templates for precise and repeatable shaping operations.
Covers routine checks, table care, and lubrication guidelines.
Addresses common problems like start-up issues, speed, vibration, and loose parts.
Provides info on service, parts, and final safety advice.
| Brand | Shop fox |
|---|---|
| Model | W1702 |
| Category | Power Tool |
| Language | English |