11
DMX Addressing
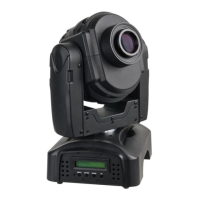
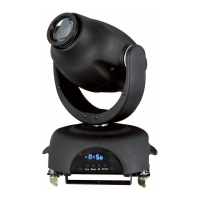
The control panel on the front side of the base allows you to assign the DMX fixture address, which is the
first channel from which the MiniMax will respond to the controller.
Please note when you use the controller, the unit has 6 (or 7) channels.
When using multiple MiniMax’s, make sure you set the DMX addresses right.
Therefore, the DMX address of the first MiniMax should be 1(A001); the DMX address of the second
MiniMax should be 1+6=7(A007); the DMX address of the third MiniMax should be 7+6=13(A013), etc.
Please, be sure that you don’t have any overlapping channels in order to control each MiniMax correctly.
If two or more MiniMax’s are addressed similarly, they will work similarly.
For address settings, please refer to the instructions under ”Addressing’ (menu
)
Controlling:
After having addressed all MiniMax fixtures, you may now start operating these via your lighting controller.
Note: After switching on, the MiniMax will automatically detect whether DMX 512 data is received or not. If
there is no data received at the DMX-input, the “LED “ on the control panel will not flash.
The problem may be:
- The XLR cable from the controller is not connected with the input of the MiniMax.
- The controller is switched off or defective, the cable or connector is detective, or the signal wires are
swapped in the input connector.
Note: It’s necessary to insert a XLR termination plug (with 120 Ohm) in the last fixture in order to ensure
proper transmission on the DMX data link.
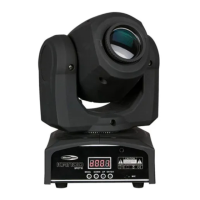
Remotely controllable functions
Colour-wheel
The MiniMax contains a colour-wheel with 8 colours and one white. It is also possible to rotate the colour-
wheel continuously at different speeds ( “Rainbow effect” in both directions).
Rotating gobo-wheel
This rotating gobo-wheel has 7 metal gobos and open.
Error messages and mode information are displayed at the top of the menu tree.
If the fixture is in DMX mode, the address is displayed;
If the fixture is in Automatic Stand-alone mode, SA is displayed.
The top of the menu can be reached by pressing FUN repeatedly.
1. From the top of the control menu, press FUN to enter the main menu.
2. Press UP or DOWN to scroll through menus and press ENTER to view submenus.
3. To activate a setting or function, press ENTER.
4. To return to the previous menu or to escape without making a selection, press MENU.
The following settings are available to modify the fixture’s behavior:
Pan/tilt swap: Map pan to the tilt channel and tilt to the pan channel, to provide more intuitive control of
fixtures mounted sideways.
Inverse pan: Flip pan movement to right-to-left instead of left-to-right.
Inverse tilt: Flip tilt movement to down-to-up instead of up-to-down.
DMX lamp-off: By switching the fixture between 6 and 7 channels, you are able to strike the lamp via DMX.
Display: Flip the display for truss mounting.
 Loading...