P/N 1126870 Rev. B
4
Shur-Co
®
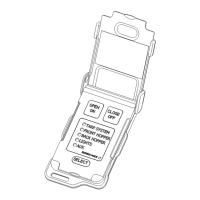
SMART3™ remote has ve channels for controlling up
to ve different devices. Channels can be congured as follows:
• Unused channels can be disabled to be skipped when Select
button is pressed.
• Operating mode of each channel can be set to Momentary
Mode or Express Mode.
1. Hold Select button down for ve seconds and remote will
enter Channel Conguration Mode. LED of rst channel will
be lit solid on remote. This indicates rst channel is ready to
be congured.
2. Set operating mode of channel. If Express Mode indicator
light is lit solid, then channel will operate in Express Mode. If
Express Mode indicator light is not on, channel will operate
in Momentary Mode. Press Select button to toggle operating
mode to desired setting.
3. Enable or disable channel. If channel will be used and paired
with receiver, press Open/On button. If channel will not be
used, channel can be disabled by pressing Close/Off button.
Indicator light will automatically jump to next channel.
TIP: To cancel changes and exit CHANNEL CONFIGURA-
TION MODE, close remote cover.
NOTE: Remote will NOT activate any motor or lighting system
while remote is in
CHANNEL CONFIGURATION MODE
.
CONFIGURING REMOTE CHANNELS
4. Repeat steps 2 and 3 for remaining channels.
5.
After conguring last channel, channel status for all channels
will be displayed for three seconds. Channel indicator lights of
enabled channels will be lit solid and channel indicator lights
of disabled channels will be off. Remote will then automatically
return to Operational Mode.
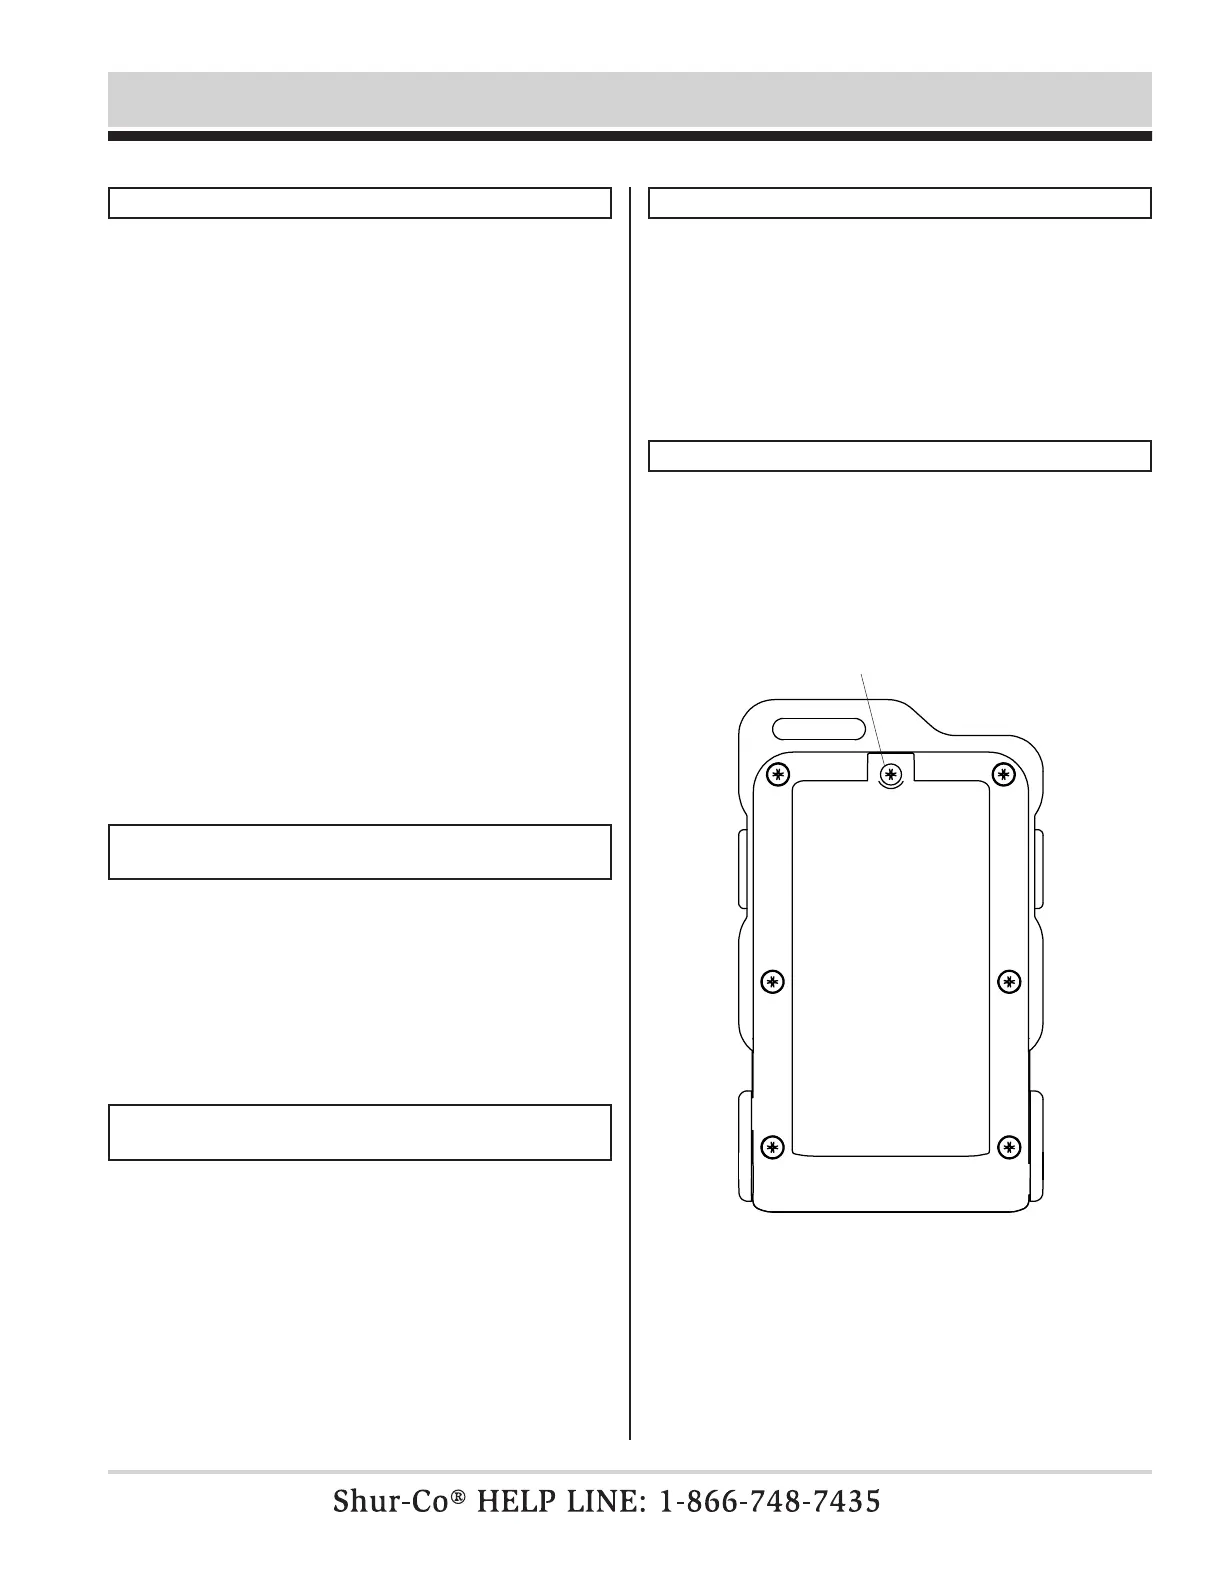
to access battery,
unfasten screw on
back of remote with
phillips screwdriver
REPLACING BATTERIES
The SMART3™ remote uses two AAA batteries. To access
batteries, unfasten center screw shown below and gently lift
cover tab.
LOW BATTERY INDICATION
If battery level is getting low, all lights on remote will ash for
three seconds when lid is opened and operation is attempted.
Remote will then operate normally.
If battery level drops lower, remote will automatically turn off
after ashing indication and batteries must be replaced.
Wireless Remote Programming & Operating Instructions - continued
 Loading...