A6V10333726_c_en_--
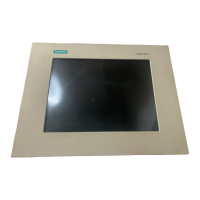
Operation
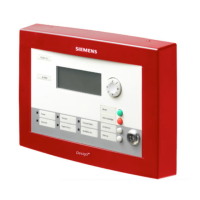
Task Operation
View real time events
1. Press "↓" / "↑" to navigate a real time event.
2. Press "←" to return to first event.
Lamp test
Press both "Silence" and "Unsilence" button for 5s to do
Acknowledge or reset
events
Press "Acknowledge" or "RESET".
Press "Unsilence", all silenced devices are activated again.
Silence devices
Press "Silence", silence all activated silenceable devices.
Address and Baud Rate
8-digit Dip-switch S1 is used for setting the FSD901 address and Baud Rate Setting.
The first 1-4 digits is for setting the FSD901 address 1-8, the 7-8 digits is for setting
RS485 communication baud rate. The 5 and 6 digits are reserved for future use.
6
FC2005 and FC901 can only support 19200 bps, other options reserve for future usage.
EOL Resistor
2-digit Dip-switch S20 is used for setting EOL resistor of RS485.
1 and 2
On:Internal EOL resistor is connected
1 and 2
Off:Internal EOL resistor is disconnected
For RS485 Class A, loop mode, no EOL resistor is needed.
For RS485 Class B, stub mode, internal EOL resistor of the repeater display at the end
of RS485 must be connected.
Installation
Fig 2 Dimension (mm)
Fig 3 Connection
Note:
· Point G is not used for any connection.
· Power in from the non-resettable auxiliary power output on
panel.