Building Technologies 74 319 0617 0 a 17.04.2008 23/180
en
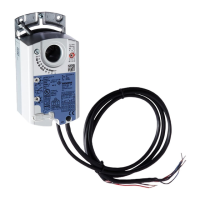
• For the data bus:
0.75...2.5 mm
2
refer to data sheets N2030 and N2032
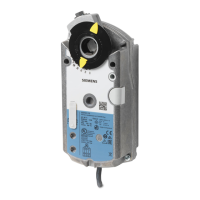
Mounting and wiring the base
Wall mounting
1. Separate base from the controller
2. Hold base against the wall. Marking “TOP” must be at the top!
3. Mark fixing holes on the wall
4. Drill holes
5. If required, knock out holes on the base for cable entry glands
6. Screw base to the wall
7. Wire up base
Top hat rail mounting
1. Fit top hat rail
2. Separate base from the controller
3. If required, knock out holes on the base for cable entry glands
4. Fit base to the rail. Marking “TOP” must be at the top!
5. If required, secure base (depending on the type of top hat rail used)
6. Wire up base
Flush panel mounting
• Panel cutout required: 138 × 138 mm
• Maximum thickness: 3 mm
1. Separate base from the controller
2. If required, knock out holes on the base for cable entry glands
3. Insert base in the panel cutout from behind until stop is reached. Marking “TOP” must be at
the top!
4. Push lateral tongues behind the front panel (refer to illustration)
5. Wire up base. Make sure the cable lengths are such that there is sufficient space to open
the control panel door
 Loading...