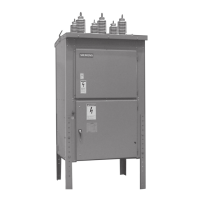
Installation
Manual spring charging check
1. Insert the manual spring charging
crank into the manual charge socket
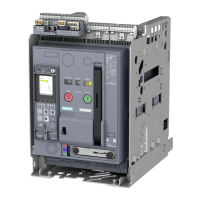
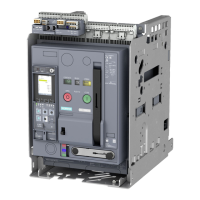
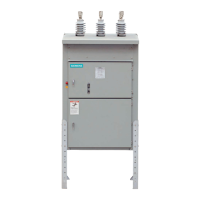
as shown in Figure 6: Low-voltage
compartment on page 19. Turn the
crank until the spring condition
indicator shows the closing springs
are charged, and remove the spring
charging crank from the socket.
2. Repeat the spring discharge check
presented on page 18.
3. Verify the springs are DISCHARGED
and the circuit breaker primary
contacts are OPEN by observing the
indicator positions.
As-found and vacuum check tests
Perform and record the results of both the
as-found insulation test and the vacuum
check high-potential test. Procedures for
these tests are described in the
maintenance section of this instruction
manual beginning on page 25.
Automatic spring charging check
Note: A temporary source of control power
and test leads may be required if the
control power source has not been
connected to the circuit breaker. Refer to
the specific wiring information and rating
label for your circuit breaker to determine
the voltage required and where the control
voltage signal should be applied. When
control power is connected to the circuit
breaker, the closing springs should
automatically charge if the control power
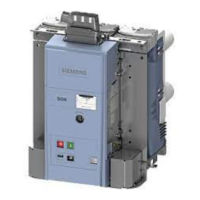
disconnect (refer to Figure 6: Low-voltage
compartment on page 19) is closed.
The automatic spring charging features of
the circuit breaker must be checked.
Control power is required for automatic
spring charging to take place.
1. Use the manual close and open
controls (refer to Figure 6: Low-voltage
compartment on page 19) to first close
and then open the circuit breaker
contacts. Verify contact positions
visually by observing the OPEN/CLOSED
indicator on the circuit breaker.
2. Open control power circuit by opening
knife switch shown in Figure 6: Low-
voltage compartment on page 19.
3. Repeat the spring discharge check
presented on page 18.
4. Verify the springs are DISCHARGED
and the circuit breaker primary
contacts are OPEN by observing the
indicator positions.
Final mechanical inspection and testing
without control power
Before the circuit breaker is energized, it
must be thoroughly inspected and tested.
Correct any deviations before energization.
20