Document No. 129-097
Installation Instructions
June 10, 2020
Siemens Industry, Inc. Page 3 of 6
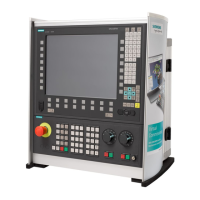
Figure 10.
7. Disassemble the piston.
a. Place the piston in a vise or clamp. (Do not
scratch the piston surface.)
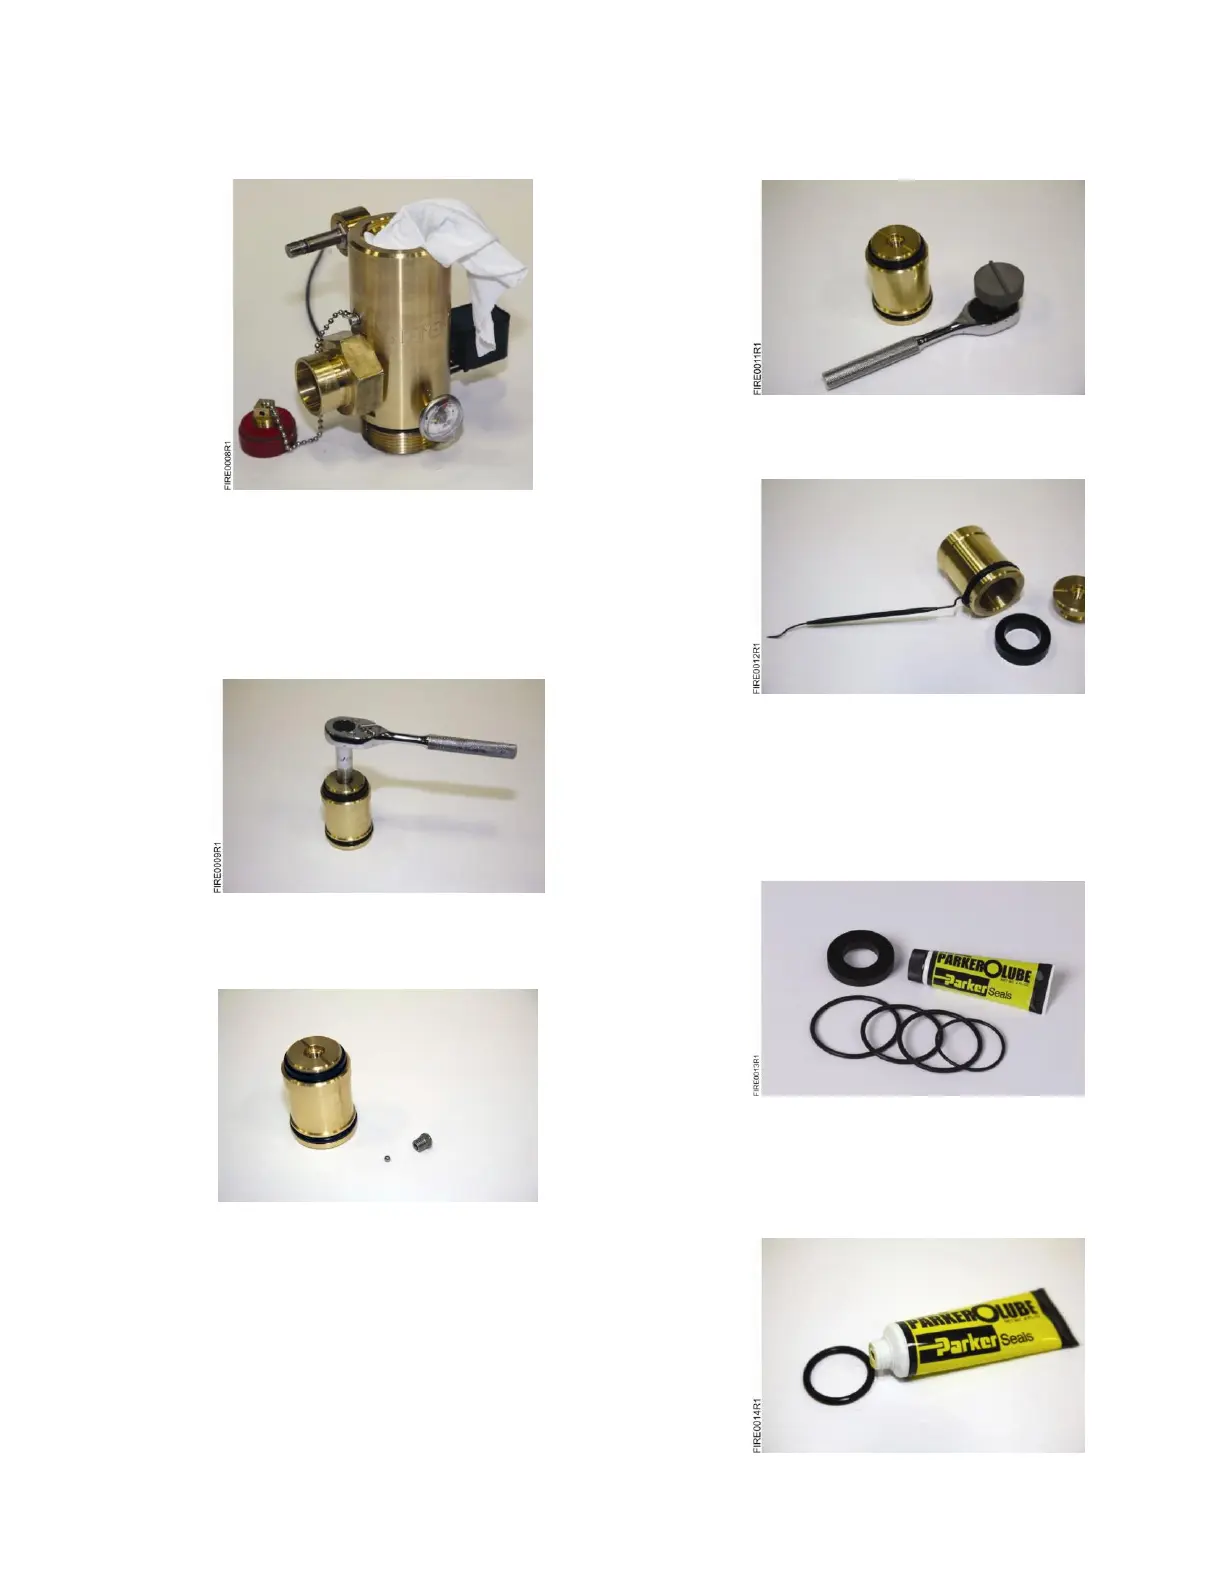
b. Remove the filter nut 7/16-inch from the
bottom of the piston.
Figure 11.
c. Be careful not to lose the steel ball under
the nut.
Figure 12.
d. Remove the rubber seat from the bottom of
the piston by unscrewing the retaining
clamp using SINX16, 17, or 18 (to
respective size).
Figure 13.
e. Remove the O-ring from the top of the
piston.
Figure 14.
Reassembling the Valve
1. Reassemble the piston.
NOTE: See Product Numbers for valve rebuild
kits.
Figure 15.
a. Reassemble the piston using new O-rings
and seat.
b. Apply a small amount of Parker-o-Lube
grease to O-rings (CPY-G).
Figure 16.