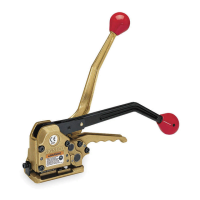
14
PART REMOVAL, REPLACEMENT & TOOL ADJUSTMENTS
The following procedure fully describes the disassembly of the PRHM-34. The instructions can
be reversed to assemble the tool. Please note that areas of the tool which require specific
adjustments for reassembly will be explained as well.
The disassembly instructions begin at a logical point for fully disassembling the tool, yet this is
not always necessary. Some disassembly procedures may be appropriately skipped in order to
avoid unnecessary labor.
Use the following instructions to disassemble the PRHM-34:
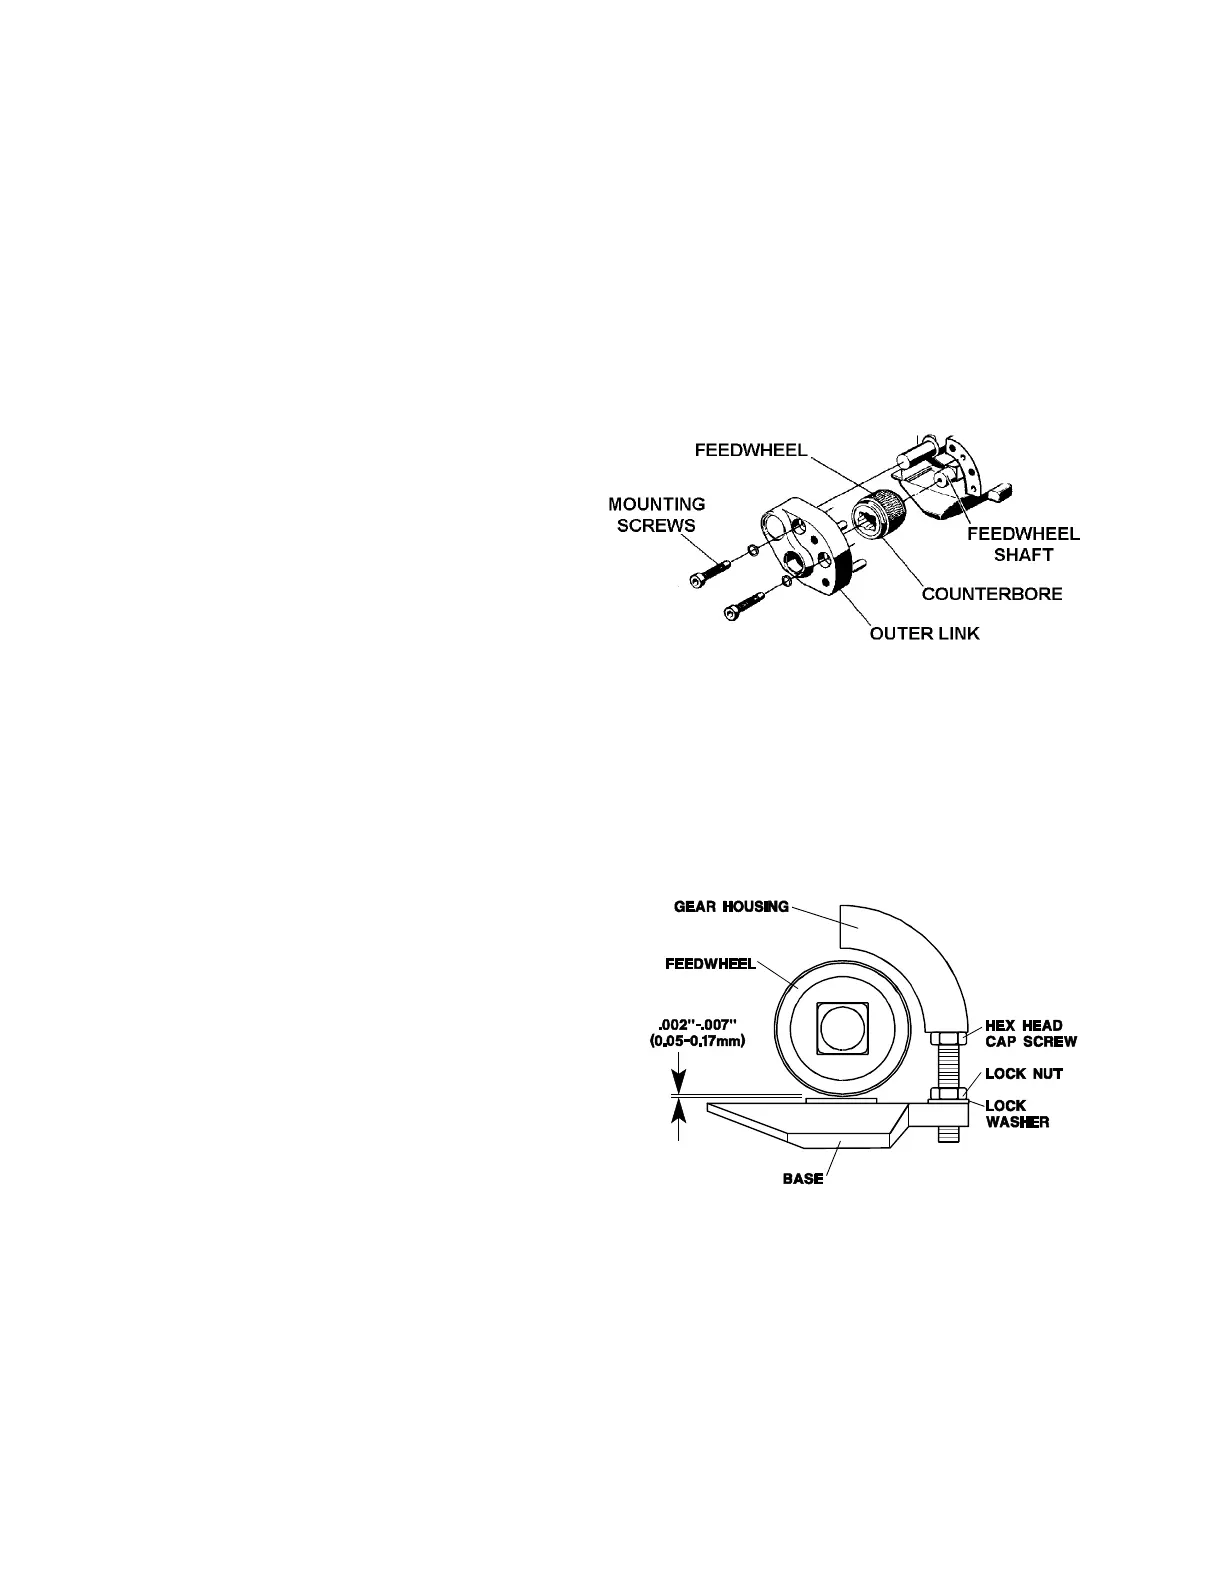
STEP 1 - FEEDWHEEL (For additional part information see pages 22 & 23)
1. To replace the feedwheel, remove the two
socket head cap screws which secure the
outer link. Remove the outer link from
the gear housing. Slide the feedwheel off
the feedwheel shaft. The counterbore
face of the feedwheel must face the outer
link in order to match up with the flange
bushing in the outer link.
2. Replace the feedwheel in the same manner in which it was removed. Feedwheel clearance
should be checked after replacing any parts associated with the tensioning system. This
clearance should be maintained to prevent the feedwheel from touching the wear pad and
encouraging early failure of these parts.
Feedwheel clearance can be set as follows:
a. Loosen the lock nut which secures the hex head adjustment screw which controls
feedwheel clearance.
b. Feedwheel clearance should be adjusted to
.002"-.007" (0.05mm-0.17mm) clearance.
Place an appropriate feeler gauge between
the feedwheel and the wear plug, turn the
hex head screw until the proper feedwheel
clearance has been reached.
c. When the clearance has been set, secure the hex head screw with the lock nut. Recheck
feedwheel clearance and adjust if necessary.