12 GB/IE/NI/CY
Store the product in a cool,
dry place, protected from
moisture and out of the reach
of children.
Protect the product against
heat.
Do not place the product close
to open flames or heat sources
such as stoves or heating
appliances.
Before first use
Remove all packaging materials. Check if all
parts are complete.
NOTE: The product's built-in battery is not
charged on delivery. Charge the battery
completely before first use (see “Charging
the product” section).
Assembly
Product assembly
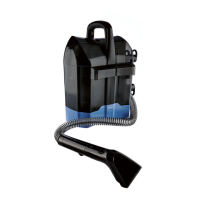
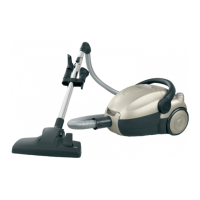
Push the vacuum attachment
1
onto the
suction head
12
.
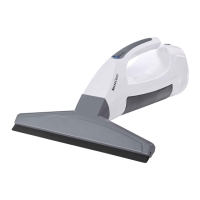
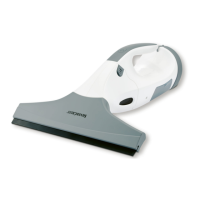
Attaching the wiper
NOTES:
Prior to assembling the wiper
4
, fill the
water container
6
with water and/or
cleaning detergent.
Do not use abrasive or aggressive cleaning
detergents. These could damage the product.
Do not exceed the water container's
6
maximum capacity of 360 ml.
Screw the wiper
4
onto the water
container
6
.
Unfasten the hook-and-loop strap on the
side of the microfiber cover
3
where is it is
located.
Place a microfiber cover
3
on the wiper
4
.
Fasten the hook-and-loop strap of the
microfiber cover
3
.
Operation
Charging the product
NOTES:
Before charging the battery: Switch off the
product.
Connect the plug of the charger
2
to the
charging socket
7
.
Connect the charger
2
with a suitable wall
outlet.
10
lights up red.
When the battery is fully charged,
10
lights up blue.
Disconnect the product from the charger
2
.
Do not leave the product permanently
connected to the charger
2
to avoid
damage to the battery or the product.
On/off button light pattern
Light
10
Status
Blue on Power on. Fully charged
(when charging).
Red on Charging.
Red flashing (slow) Low power level.
The product keeps
operating.
Red flashing (fast) Battery empty. The
product turns off after
1 minute.
Close the charging socket
7
with the
stopper
7
.
 Loading...