SHD 7.4 A1
■ 20
│
GB
│
IE
│
NI
│
CY
3. Tap out the dust filter 5 and the filter housing 4 into a waste
bin.
4. Clean the dust filter
5 and the filter housing 4 in tap water and
leave them to air dry completely afterwards.
5. Reinsert the dust filter
5 in the filter housing 4 and turn it to the
left (in the direction of the symbol) until it is seated firmly in the
filter housing 4 (see Fig. 9).
6. Reinsert the dust filter
5 and the filter housing 4 into the dirt
container
3. Always make sure that the dust filter 5 sits straight
in the dirt container 3 and the rubber lip seals the dirt container 3.
7. Place the dirt container 3 back on the appliance. Make sure that
the two
▯
markings under the symbol on the dirt container 3
and on the edge of the appliance are aligned with each other
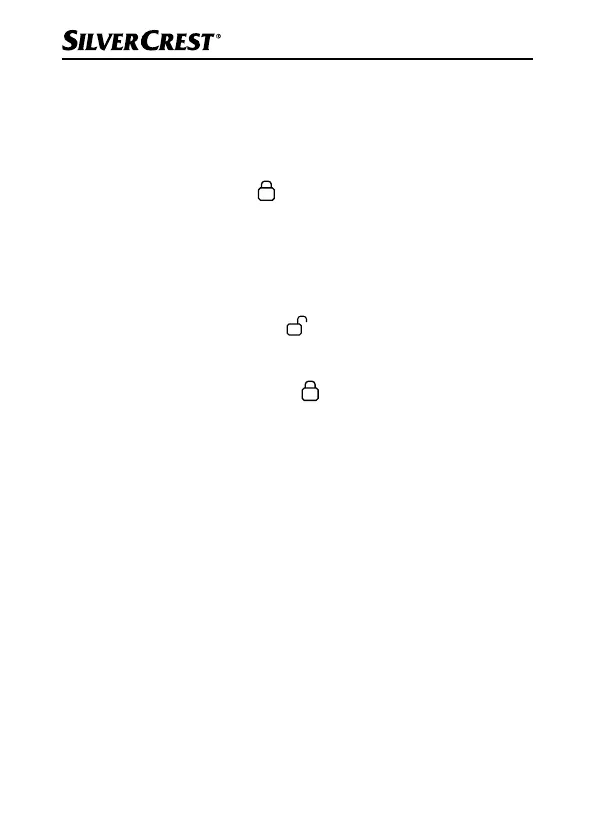
(see Fig. 6). Turn the dirt container 3 until the
▯
marking on the
edge of the appliance is under the symbol on the dirt container3
and the dirt container 3 locks audibly into the appliance.
Cleaning the appliance
1. Clean the housing and the 2-in-1 suction nozzle w with a lightly
moistened cloth. For stubborn soiling use a mild detergent on the
cloth.
2. Remove hair, lint and threads from the brush nozzle of the 2-in-1
vacuum nozzle
w.
3. Dry all parts thoroughly before using the appliance again or
storing it.
 Loading...