5
GB
- Do not use the product in areas subject to explosion
hazards.
- In case of any interferences in other radio units (e.g.
WLAN) occur, check by deenergizing the sound bar
if this is the cause.
- Do not use the device in the vicinity of microwave ov-
ens or devices generating magnetic fields.
4. Items supplied
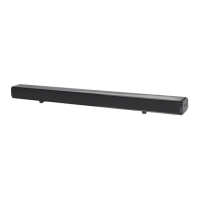
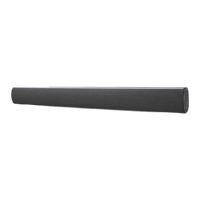
1 soundbar
1power unit|11
1 remote control
2 batteries of type LR3 AA 1.5 V
1 stereo cinch cable|13
1TOSLINK cable|14
2x4 screws|33 (25 mm / 50 mm)
4 rawlplugs|34
2 wall brackets|12
1 drilling template
1 copy of the quick reference guide
1 important information
1 copy of the user instructions
• Remove all packing material.
• Check that the device is undamaged.
If the delivery is incomplete or defective, please contact the
responsible service centre of the manufacturer (see “War-
ranty of the HOYER Handel GmbH” on page 10).
Please observe the illustrations on the fold-out page.
5. Before using for the first
time
5.1 Remote control
WARNING!
~ When inserting the batteries, please note the polarity
markings inside the battery compartment.
1. FIGURE A: open the battery compartment|27 by slid-
ing the lid in the direction of the arrow and lifting it off.
2. If necessary, replace the old batteries with new ones.
3. Place the lid onto the battery compartment and push it
in opposite direction of the arrow until it clicks into
place.
5.2 Setting up / Wall mounting
NOTE: if you connect the device to a television set, place
the device as centrally as possible below the set.
Setting up
1. Place the device on a level surface.
2. Connect the power unit|11 to the device.
Wall mounting
WARNING! Risk of material damage!
~ Please ensure the following when mounting on a wall:
- The fixing material must be matched to the proper-
ties of the wall. If necessary, use fixing material other
than that supplied.
- Make sure that in the installation location there are
no pipes or cables in the wall (e.g. electricity, water,
gas).
- If necessary, have the wall mounting carried out by
an expert.
~ In connection with the wall mounting, use HDMI right
angle plugs so the plugs cannot be damaged by kinks.
1. FIGURE B: drill 2 holes per wall bracket 40 cm apart.
If necessary, use the enclosed drilling template.
2. For the enclosed rawlplugs|34, use a drill with a diam-
eter of 8 mm.
3. Insert the rawlplugs|34 into the drill holes.
4. Fasten the wall brackets|12 firmly to the wall using the
screws|33.
5. Insert all of the cables used into the connections (see
“Overview - Connections” on page 6).
6. Connect the power unit|11 to the device.
7. Hook the device into the wall brackets|12. Both wall
brackets|12 must engage safely into the holder on the
rear of the device.