8
GB
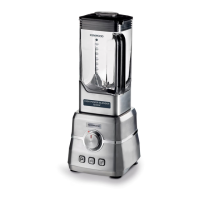
4. If necessary, turn the control dial11 to
position 0 (Off).
5. Figure B: insert the measuring jug2
into the lid3 and lock it by turning it
clockwise.
6. Insert the mains plug10 into a wall
socket corresponding to the technical
data. Button P14 flashes red.
7. Operation
WARNING!
~ In order to avoid damage to the device,
interrupt the blending process immedi-
ately if the blades of the blade insert7
do not turn at all or only with difficulty. If
this happens, pull out the mains
plug10 and check whether there is
something in the blender jug5 blocking
movement or whether the food is too
tough. Also check whether the device is
assembled correctly.
~ The device is designed for continuous
operation of ...
… no more than 1 minute without inter-
ruption at high speed (control dial
>3 - 6) and
… no more than 3 minutes without inter-
ruption at low speed (control dial
1
-
3
).
After this, the device must remain
switched off until it has cooled down to
room temperature.
CAUTION: depending on the hardness
and consistency of the food, do not fill the
blender jug5 up to the maximum level, as
this can cause the blade insert7 to become
blocked.
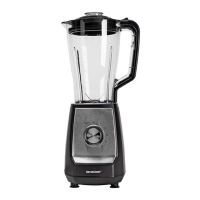
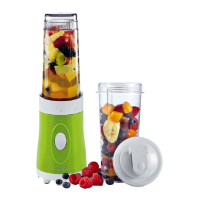
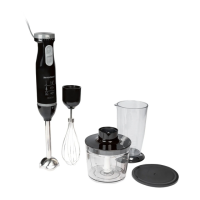
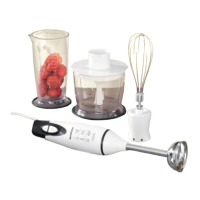
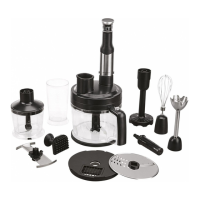
Application area
The jug blender is designed to mix whole-
fruit beverages (smoothies) and to chop
food and crush ice.
7.1 Preparing food
WARNING! Risk of material damage!
~ Thick or firm peels, (e.g. of citrus fruits,
pineapple), stems and pips of stone
fruits (e.g. cherries, peaches, apricots)
must be removed before blending.
• Rinse or wash the food.
• Chop the foodstuffs so small that they fit
through the refill opening of the lid3.
• Free herbs from their stems.
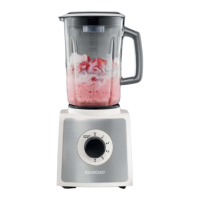
• For smoothies, use a sufficient amount
of liquid (mineral water, juice, milk, yo-
ghurt). We recommend a mixing ratio
of 1:1.
7.2 Chopping
• To chop food, turn the infinitely variable
control dial11 to the desired speed be-
tween the markings 1 and 6.
• Ingredients and liquids can also be add-
ed during operation via the refill open-
ing of the lid3.
• You can push down the processing food
with the food pusher1 included in the
items supplied. Use only this food push-
er1.
Harder food
NOTE: never attempt to shred more than
50g of nuts.
1. Fill food into the blender jug5.
2. Turn the control dial11 to position M.
All 3 buttons 12, 13 and P14
flash blue.
NOTE:
If no button is pressed within the next 30sec-
onds, the flashing of the buttons
12
,
13
and
P
14
will stop. Then the button
P
14
will
flash red.
BB&3(B%ERRN6HLWH0LWWZRFK$SULO