Installation Chart
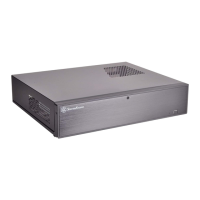
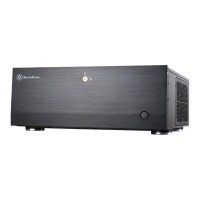
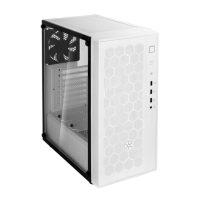
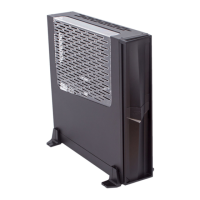
Milo Series ML09
10
08
Installieren Sie je nach Anforderungen ein schmales optisches Slot-In-Laufwerk, ein 3,5-Zoll-Laufwerk oder ein 2,5-Zoll-Laufwerk
in der Mehrzweckhalterung. Falls keine zusätzliche Kühlung erforderlich ist, kann der Lüfter auch entfernt werden.
(Zur Installation eines 9,5 mm großen schlanken optischen Laufwerks wird die haftende Unterlegscheibe benötigt und die Frontblende
muss durch die beim ML09 mitgelieferte Blende ausgetauscht werden)
Dependiendo de sus necesidades, instale un dispositivo óptico delgado de carga mediante ranura, dispositivo de 3,5” o dispositivo
de 2,5” en el bracket multipropósito. Si no se necesita refrigeración adicional, también podría retirarse el ventilador.
(Para instalar un dispositivo óptico delgado de 9,5mm hay que reemplazar las arandelas adhesivas y el bisel frontal con los incluidos
en la ML09)
In base alle necessità, installare sulla staffa multiuso un'unità ottica slim con fessura di caricamento, un'unità da 3,5”, o un'unità da 2,5”.
Se non è necessario ulteriore raffreddamento, la ventola può anche essere rimossa.
(Per l'installazione del drive ottico sottile da 9,5 mm, occorre il distanziatore a rondelle e sostituire il frontalino con quello incluso da ML09)
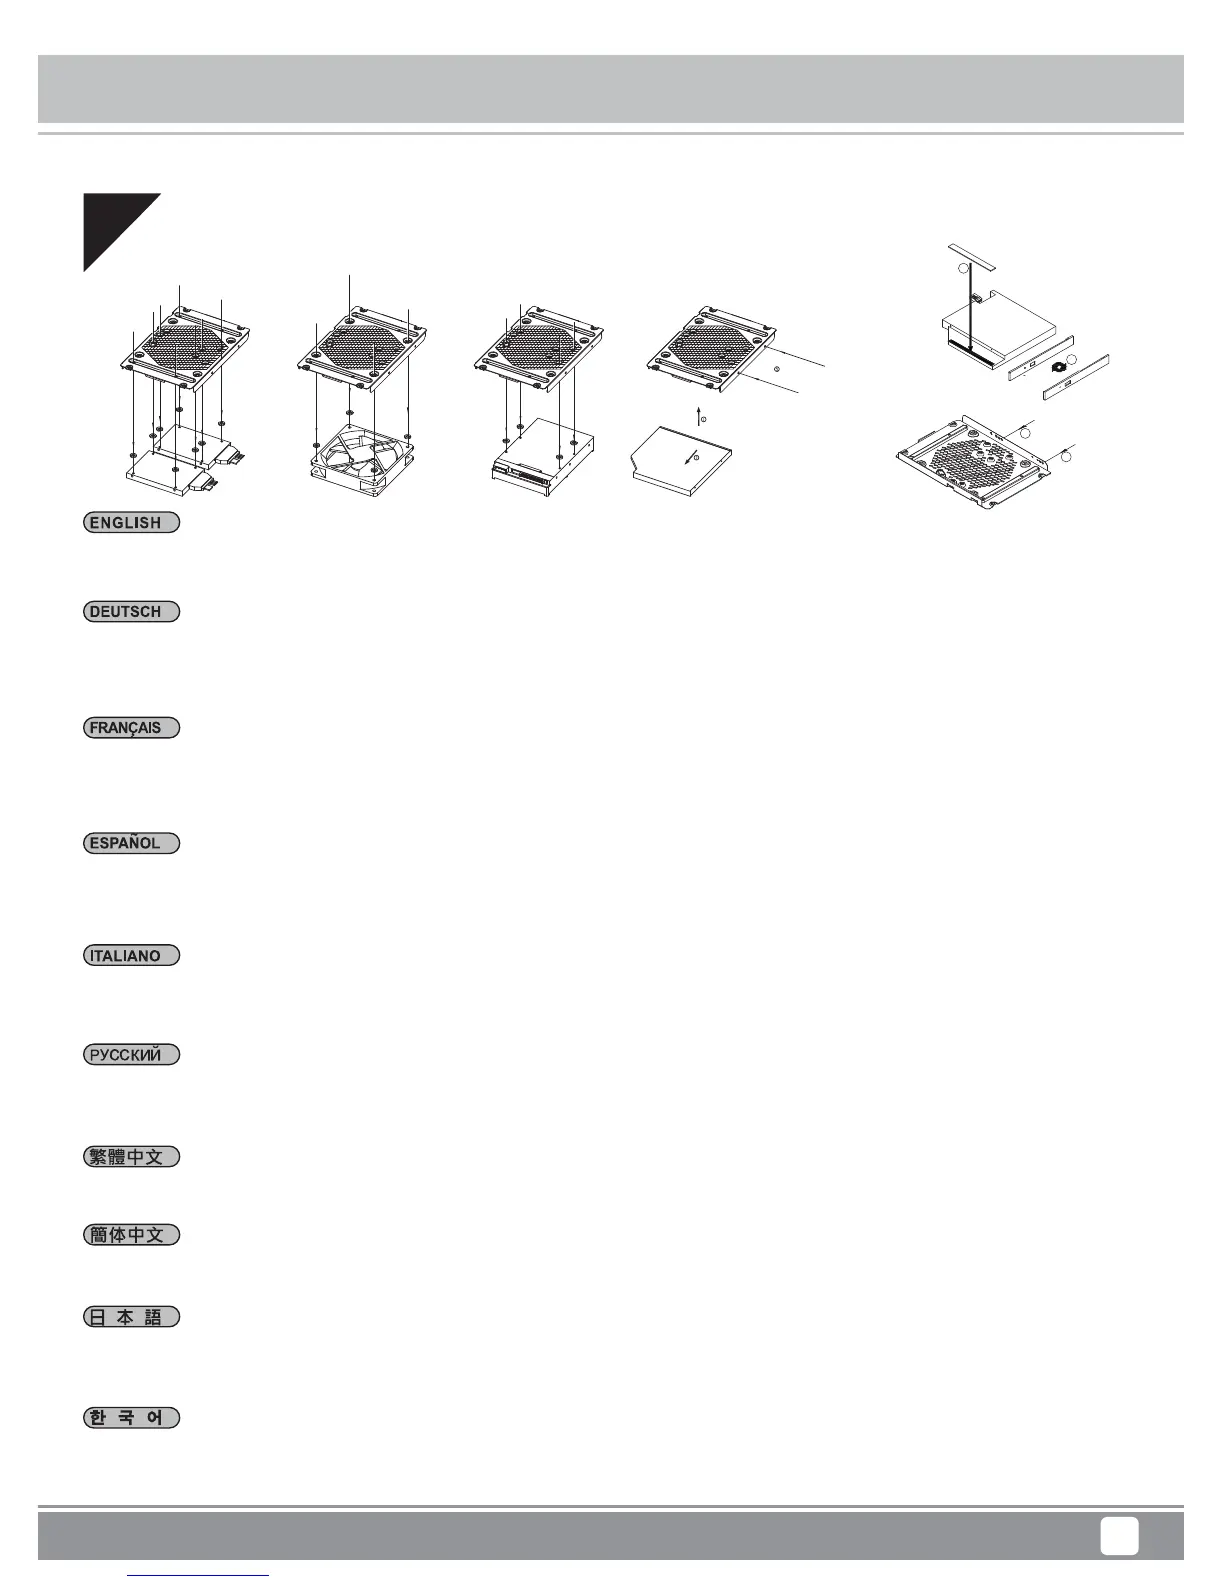
Depending on your requirements, install a slot-loading slim optical drive, 3.5” drive, or 2.5” drive onto the multipurpose bracket.
If additional cooling is not needed, the fan can also be removed.
(For 9.5mm slim optical drive install, stick on washer is needed and its front bezel replaced with included one from the ML09)
В зависимости от требований установите на универсальный кронштейн тонкий оптический привод с щелевой загрузкой,
3,5- или 2,5-дюймовый жесткий диск. Если дополнительное охлаждение не требуется, вентилятор можно снять.
(Для установки оптического привода толщиной 9,5 мм необходимо наклеить шайбу и заменить переднюю панель)
사용자의 요구사항에 따라, 슬롯 로딩 방식의 슬림형 광학 드라이브, 3.5” 드라이브 또는 2.5” 드라이브를 다목적 브래킷에 설치하십시오.
추가 냉각이 필요하지 않은 경우, 팬을 제거할 수도 있습니다.
(9.5mm 슬림형 광 드라이브가 설치된 경우, 와셔 부착이 필요하고 전면 베젤을 제공된 ML09 베젤로 교체해야 합니다.)
視需求安裝薄型光碟機、3.5吋或2.5吋硬碟至多功能磁架。若無額外散熱考量,風扇也可移除。
(9.5mm光碟機需要先更換光碟機面板與黏貼墊片)
视需求安装薄型光驱、3.5吋或2.5吋硬盘至多功能磁架。若无额外散热考虑,风扇也可移除。
(9.5mm光驱需要先更换光驱面板与黏贴垫片)
必要に応じて、スロットローディングスリム光 学ドライブ、3.5”ドライブ、または2.5”ドライブを多目的ブラケットに装着します。また、冷却を
特に必要としない場合は、ファンを取り外すことも可能です。
(9.5mmスリム光学ドライブ取り付けには、ワッシャーの 貼 付、ならびにフロントベゼルのML09付属品への交換が必要となります。)
Selon vos besoins, installez un lecteur optique plat à chargement par fente , un lecteur de 3,5" ou un lecteur de 2,5" sur le support
multifonction. Si aucun refroidissement supplémentaire n'est nécessaire, le ventilateur peut également être enlevé.
(Pour l'installation du lecteur optique slim (fin) de 9,5 mm, il est nécessaire de mettre de la colle sur la rondelle et de remplacer son
cadre avant par un autre inclus avec le ML09)
1
2
3
3