REMOVE POLISH
1. Allow polish to dry to a haze.
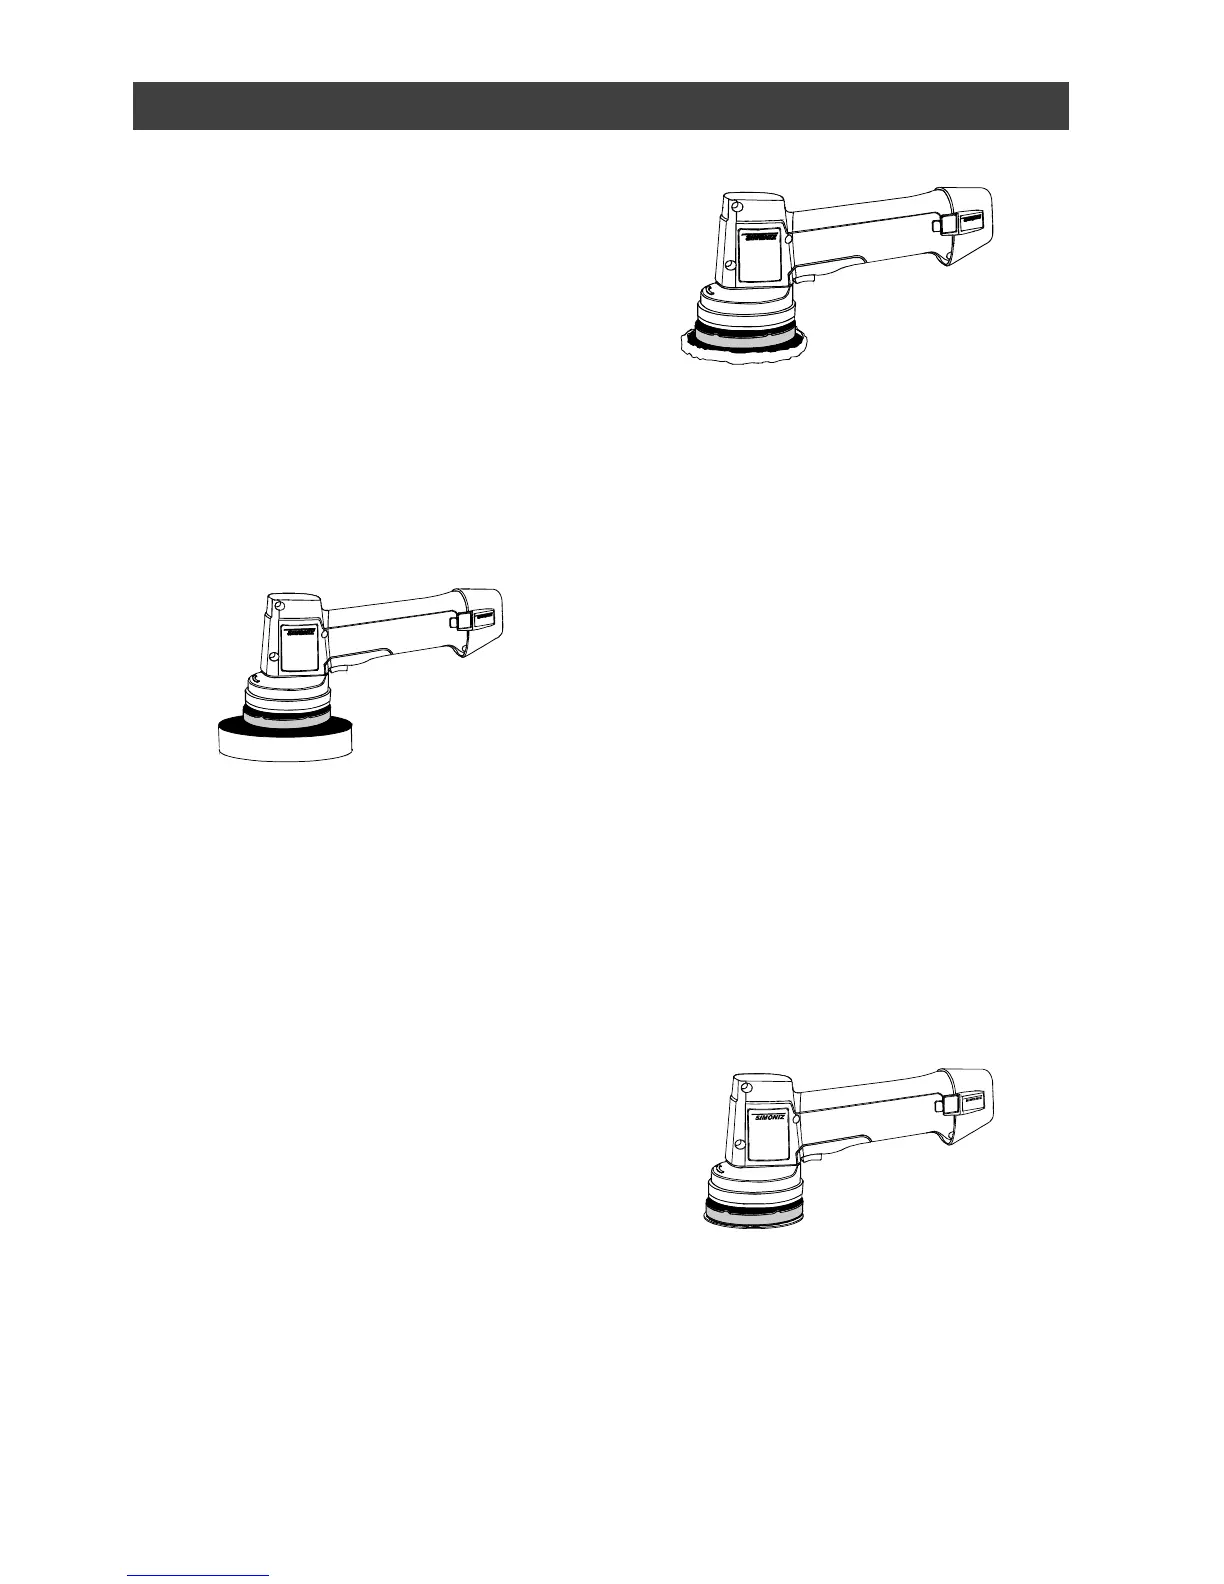
2. Remove the 4” foam pad and install
the 6” buffing pad (see Fig. 7).
NOTES:
a) Make sure the foam pad is
centred on the mounting plate.
b) You can also use the 4” foam pad
to remove polish. If you used the 4”
pad to apply polish, it must first be
thoroughly cleaned and dried. See
Maintenance section of this manual
for pad cleaning instructions.
Tips for removing polish
● Let the tool do the work. Do not
apply excessive pressure when
removing polish.
● Move the polisher in a figure 8
pattern over the surface you are
polishing.
● Remove the buffing pad periodically
and shake out the excess dried
polish. Excess dried polish in the
buffing pad will cause streaking.
FINAL BUFFING & POLISHING
After you have removed all the polish,
remove the foam pad and install the 4”
microfibre polishing pad for a “showroom
shine” (see Fig. 8). Refer to “Tips for
removing polish” above and proceed in
exactly the same manner for the final
buffing & polishing.
SANDING
This tool is designed for light duty
sanding projects such as minor
bodywork, surface rust removal and
preparing metal surfaces for painting. It is
not designed for major projects that
require considerable material removal or
prolonged sanding.
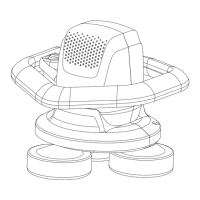
Install the appropriate sanding disk on the
hook surface of the mounting plate (see
Fig. 9). Use a coarser grit sanding disk
for faster material removal. Use a finer
grit sanding disk for smooth finish.
Because the tool uses random orbit
technology, the risk of burning or creating
swirl marks in your work is virtually
eliminated. For best results, do not apply
excessive pressure. Let the tool do the
work.