Assembly instructions for kit #12 2
This is not a Lego® product even if it contains Lego® bricks and plates. All warranties provided by Simple Motors.
LEGO® is a trademark of the LEGO Group of companies which does not sponsor, authorize or endorse this product.
All rights reserved. 2014 Simple Motors, LLC ♦ www.simplemotor.com ♦
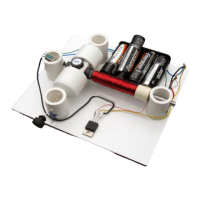
If you notice burrs on the plastic sleeves remove them with a sharp knife.
>
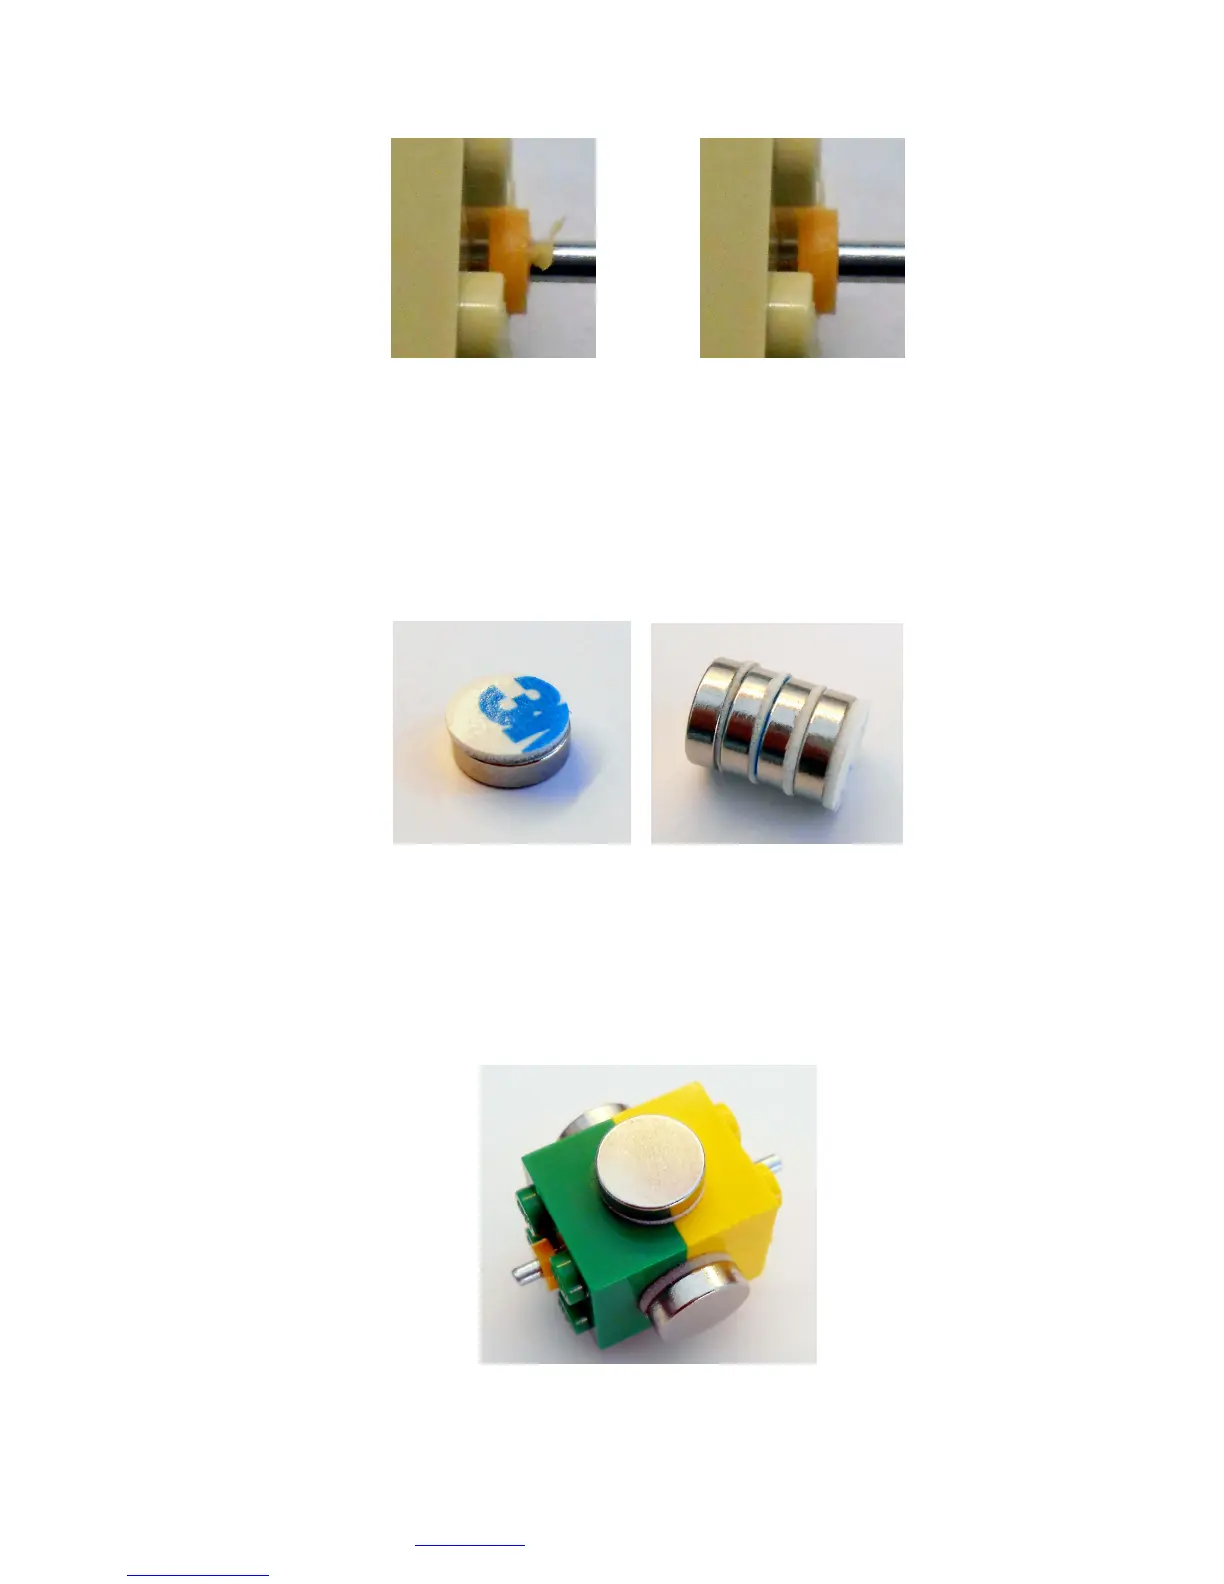
3. Attach double sided sticky pads to the magnets. It does not matter to which side you attach
them as long as you use the same pole for all magnets. This is very important! If you do
not use the same pole for all magnets your motor will not work.
The easiest way to achieve it is to attach the pad to the top of the stack and then move top
magnet to the bottom; after you attach all four pads your stack should look as shown. Do
not remove the second liner from the pads yet.
Neodymium magnets used in this motor are very strong! Be very careful – if they are
allowed to fly to each other they may shatter.
4. Attach all four magnets to the rotor. Try to be accurate and center them on each side. Make
sure there is no gap between the plastic halves.
 Loading...