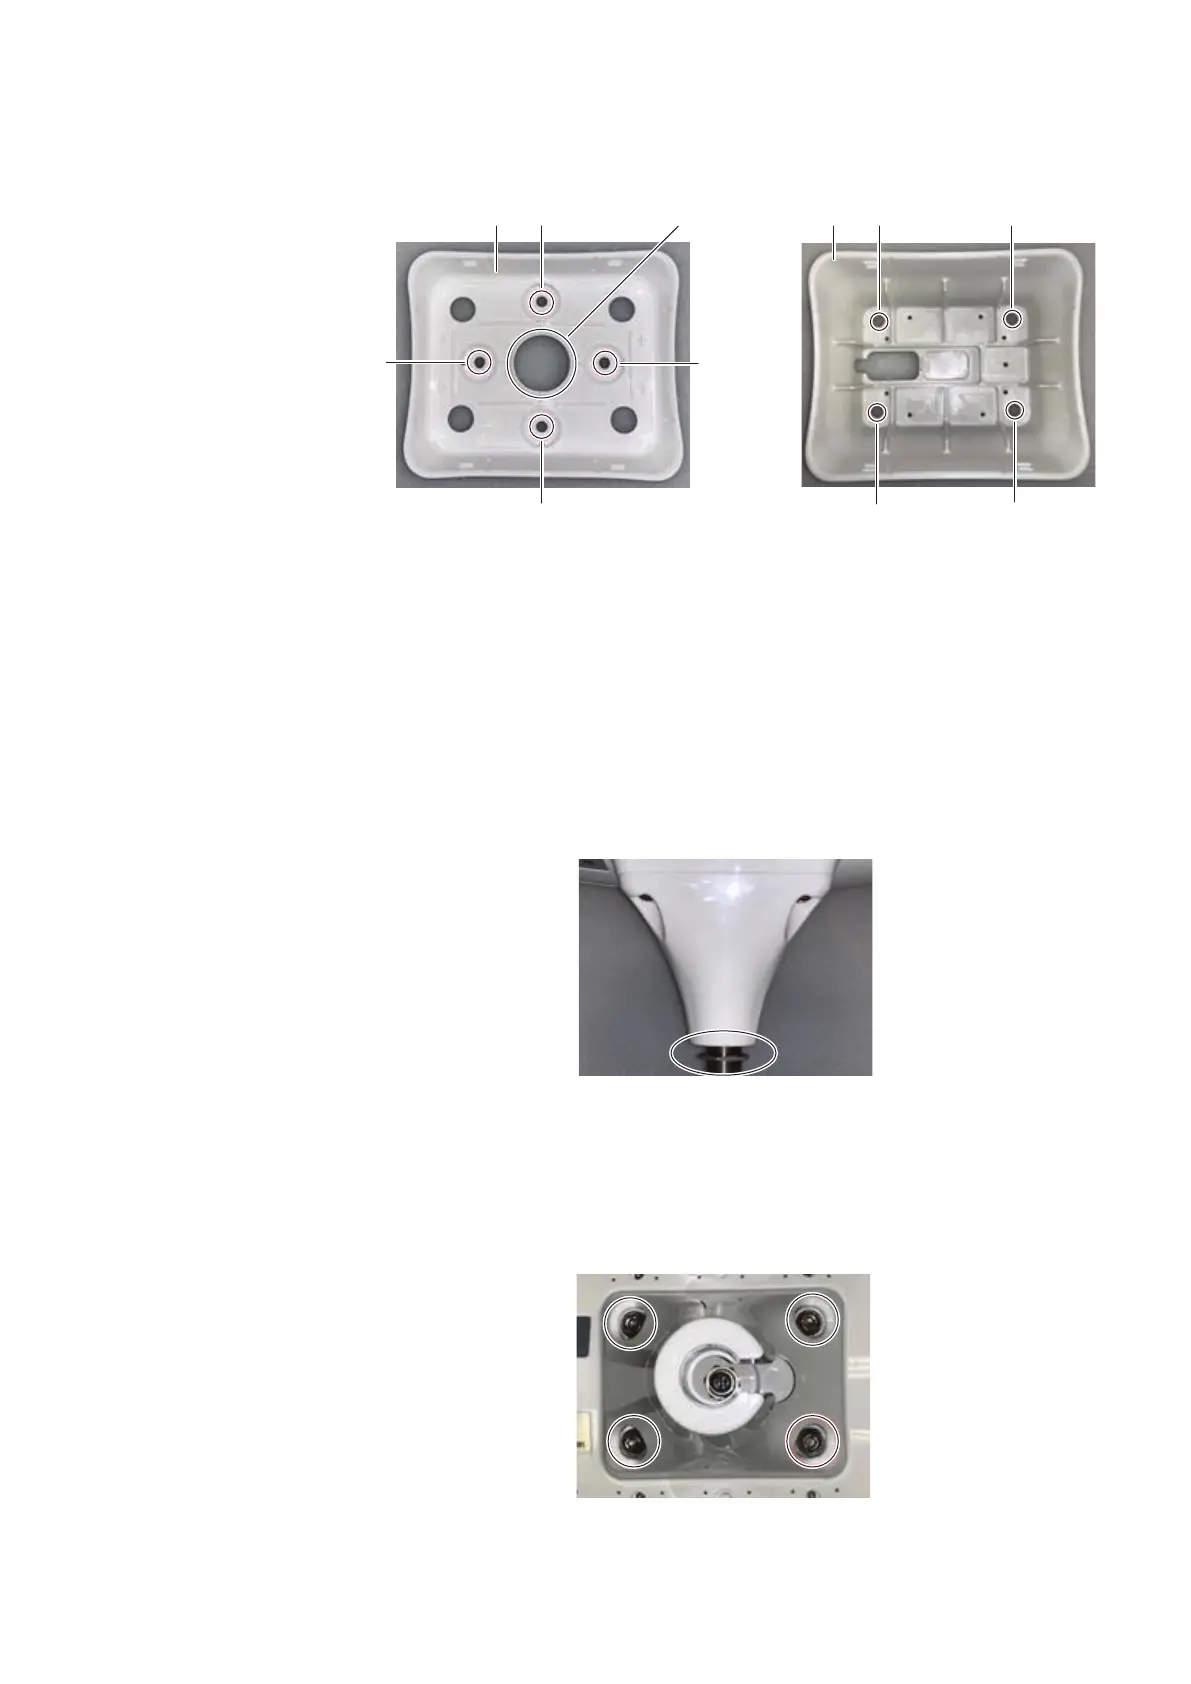
2 Use the lower part of the adapter as a template and mark and drill holes (x1 - x4) for the screws.
For the low profile adapter (A) where the cable exits through the bottom, also mark and drill
a hole for the cable. For the high profile lower adapter (B) where the cable exits above the
mounting surface, no cable hole is required.
A A1
A1
A1
A1
A2
B
B1
B1
B1 B1
3 Route the cable through the adapter and secure the lower adapter to the installation surface.
Tighten to a maximum torque of 13 Nm (10 lbs-ft).
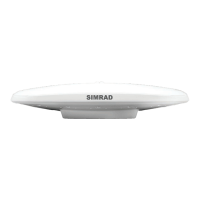
4 Connect the NMEA 2000 drop cable to the HS75 and place the HS75 assembly into the lower
adapter so that the four latches snap into place.
¼ Note: To remove the HS75, press in the clips on one side, at which point the HS75 can easily be
removed.
Pole mounting
1 Screw the jam nut onto the 1-inch pole, then screw the pole mount bracket onto the pole. Do
not tighten the pole mount to more than 5.4 Nm (4 lbs-ft).
2 Feed the cable either through the hollow pole or through the opening in the pole mount
bracket.
3 Connect the NMEA 2000 drop cable to the HS75, then secure the pole mount bracket to the
HS75 using the supplied mounting hardware. Tighten to a torque of 11 - 13 Nm (8 - 10 lbs-ft).
The maximum thread depth engagement must be no more than 12 mm (0.50“).
10 |
Installation | HS75 User Manual