1
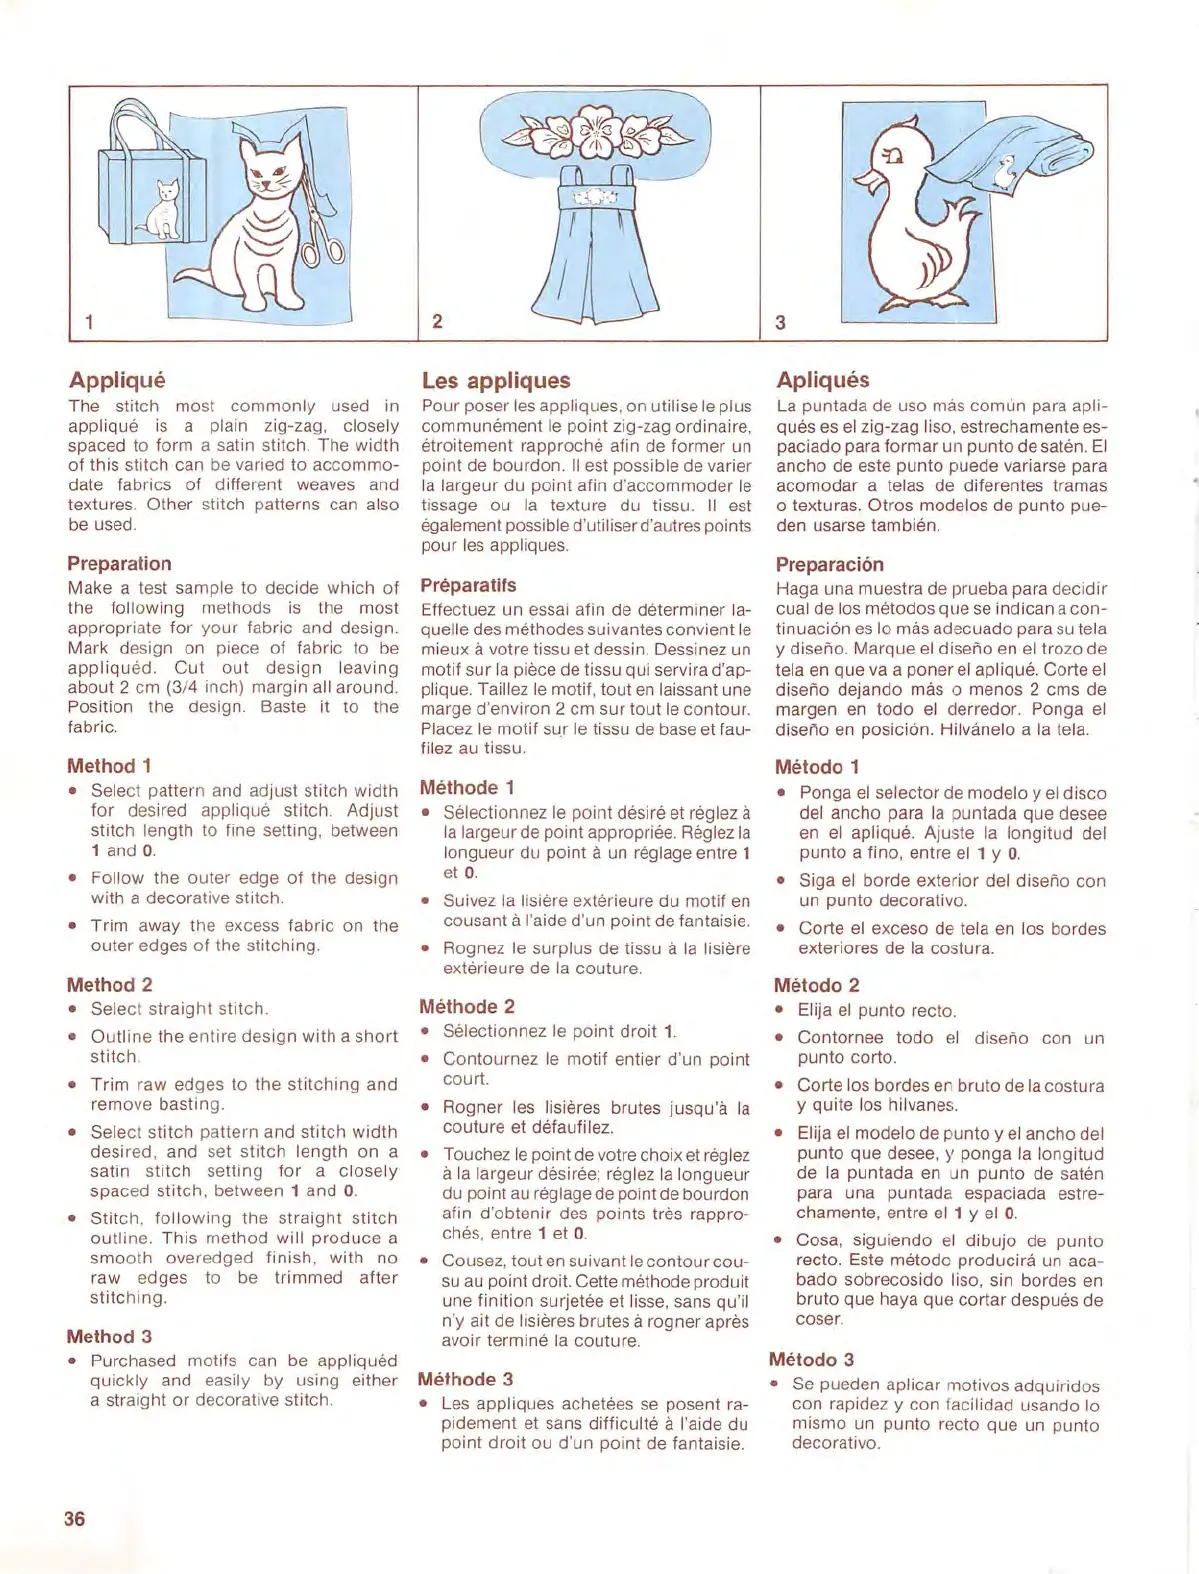
Applique
The stitch mo
st
commonly
used in
applique
is
a plain zig-zag, closely
spaced to form a sat
in
stitch. The width
of
this stitch can be varied to
accommo-
date fabrics of different weaves and
textures. Other stitch patterns can also
be
used.
Preparation
Make a test sample to decide which
of
the following methods
is
the most
appropriate
for
your fabric and design.
Mark design on piece of fabric to be
appliqued.
Cut
out
design
leaving
about 2 em (3/4 inch) margin all around.
Position the desig
n.
Baste it to the
fabric.
Method 1
• Select pattern and adjust stitch width
for
desired applique stitch. Adjust
stitch length to fine setting, between
1 and
0.
• Follow the
outer
edge
of
the design
with a decorative stitch.
• Trim away the excess fabric on the
outer edges of the stitching.
Method 2
• Select
straight
stitch
.
•
Outline
the
entire
design
with
a
short
stitch.
•
Trim
raw edges
to
the
stitching
and
remove basting.
• Select
stitch
pattern and
stitch
width
desir
ed, and set
stitch
length
on a
satin
stitch
setting
for
a
closely
spaced
stitch
, between 1 and
0.
• Stitch,
following
the
straight
stitch
outline.
This
method
will
produce
a
smooth
overedged
finish
, with no
raw edges
to
be
trimmed
after
sti
tching.
Method 3
• Purchased motifs can be appliqued
quickly and easily by using either
a straight
or
decorative stitch.
36
2
Les appliques
Pour poser
Jes
appliques, on utilise le plus
communement
le
point
zig-zag ordinaire,
etroitement rapproche afin de
former
un
point de bourdon.
II
est possible de varier
Ia
largeur du point afin d'
accommoder
Je
lissage ou
Ia
texture du tissu.
II
est
egalement possible d'utiliser d'autres points
pour
Jes
appliques.
Preparatifs
Effectuez un essai afin de determiner
Ja-
quelle des methodes suivantes convient
le
mieux a votre tissu et dessin. Dessinez un
motif sur
Ia
piece de tissu qui servira d'ap-
plique. Taillez
le
motif, tout
en
laissant une
marge d'environ 2 em sur
toutle
contour.
Placez le
motif
su
.r le tissu de base et fau-
filez au tissu.
Methode 1
• Selectionnez
le
point
desire et reglez a
Ia
Jargeur de point appropriee. Reglez
Ia
longueur du point a
un
reglage entre 1
et
0.
• Suivez
Ia
lisiere exterieure
du
motif
en
cousant
a !'aide d'un
point
de fantaisie.
• Rognez le surplus de tissu a
Ia
Jisiere
exterieure de
Ia
couture.
Methode 2
• Selectionnez le
point
droit
1.
• Contournez le
motif
entier d'un point
court.
• Rogner
Jes
lisieres brutes jusqu'a
Ia
couture
et defaufilez.
• Touchez
le
point de votre choix et reglez
a
Ia
largeur desiree; reglez
Ia
longueur
du point au reglage de point de bourdon
afin d'obtenir des points
tres rappro-
ches, entre 1 et
0.
• Cousez, tout en
su
ivant
Je
contour
cou-
su
au point droit. Cette methode produit
une finition surjetee et lisse, sans qu'il
n'y ait de lisieres brutes
a rogner apres
avoir termine
Ia
couture.
Methode 3
• Les appliques achetees
se
posent ra-
pidement et sans difficulte
a !'aide du
point
droit
ou d'un point de fantaisie.
3
Apliques
La
puntada de uso mas
comun
para apli-
ques es
el
zig-zag liso, estrechamente es-
paciado para
formar
un
punta
de
sa
ten .
El
ancho de este
punta
puede variarse para
acomodar a telas de diferentes tramas
o texturas.
Otros modelos de punta pue-
den usarse tambien.
Preparaci6n
Haga una muestra de prueba para
decidir
cual de los metodos que
se
indican a
con-
tinuaci6n
es
lomas
adecuado para
su
tela
y
diseiio. Marque
el
diseiio
en
el
trozo de
tela en que
va
a poner
el
aplique. Corte
el
diseiio
dejando mas o menos 2 ems de
margen
en
todo
el
derredor. Ponga
el
diseiio en posicion. Hilvanelo a
Ia
tela.
Metoda 1
• Ponga
el
selector de modelo y
el
disco
del ancho para
Ia
puntada
que
desee
en
el
aplique. Ajuste
Ia
longitud del
punta a fino, entre
el
1 y
0.
• Siga
el
borde exter
ior
del diserio con
un punta decorativo.
• Corte
el
exceso de tela en los bordes
exteriores de
Ia
costura.
Metoda 2
• Elija
el
punta
recto.
• Contornee
todo
el
diseiio
con un
punta corto.
•
Corte
los bordes en
bruto
de
Ia
costu
ra
y
quite
los hilvanes.
• Elija
el
modelo de punta y
el
ancho del
punta
que
desee, y ponga
Ia
longitud
de
Ia
puntada en un
punta
de saten
para una puntada espaciada estre-
chamente, entre
el
1 y
el
0.
• Cosa, siguiendo
el
dibujo
de
punta
recto. Este metoda
producira
un
aca-
bado sobrecosido liso, sin bordes en
bruto que haya que
cortar
despues de
coser.
Metoda 3
•
Se
pueden aplicar motivos adquiridos
con rapidez y con facilidad usando lo
mismo un punta recto que un
punta
decorativo.
 Loading...