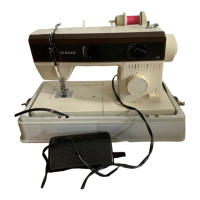
2.
Getting Ready
to
Sew
2.
Preparatifs de couture
2.
C6mo prepararse para coser
Choosing
and
Changing
Accessories
CAUTION:
Disconnect
the
power
line
plug
from
the
socket
outlet
when
changing
needles, feet,
or
needle plates.
or
when
leaving
the
machine
unattended.
This
eliminates the
possibility
of
starting the
machine
by
accidentally
pressing the
speed
controller.
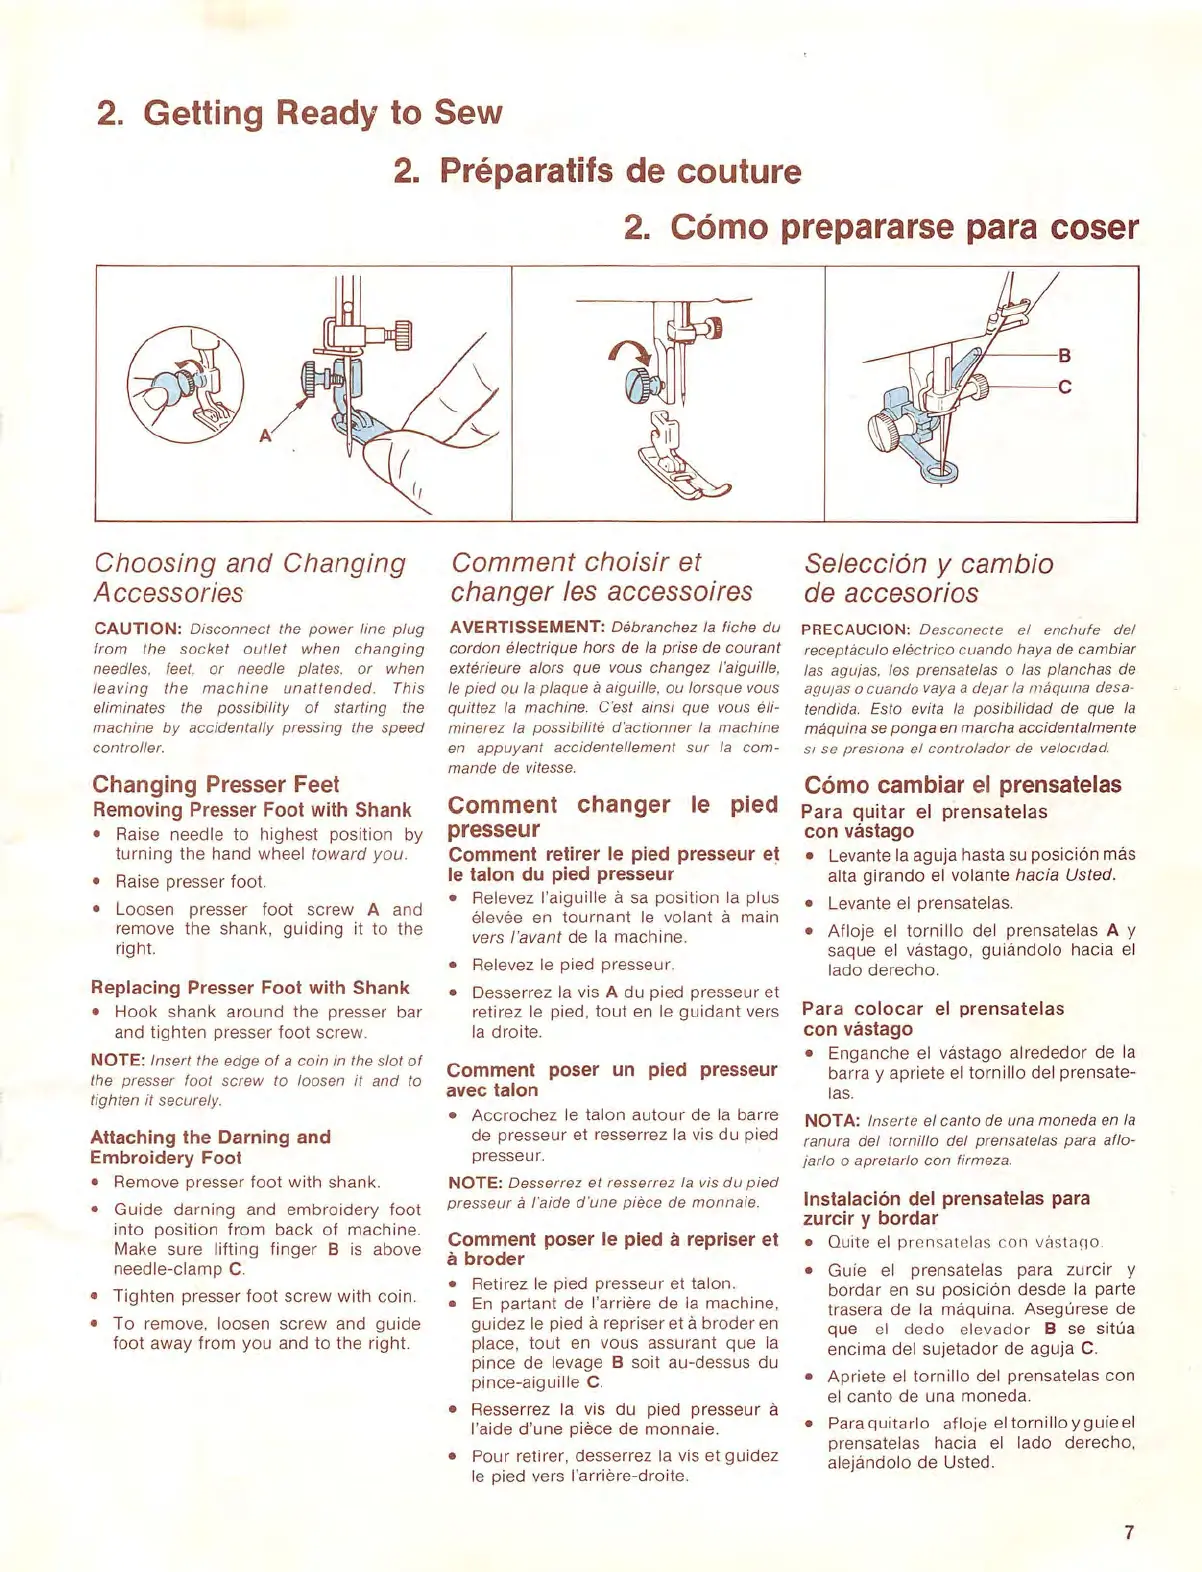
Changing Presser Feet
Removing Presser Foot with Shank
• Rai
se
needle
to
highest
position by
turning
the
hand
whee
l
toward
you.
• Rai
se
presser
fo
o
t.
• Loosen presser
foot
screw A and
remove the shank,
guiding
it
to
the
right.
Replacing Presser Foot with Shank
•
Hook
shank
around
the presser bar
and
tight
en presser
foot
screw.
NOTE: Insert the edge
of
a
coin
in the
slot
of
the presser foot
screw
to loosen
it
and
to
tighten it securely.
Attaching the Darning and
Embroidery Foot
• Remove presser f
oot
with
s
hank
.
•
Guide
darning
and
embr
o
ider
y
foot
in
to
position
from
back
of
machine
.
Make
sure
lifting
finger
B
is
above
needle
-clamp
C.
•
Tighten
presser
foot
screw
with
co
in.
•
To
remove, loosen
screw
and
guide
foot
away
from
you and to
the
right.
Comment
choisir
et
changer
les accessoires
AVERTISSEMENT: Debranchez
Ia
fiche
du
cordon
electrique
hor
s de
Ia
prise de
co
urant
exterieure alors
que
vous
changez
l'aiguille,
le
pied
OU
Ia
plaque
a aiguille,
OU
lorsque VOUS
quittez
Ia
machine
. C'est ainsi
que
vous eli-
minerez
Ia
possibilite
d'
actionner
Ia
machine
en
appuyant
accidentellement
sur
Ia
com-
mande
de vitesse.
Comment
changer le pied
presseur
Comment retirer le pied presseur et
le talon
du
pied presseur
• Relevez l'aiguille a
sa
position
Ia
plus
elevee en
tourn
a
nt
le
vo
lant a main
vers /'avant de Ia
machin
e.
• Relevez
le
pied presseur.
• Oesserrez
Ia
vis A
du
pied presseur et
retirez le pied,
tout
en le g
uidant
vers
Ia droite.
Comment poser un pied presseur
avec talon
•
Accrochez
le talon
autour
de Ia barre
de presseur et resserrez Ia vis
du
pied
presseur.
NOTE: Oesserrez et resserrez Ia vis
du
pied
presseur
a !'aide d '
une
piece
de
monnaie.
Comment poser le pied a repriser et
a broder
• Retirez
le
pied presseur et talon.
•
En
partant de l'arriere de
Ia
machine,
guidez
le pied a repriser
eta
broder en
place, tout en vous assurant
que
Ia
pince
de levage B
soil
au-dessus
du
pince
-aiguille C.
• Resserrez Ia vis
du
pied presseur a
l
'a
ide
d'une
piece de
monnaie
.
• Pour retirer, desserrez Ia v
is
et
guidez
le pied
ve
rs
l'arriere-droite.
/7)/----
B
n.a--
-c
Selecci6n y
cambia
de accesorios
PRECAUCION: Desconecte
el
enchufe
del
receptacula
electrico
cuando
hay
a de
cambiar
las agujas, les prensatelas o las planchas de
agu1as o cuando vaya a
de
Jar
Ia
maquma des a-
tend ida. Esto evita
Ia
posibilidad
de
que
Ia
maquina
se
ponga
en
marcha
accidentalmente
s1
se
preswna
el
controlador
de velocldad.
Como cambiar
el
prensatelas
Para
quitar el
prensatelas
con vastago
• Levante
Ia
aguja hasta
su
posicion
mas
alta
girando
el volante hacia Usted.
• Le
va
nte
el
prensatelas.
•
Aflo
je el
tornillo
del prensatelas A y
saque el vastag
o,
guiandolo
hacia el
lado derecho.
Para
colocar
el
prensatelas
con vastago
•
Enganche
el vastago
alrededor
de
Ia
barra y apriete
el
tornillo
del prensate-
las.
NOTA:
lnserte
el
canto
de una
moneda
en
Ia
ranura
del
t
ornillo
del prensatelas para
aflo-
jarlo o
apretarlo
con
firmez
a.
lnstalaci6n del prensatelas para
zurcir
y bordar
• Quite
el
prensate
l
as
con
vastaqo
•
Guie el prensatel
as
para
zurcir
y
bordar
en
su
posicio
n desde
Ia
parte
trasera
de
Ia maquina. Asegurese de
que
el
dedo
el
evador
B
se
situa
encima
del
sujetador
de
aguja C.
•
Apriete
el
tornillo
del prensate
la
s
con
el
canto
de una moneda.
•
Paraquit
arlo afloje
eltorn
illo
yguiee
l
prensatel
as
hacia el l
ado
derecho,
alejandolo de Usted.
7
 Loading...