Do you have a question about the Singer 6136 and is the answer not in the manual?
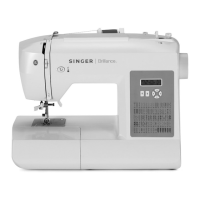
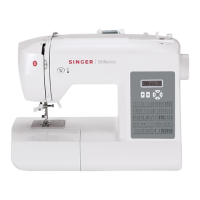
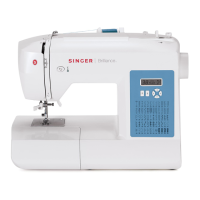
Identifies and labels the main components of the sewing machine for user familiarity.
Lists and describes various attachments, tools, and needles included with the sewing machine.
Guidance on selecting and fitting presser feet and needles for various sewing tasks.
Step-by-step instructions for safely removing and inserting a sewing machine needle.
Instructions on how to attach and detach presser feet using the snap-on mechanism.
Details on how to remove and reinstall the needle plate for cleaning or maintenance.
Guide for fitting the feed cover for button sewing or free-motion work.
Instructions for attaching the blindstitch hem guide to the presser foot.
Advice on selecting the correct needle and thread based on fabric type.
Instructions for connecting the machine to power and controlling its basic operation.
Step-by-step guide for correctly threading the bobbin case with thread.
Detailed steps for threading the upper thread through the sewing machine.
Instructions on how to bring the bobbin thread up through the needle plate.
Guidance on setting stitch length, width, and presser foot pressure for fabric.
How to adjust the stitch length dial for various sewing needs.
Explains how to adjust needle thread tension for balanced stitches.
Basic instructions for sewing a straight seam, including backstitching.
Tips for sewing straight seams using needle plate guidelines.
Demonstrates specific uses like zipper insertion and darning techniques.
Guide to setting stitch selectors for basic zig-zag stitching.
How to adjust needle thread tension for optimal zig-zag stitches.
Setting stitch length for open zig-zag and satin stitches.
Adjusting presser foot pressure for various fabrics during zig-zagging.
Instructions for creating satin stitches with proper length and tension adjustments.
Demonstrates appliqué techniques using zig-zag stitches.
Using zig-zag stitch for durable and flexible lingerie seams.
Methods for finishing seam edges with zig-zag stitching to prevent raveling.
Overview of selectors for choosing decorative and stretch stitch patterns.
How to choose stitch pattern groups using the pattern group selector.
Adjusting the stitch width selector to control the pattern's width.
Modifying needle position for precise stitch placement in patterns.
Fine-tuning stitch length for different pattern stitches.
Adjusting stitch balance for correct appearance in stretch stitch patterns.
Guidance on handling stretch fabrics and adjusting pressure.
A reference table for selecting stitch patterns based on fabric and job.
Describes the blindstitch for durable hem finishing and creative uses.
Versatile stitch for mending, joining, and attaching elastic or lace.
Ideal stitch for smocking, mending, and attaching elastic or lace.
Instructions for creating four-step buttonholes on fabric.
How to adjust stitch density for balanced buttonhole appearance.
Steps for securely attaching flat buttons using the zig-zag stitch.
Steps for threading and using a twin needle for parallel stitching.
Illustrates how free-arm sewing simplifies sewing tubular items like sleeves.
A troubleshooting guide for common sewing machine problems and their solutions.
Guidelines for cleaning the sewing machine using brushes and cloths.
Step-by-step instructions for removing the bobbin case from the machine.
How to correctly insert and lock the bobbin case back into the machine.
Instructions for removing the machine's face plate for maintenance.
Guide for reattaching the slide plate correctly after access.
Steps for safely replacing the sewing machine's light bulb.
| Type | Mechanical |
|---|---|
| Max Stitch Width | 5 mm |
| Max Stitch Length | 4 mm |
| Bobbin Type | Top Drop-In |
| Foot Control | Yes |
| Weight | 12 lbs |
| Built-in Needle Threader | Yes |
| Drop-in Bobbin | Yes |
| Free Arm | Yes |