Do you have a question about the Singer 7462 and is the answer not in the manual?
Specifies the compatible foot control model for the sewing machine.
Explains the polarized plug safety feature for electrical outlets.
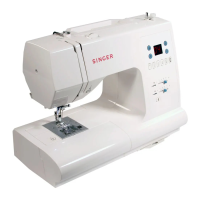
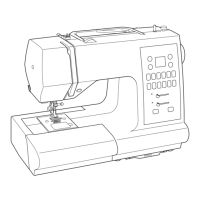
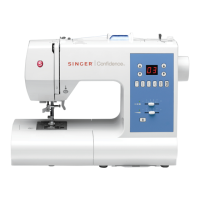
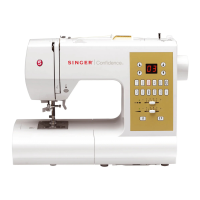
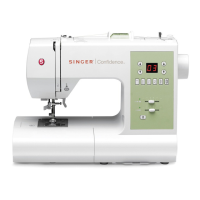
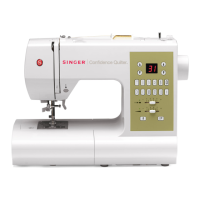
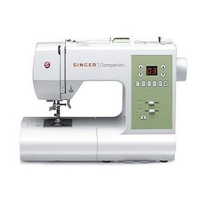
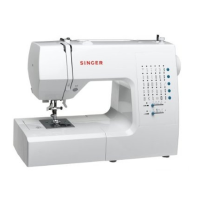
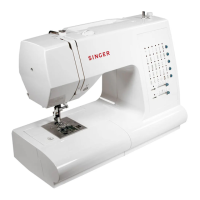
Identifies and labels the main parts of the sewing machine with a diagram.
Provides a comprehensive list of included accessories and their functions.
Details how to connect the power cord and foot control to the machine.
Explains the function of the power and light switch for operating the machine.
Step-by-step guide on how to safely replace the sewing machine needle.
Explains how tension affects straight stitch appearance and adjustment.
Advises on thread tension for zigzag and decorative stitches.
States that bobbin tension is factory-set and usually does not need adjustment.
Details the procedure for removing and attaching presser feet.
Explains how to select different stitch patterns using the control panel buttons.
Describes how to adjust stitch length, width, and needle position using the controls.
Explains how to use the switch for reverse sewing on various stitches.
Details the function for creating small tacking stitches to secure seams.
A table providing stitch settings for various stitch types.
| Stitch Patterns | 60 |
|---|---|
| Automatic Needle Threader | Yes |
| Drop Feed | Yes |
| Free Arm | Yes |
| Adjustable Stitch Length | Yes |
| Adjustable Stitch Width | Yes |
| Type | Electronic |
| Bobbin System | Top Drop-In |
| Needle Positions | 13 |
| Speed Control | Yes |
| Display | LCD |
| Buttonhole Styles | 6 |
| Dimensions | 12 inches |