Do you have a question about the Singer CP17 and is the answer not in the manual?
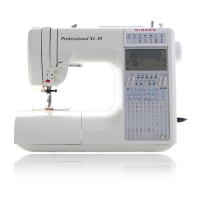
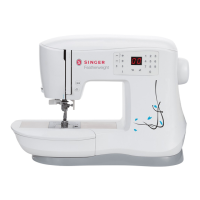
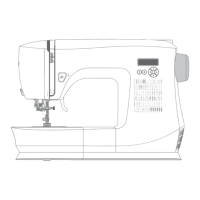
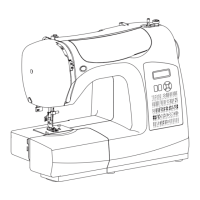
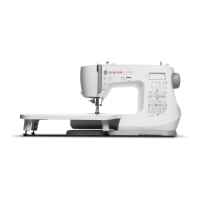
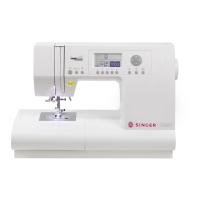
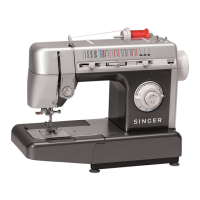
Identifies and labels the main components of the sewing machine.
Used for decorative and zig-zag sewing.
Standard parts for straight and zig-zag stitching.
For making four-step buttonholes.
For inserting zippers and corded seams.
Holds spools and allows smooth thread unwinding.
For small diameter spools of thread.
Assortment for sewing various fabric types.
Prevents feed movement during darning or embroidery.
Allows easy viewing of thread supply.
Positions hem for blindstitch hemming.
For stitching two parallel decorative rows.
Optional accessory for twin needle spool pin.
Guides on connecting, running, and stopping the sewing machine.
Instructions on selecting and replacing sewing needles.
Procedure for attaching and removing snap-on presser feet.
Method for replacing presser feet with built-in shanks.
Steps for replacing the standard needle plate.
Instructions for attaching the feed cover for specific sewing tasks.
How to remove the extension table for free-arm sewing.
Detailed steps for winding thread onto a bobbin.
Guide on how to correctly place the bobbin in the machine.
Step-by-step instructions for threading the sewing machine.
Procedure to bring the bobbin thread up to the needle plate level.
Adjusting the stitch width for straight stitching.
Changing the needle's left, center, or right position.
Setting the desired stitch length for straight stitches.
How to use the reverse stitch button for reinforcement.
Balancing upper and lower thread tension for optimal stitches.
Guidance on placing fabric and keeping seams straight.
Techniques for starting a seam and backstitching.
Methods for guiding and supporting various fabric types during sewing.
How to perform reverse stitching at the end of a seam.
Instructions for mending worn or torn fabric spots.
Process for stitching multiple fabric layers together for quilting.
Using the zipper foot to stitch zippers evenly.
Selecting different stitch patterns for zig-zag operations.
Adjusting needle position for zig-zag stitches.
Controlling the width of zig-zag stitches.
Setting stitch length for open zig-zag and satin stitches.
Regulating needle thread tension for balanced stitches.
Using zig-zag stitch for seams, applique, and decorative sewing.
Applying zig-zag stitch to finish edges prone to fraying.
Creating a satin-like finish with closely spaced zig-zag stitches.
Stitching letters and designs on fabric.
Technique for creating durable hem finishes.
Making functional and decorative ladder seams with blindstitching.
Repairing tears using the multi-stitch zig-zag function.
Reinforcing stress points with strong multi-stitch bar tacks.
Sewing elastic into garments using the "M" stitch.
Attaching lace to fabric using the "M" stitch.
First step for creating a four-step buttonhole.
Second step for creating a four-step buttonhole.
Third step for creating a four-step buttonhole.
Fourth step for creating a four-step buttonhole.
Adjusting stitch density for buttonhole balance.
Using free-arm for topstitching and finishing sleeves.
Sewing buttons on cuffs or neckbands using free-arm.
Applying bar tacks to areas of strain with free-arm sewing.
Procedure for removing and reinstalling the bobbin case.
Steps to replace the sewing machine's light bulb.
Maintenance guide for cleaning the sewing machine parts.
Instructions on where and how to lubricate machine parts.
Information on available optional accessories for the machine.
How to sew buttons onto fabric using the zig-zag stitch.
| Brand | Singer |
|---|---|
| Model | CP17 |
| Category | Sewing Machine |
| Language | English |