6
ENGLISH
HINTS FOR IRONING
1. Sort out the articles to be ironed according to the type of fabric. This will minimize the fre-
quency of temperature adjustment for different garments.
2. Test ironing a small area on the backside or inside the garment if you are unsure about the
type of fabric. Start with a low temperature and increase gradually.
3. Wait for 3 minutes before ironing heat sensitive fabrics. Temperature adjustment needs
certain time to reach the required level no matter it is higher or lower.
4. Delicate fabrics such as silk, wool, velour, etc. are best ironed with an ironing cloth to pre-
vent shine marks.
5. If the fabric consists of various kinds of fi bers, always select the temperature required by
the most delicate fi bers, i.e. the lowest temperature. For example, an article consists of
60% polyester and 40% cotton, according to the fabric setting chart it should be ironed for
polyester and without steam.
6. When steam ironing woolen fabrics, shiny patches may occur. You may prevent this by turn-
ing the article inside out and ironing the reverse side.
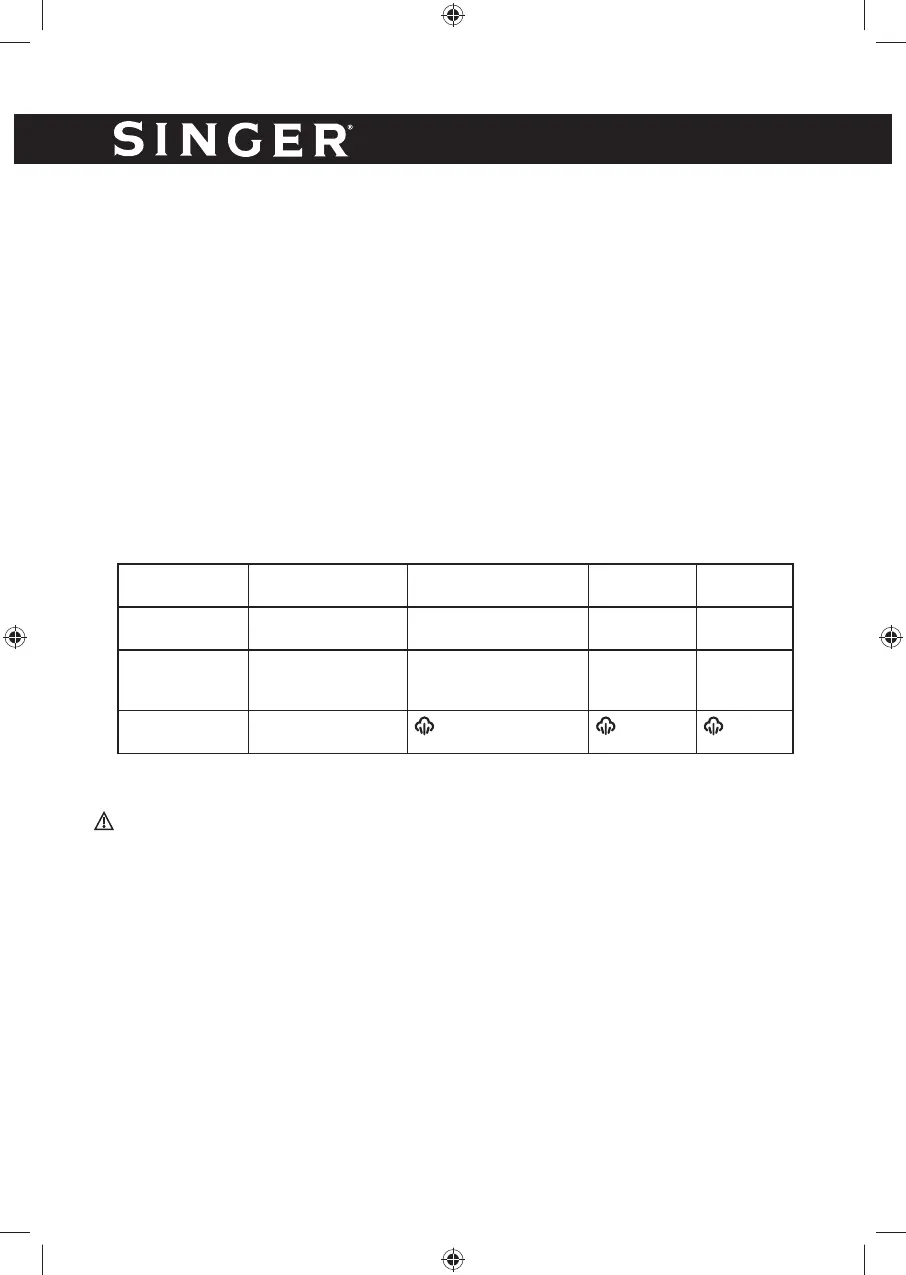
READ THE GARMENT LABELS AND FOLLOW THE MANUFACTURER’S IRONING INSTRUC-
TIONS THAT ARE USUALLY INDICATED BY SYMBOLS SIMILAR TO THE FOLLOWING:
Temperature
Setting
Synthetics Wool/Silk Cotton/Linen Max
Fabric Synthetics, Silk,
Nylon, Arcylic
Wool, Polyester Rayon Cot-
ton, Linen
Rayon Cot-
ton, Linen
Ironing Instruc-
tions
Dry Iron on the
opposite side of the
fabric
Use a press cloth and
Steam iron on the op-
posite side of the fabric
Iron while
fabric is still
damp
Steam iron-
ing
Steam selection
setting
Off
IMPORTANT HINTS
1. Do not fi ll water tank with vinegar, perfume substances, distilled water or descaling agents.
2. Remove any protective sticker or card from the soleplate.
3. Before every fi rst use, it is proposed that the iron is cleaned using the following procedure:
Place the adjustable steam knob to Max steam setting, hold the iron and press the steam
switch underneath the handle for 20 seconds. Then release for 30 seconds and do this for
two cycles. When the heating indicator light turns OFF, it is ready for ironing.
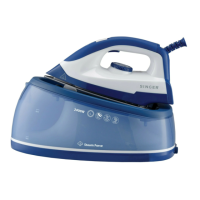
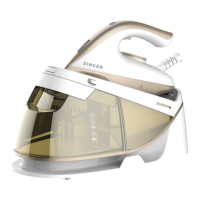
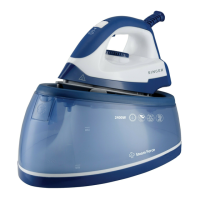
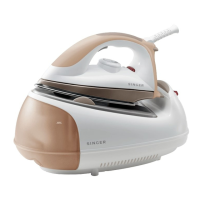
FILL THE WATER TANK
1. Press upwards the release button at lower front end of the water tank and slide the detach-
able water tank out from the base (Fig.1).
2. Fill the water tank up to or below the MAX fi ll line with clean tap water (Fig.2) You can take
the fi lter out of the opening for fi lling water into the water tank (Fig.3) or fi ll water into the
water tank directly with the fi lter existing in the opening.
3. Place back the water tank into the base unit again. It will be locked in place with the base
unit, until a click sound is heard (Fig.4).
4. Always pour out the remaining water after use (Fig.5).