3-21 Quick guide for installation and use - Strider Receiver Link
Strider Link Series
SRFStrider-161004A-REV.A
Sinteck Sistemas Eletrônicos Ltda.
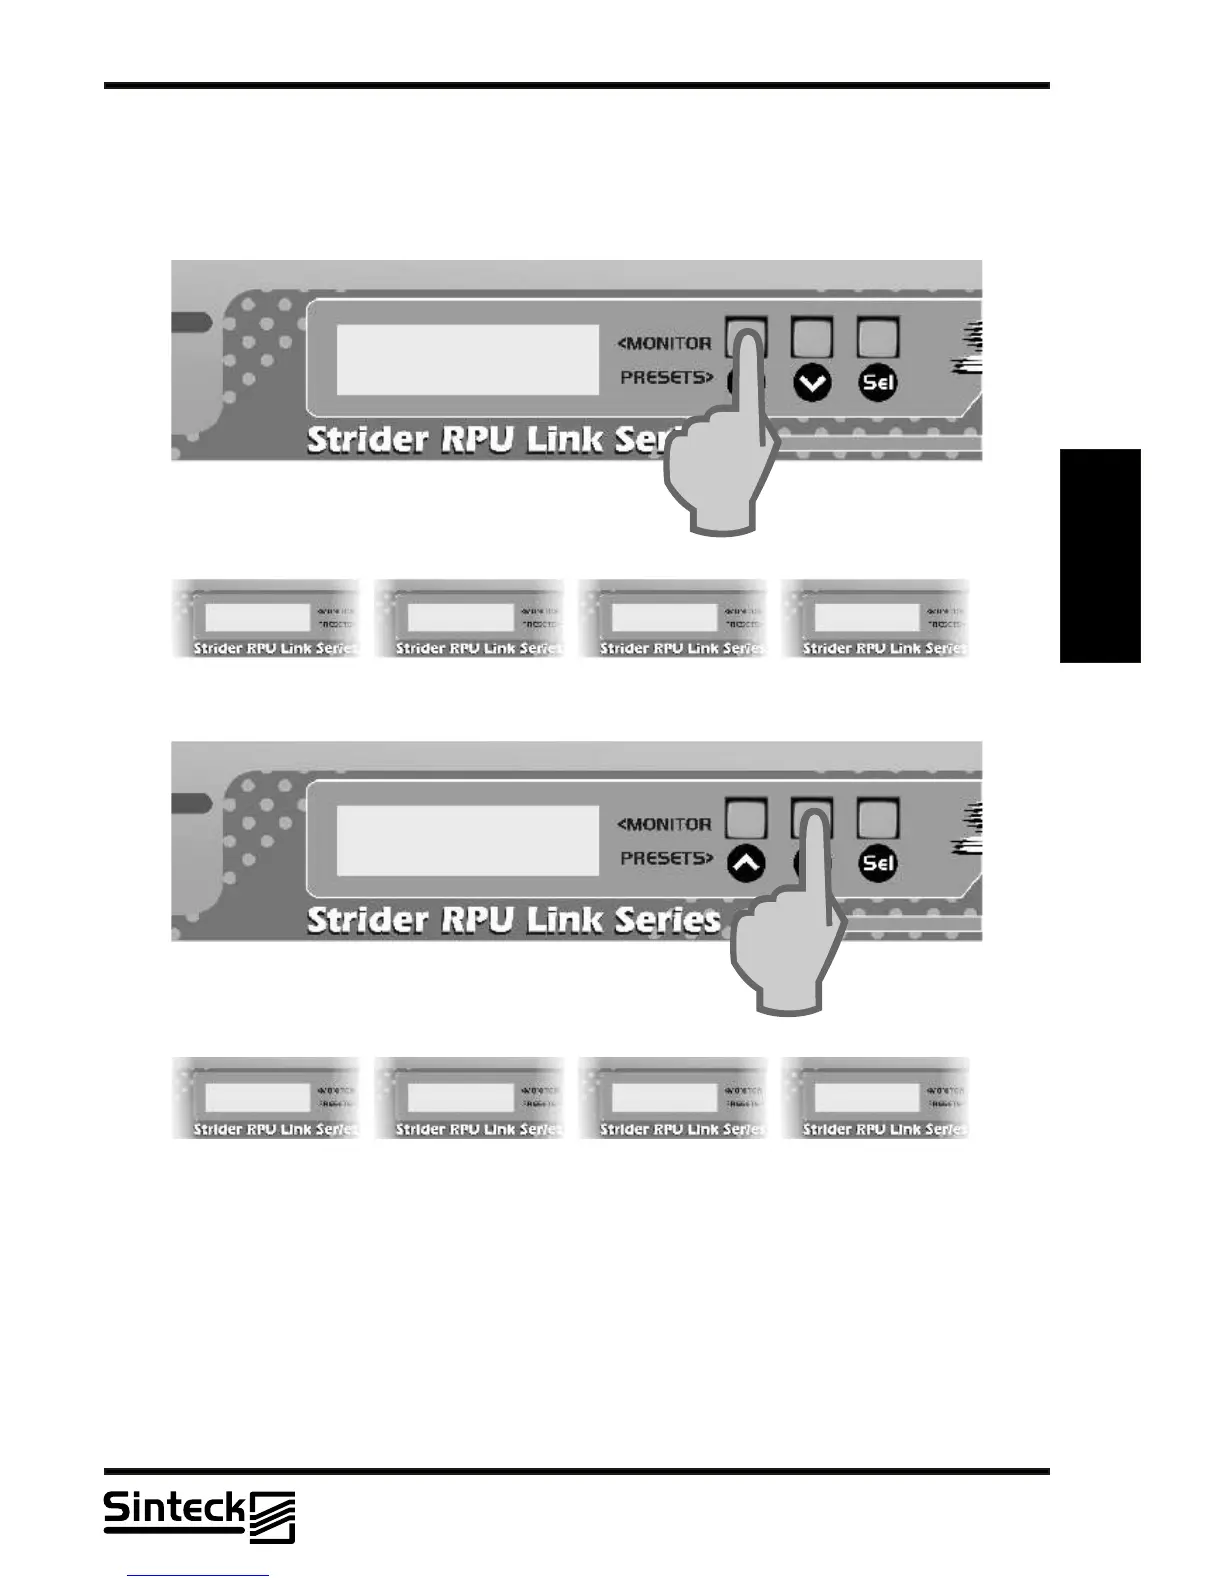
FREQUENCY CHANGING
To change the frequency on the Strider Receiver Link is necessary to press the button “UP”
or “DOWN”on the front panel, like shows the next figure:
FREQ. 452,50 MHZ
CHANNEL~ 10
3
CONTRAST MENU
To facilitate the LCD view, a Contrast Menu was created. Depending on where is installed
the equipment the user can choose which will be the contrast level that better it is adapted to
the illumination of the installation place.
First, the button " SEL " should be pressed, until that the message in LCD is " CONTRAST
ADJUST ". Note that every time that any button is pressed a beep sounds, this is the
feedback that the button was worked.
03/P/40
 Loading...