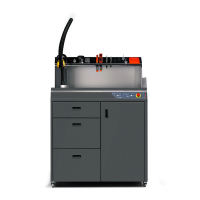
3. Adjust the Powder Chamber grid
1
to the printout size.
If the printout is small or has a lot of small elements,
use an Additional Powder Chamber grid with a smaller
mesh (it is located with a dedicated place in the door
of the Sifting module - image 21).
Image 21. Dedicated space for an Additional
Powder Chamber grid with a smaller mesh.
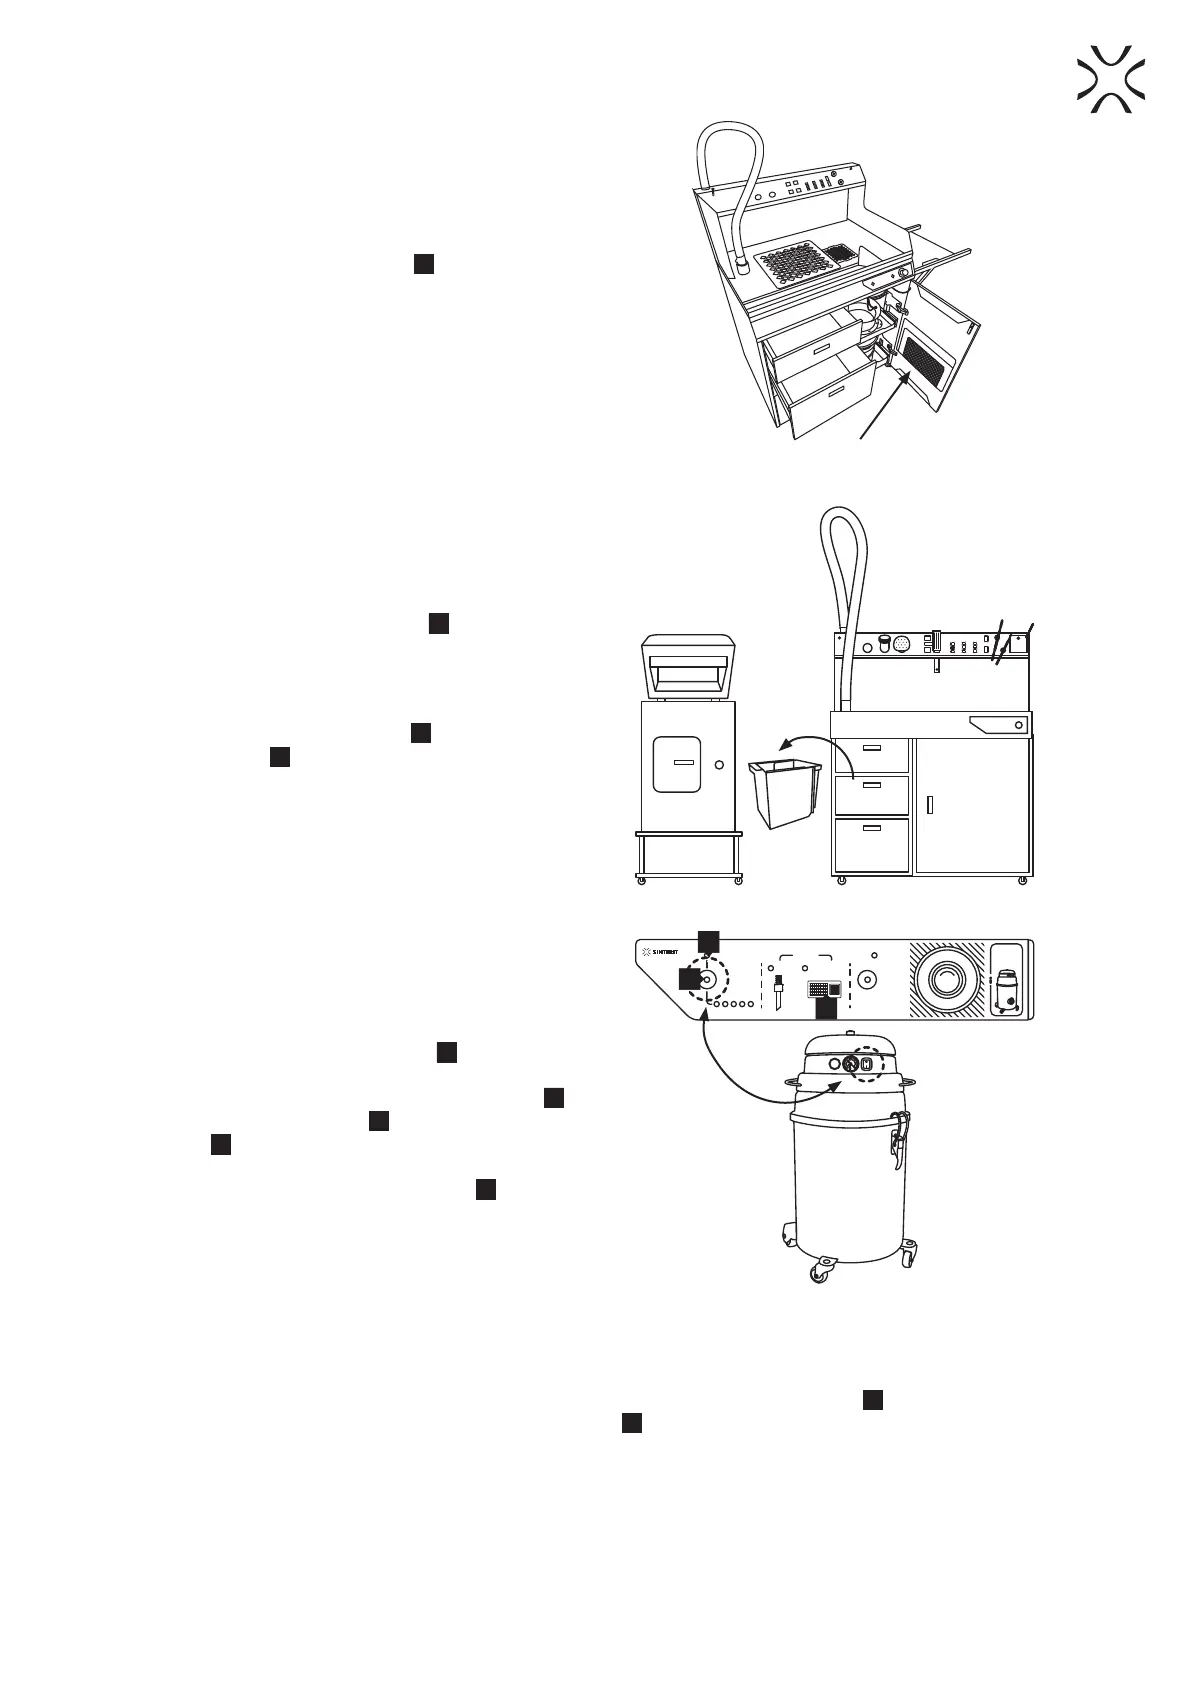
4. Remove the IO Box from Drawer 2
8
and carry out the
process of extracting the printout from the printer. The
complete process of extracting the printout from the
Lisa/Lisa PRO printer is described in the manual of the
aforementioned printer.
5. Check that the Suction Handle
3
is correctly seated
in the socket
4
. If it is not fully seated, the Powder
Feeding Screw mechanism will not work (image 12).
Image 22. Clean the Sinetrit printers using the IO Box.
6. Switch on the vacuum cleaner (from „0” to „1”). The
Vacuum Suction sensor indicator
22
should light up
(image 23).
7. Press the ON/OFF Sifting button (main button)
14
to
turn on the Sifting Module
11
and the Powder Feeding
Screw
23
(image 23)
8. On the Control panel, in the SUCTION section, the
LED above the DEPOWDERING ZONE
17
should be
activated (image 23).
TURN ON
VACUUM
FIRST
PHS
LIGHT
ON/OFF
POWER
SUCTION
VACUUM
SIFTING
ON/OFF
TIMER
HANDLE
DEPOWDERING
ZONE
SUCTION
S
T
O
P
E
M
E
R
G
E
N
C
Y
22
17
14
Image 23. Switch on the vacuum cleaner and the Sifting module.
9. When the PHS device works with Lisa/Lisa PRO printers, we recommend choosing the SINTERIT ATEX VACUUM
CLEANER option on the printer screen. This is the fastest way to clean the printer from powder (image 24).
10. Gently pour the contents of the Print Bed from the IO Box onto the Powder Chamber grid
1
(image 25).
11. Clean the IO Box using a brush and put it back in Drawer 2
8
.
POWDER HANDLING STATION Manual | 24
 Loading...