18
1
2
3
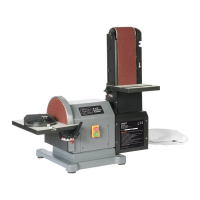
1.Remove the disc worktable, and
then remove the disc cover (1) by
removing six screws (2).
2.Remove the existing disc, and
clean any residue left on disc plate
(3). Only use mineral spirits to re-
move this residue.
3.Peel the plastic (4) back from new
sanding disc (5) and carefully press
sanding disc firmly in position around
the sanding plate. Make sure the
disc is centered on the plate.
4.Reinstall the disc cover, tighten
screws and place sanding table
back on unit.
4
5
Replacing the sanding belt.
Note: For your safety, turn switch OFF and remove the mains lead from the
electrical outlet before adjusting or performing maintenance on your
sander.
Note: Use only sanding belts that measures 4 in. (102 mm) in width / 36 in.
(914 mm) in length.
CARE AND MAINTENANCE….cont
11
A
B
C
D
E
F
K
G
H
I
J
1
2
3
4
2
5
1
1.Locate the worktable lock han-
dles (1) and washers (2).
2.Place the worktable (3) onto
the sander, aligning the semi-
circle slot (4) and the threaded
hole (5).
3.Put a washer (2) on the workta-
ble lock handle (1), insert
through the semi-circular slot
(4), and then tighten into
threaded hole (5), repeat on
the other side of the table.
Note: Always check to make sure both handles are tight before beginning
any sanding operations.
Attaching the disc worktable.
ASSEMBLY INSTRUCTIONS
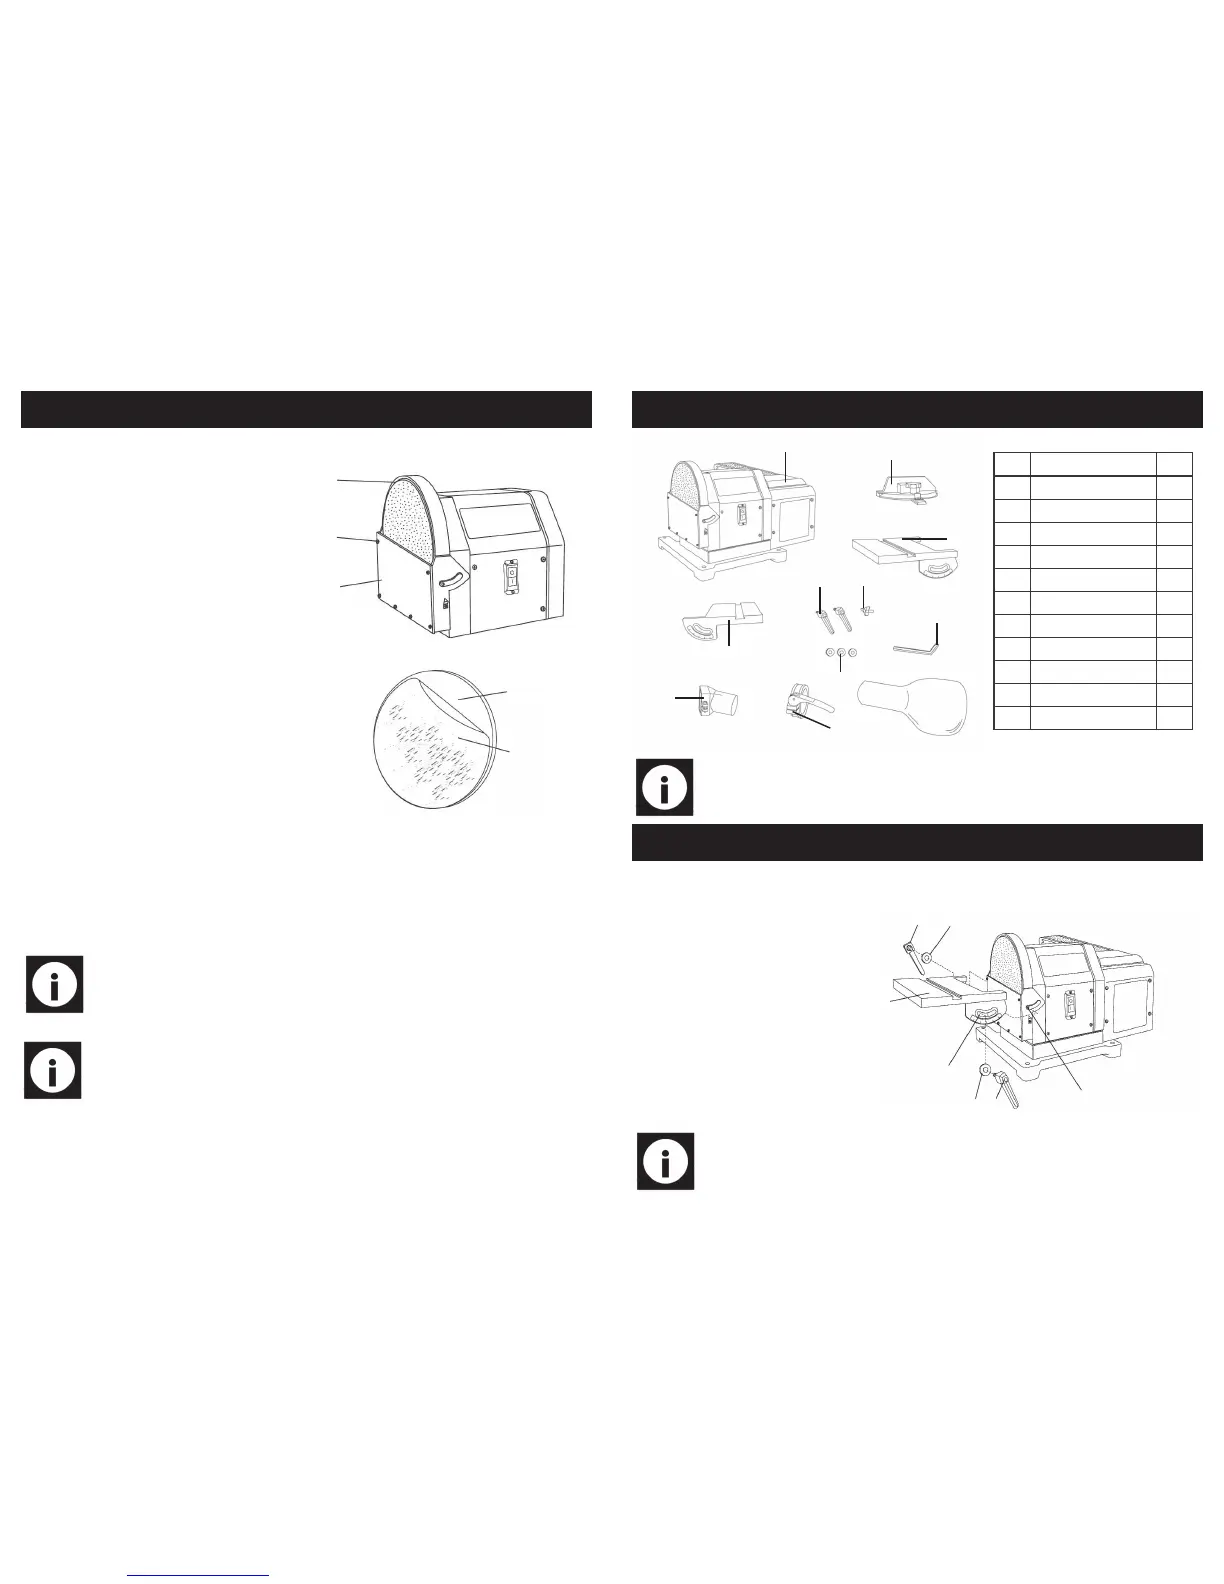
Ref. Description QTY
A Belt / disc sander 1
B Mitre guide 1
C Disc worktable 1
D Hex key 1
E Dust bag 1
F Washers 3
G Knob 1
H Lock handle 2
I Belt worktable 1
J Dust extraction port 1
K Dust bag clamp 1