20
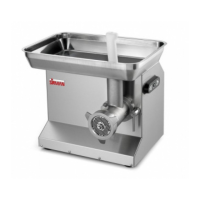
PHASE 3
- Insert the PE500 olyethylene slider (9) inside the aluminium profile
(11).
- The threaded pin (18) must slot through the hole (19) in the slider.
- Insert the pl xiglass slab (4) into the aluminium profile (11), positioning
it above the slider (9).
- Attach the pl xiglass slab (4) to the plate (6):
- insert the k ob (1) through the slotted hole on the slab (4);
- tighten t e knob (1) fully;
- insert the a uminium block (3) through the hole (19);
- fasten the a uminium block (3) to the plate (6), tightening the knob (2)
to the threaded pin (18)
P
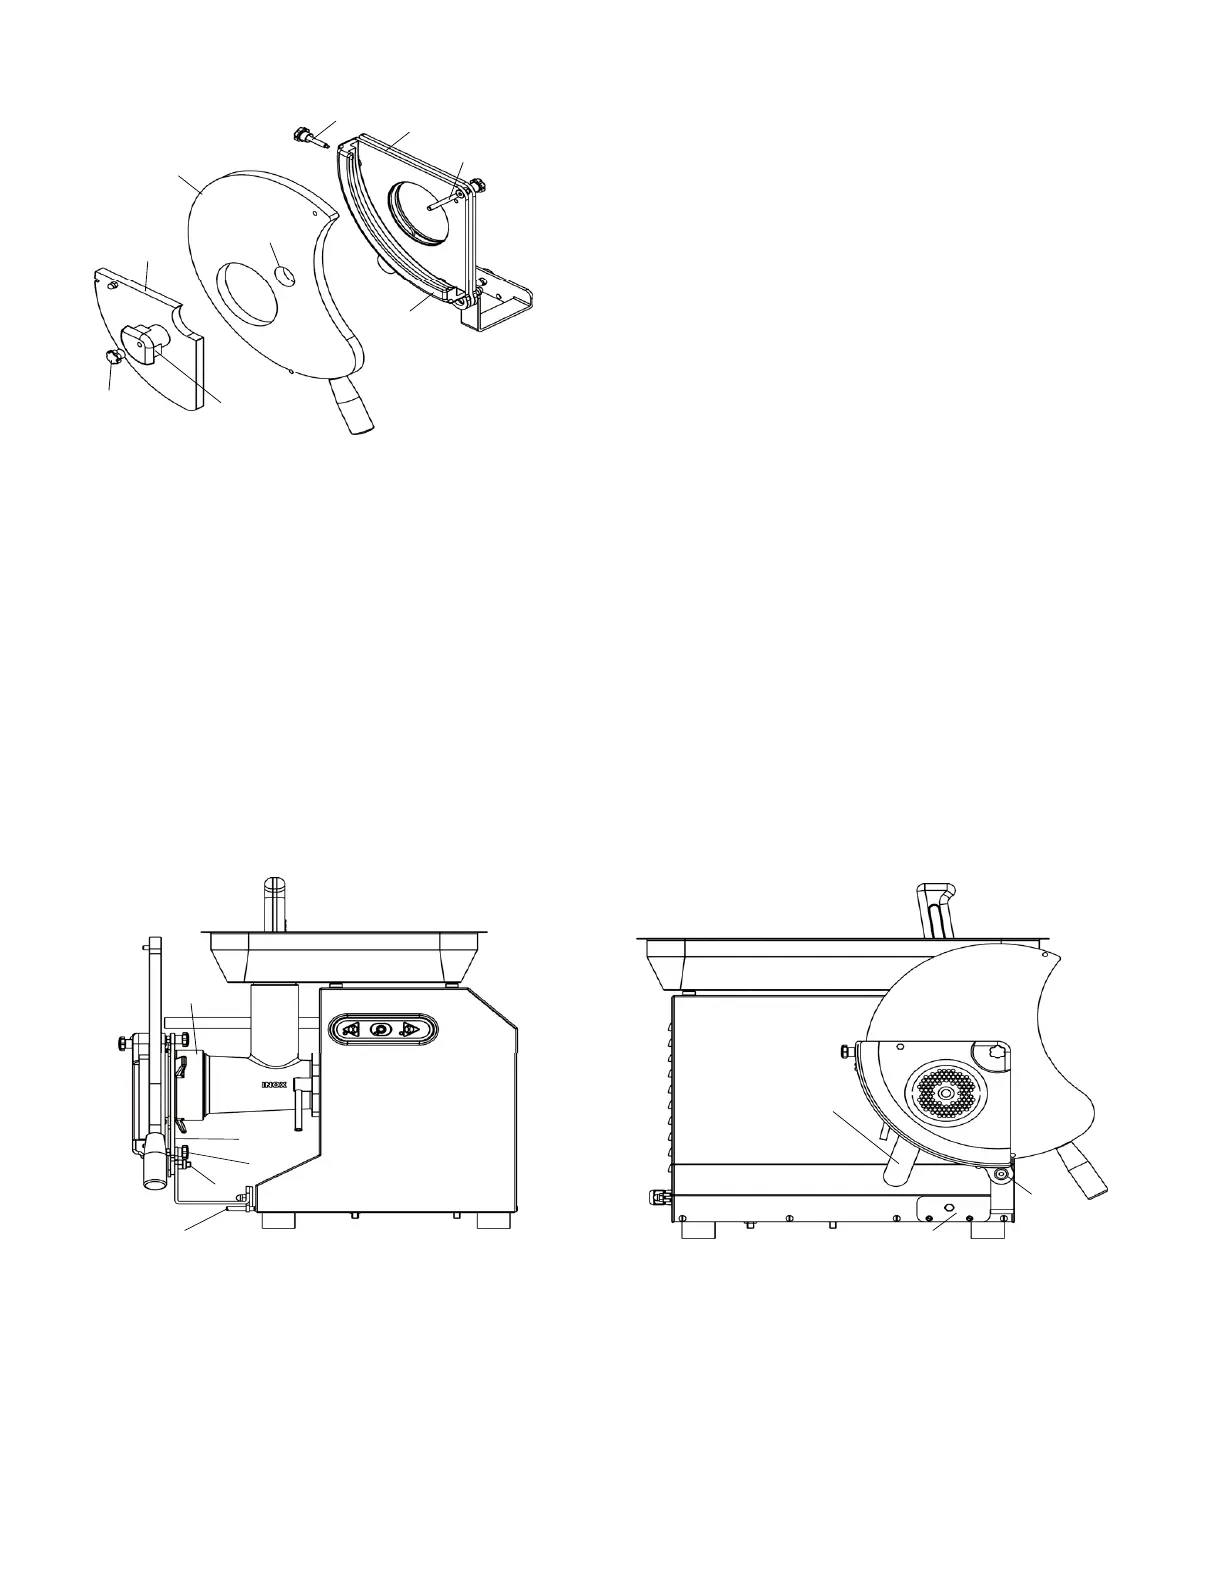
HASE 4 Adjusting the hamburger forming accessory on the meat grinder:
- Take a 5 mm
Allen key and a 13 mm fixed spanner
- Turn the lever (12) clockwise while holding the assembled hamburger forming accessory
- Attach the h mburger forming accessory to the meat grinder, positioning it against the ring nut
(13), through the hole on the rear plate (6)
- Push it until the wo pins (14) present on the casing slide through the two holes on the bracket
(5)
- Turn the lever (12) clockwise to lock the accessory on the ring nut
- Tighten the knob (7) and screw (8) with the relative self-locking nut (9)
The hamburger forming accessory will now be ready for use.
6.6.2 - Using the hamburger forming accessory
A
fter installing it correctly and fastening it to the meat grinder, the hamburger form-ing accessory
can be used.
WARNING! The operator must supervise the hamburger forming accessory while it operates
and during the hamburger production process.
1
Fig. 6.6.5
9
11
4
6
3
18
19
2
Fig. 6.6.6
14
9
7
13
6
8
Fig. 6.6.7
12
5
 Loading...