60 90 570 D 3485
D 3485.201.04.09.02 09.2007
5
List of Figures
båÖäáëÜ
båÖäáëÜ
List of Figures
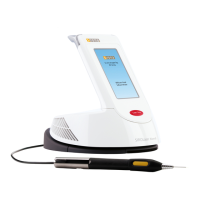
Figure 1: “LASER STOP” button ................................................................ 13
Figure 2: Plugging the Y-connector into the laser unit ............................... 19
Figure 3: Plugging the interlock connector into the Y-connector ............... 19
Figure 4: Connection of the interlock jumper to the interlock socket ......... 20
Figure 5: Foot switch .................................................................................. 20
Figure 6: Connection of the foot switch ...................................................... 20
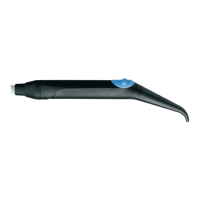
Figure 7: Distal part of the handpiece ........................................................ 21
Figure 8: Distal part with finger switch ....................................................... 21
Figure 9: Finger switch mounted on handpiece ......................................... 21
Figure 10: Optical fiber and guiding rings .................................................... 21
Figure 11: Connection of the finger switch ................................................... 22
Figure 12: Take-up device ........................................................................... 23
Figure 13: Connector ................................................................................... 23
Figure 14: Optical fiber with protection caps ................................................ 23
Figure 15: Optical fiber with magnet ............................................................ 23
Figure 16: Connecting the optical fiber ........................................................ 24
Figure 17: Protection cap on the laser unit. ................................................. 24
Figure 18: Inserting the optical fiber into the handpiece .............................. 26
Figure 19: Fitting the tip ............................................................................... 26
Figure 20: Adjusting the length of the optical fiber ....................................... 26
Figure 21: Sheath of the optical fiber is too long .......................................... 27
Figure 22: Power supply connection ............................................................ 27
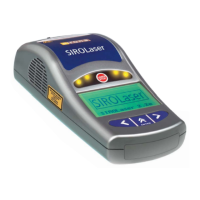
Figure 23: Key panel .................................................................................... 30
Figure 24: Example of a treatment submenu ............................................... 33
Figure 25: “MANUAL SETTING AREA” submenu ....................................... 35
Figure 26: Label positions, top view ............................................................. 53
Figure 27: Label position, rear view ............................................................. 53
Figure 28: Label positions, bottom view ....................................................... 54
 Loading...