8
7. Using a full-size fl at-head screwdriver, insert its tip underneath the ba ery
end nearest the case handle. Maneuver the screwdriver to apply an upward
force to the bo om of the ba ery until the double-sided tape adhesive on its
bo om releases its hold and the ba ery can be lifted from the case.
8. A ach the new ba ery to the ba ery harness connector by aligning the two
sides of the connector and pressing them together until they click.
9. Install the ba ery.
a. If installing a new ba ery (Cat. No. P75689), remove the protective strip
from double-sided mounting tape on the bo om of the new ba ery to
expose adhesive.
b. If reinstalling the existing ba ery, remove as much of the previous
adhesive as possible from the bo om of the ba ery. Remove the protective
strip from one side of a new two-inch piece of double-sided mounting
tape (available from SKC as Part No. 51872) and apply to the bo om of
the ba ery. Remove the protective strip from the tape’s remaining side to
expose adhesive.
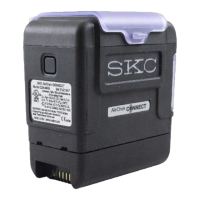
Ensure the battery harness wires on battery pack are facing away from the
case handle before inserting battery in case.
10. Align the ba ery in case (as shown above) before allowing the bo om of the
ba ery to come into contact with and adhere to the pump base plate. Press
down gently to ensure the ba ery pack adheres to the base plate.
11. From the case handle side of the pump, slide the ba ery bracket into place
until two openings in the bracket are aligned with the two screw holes in the
pump base plate.
12. Use needlenose pliers to align the two screws with washers with the screw
holes. Tighten screws using a small fl at-head screwdriver.
13. Replace the back of the pump case (serial number label should be in the lower
left corner) and tighten the four safety screws.
14. Replace the two strip panels and press them down until they are completely
installed.
STOP