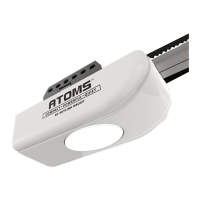
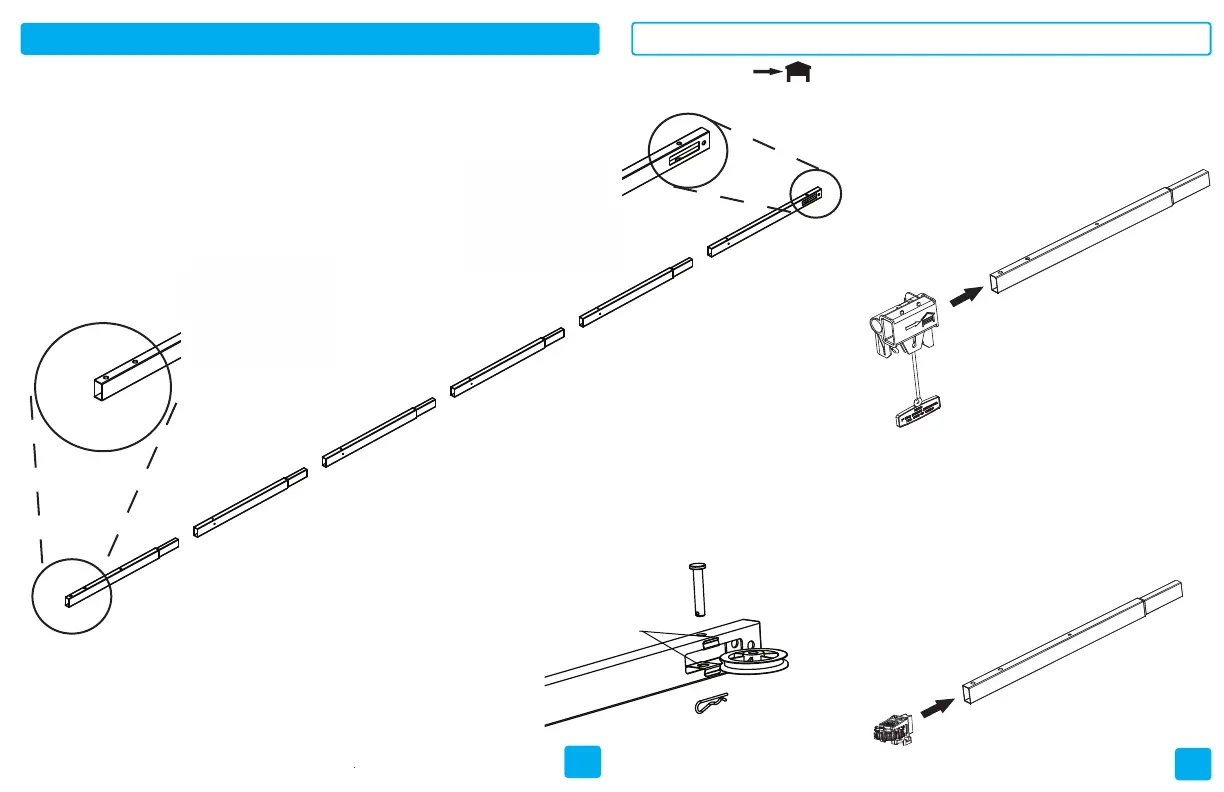
4. Install the Sprocket Assembly
Insert the sprocket assembly to the back rail section
(to Motor).
1. Connect the Rail Sections
Align the 6 Rail sections on the floor. Connect the rails together by sliding the taped ends to the untapped ones.
Slide the trolley from the back of the rail
as shown.
2. Install the Trolley Assembly
ASSEMBLE THE T-RAIL
ASSEMBLE THE RAIL
ASSEMBLE THE RAIL
9
9 1010
Back rail section (to Motor)
3. Install the Idler Pulley
Place idler pulley into the slot of the front rail section (to Door).
Insert the two spacers (C3) in the top and bottom of the slot.
Insert the clevis pin from the top through the rail and pulley
and connect with the hitch pin.
Rotate the idler pulley to be spin freely.
Please note the “ ” marking on the trolley which indicates this side to the door.
C1 (x1) Clevis Pin
C2 (x1) Hitch Pin
 Loading...