1312
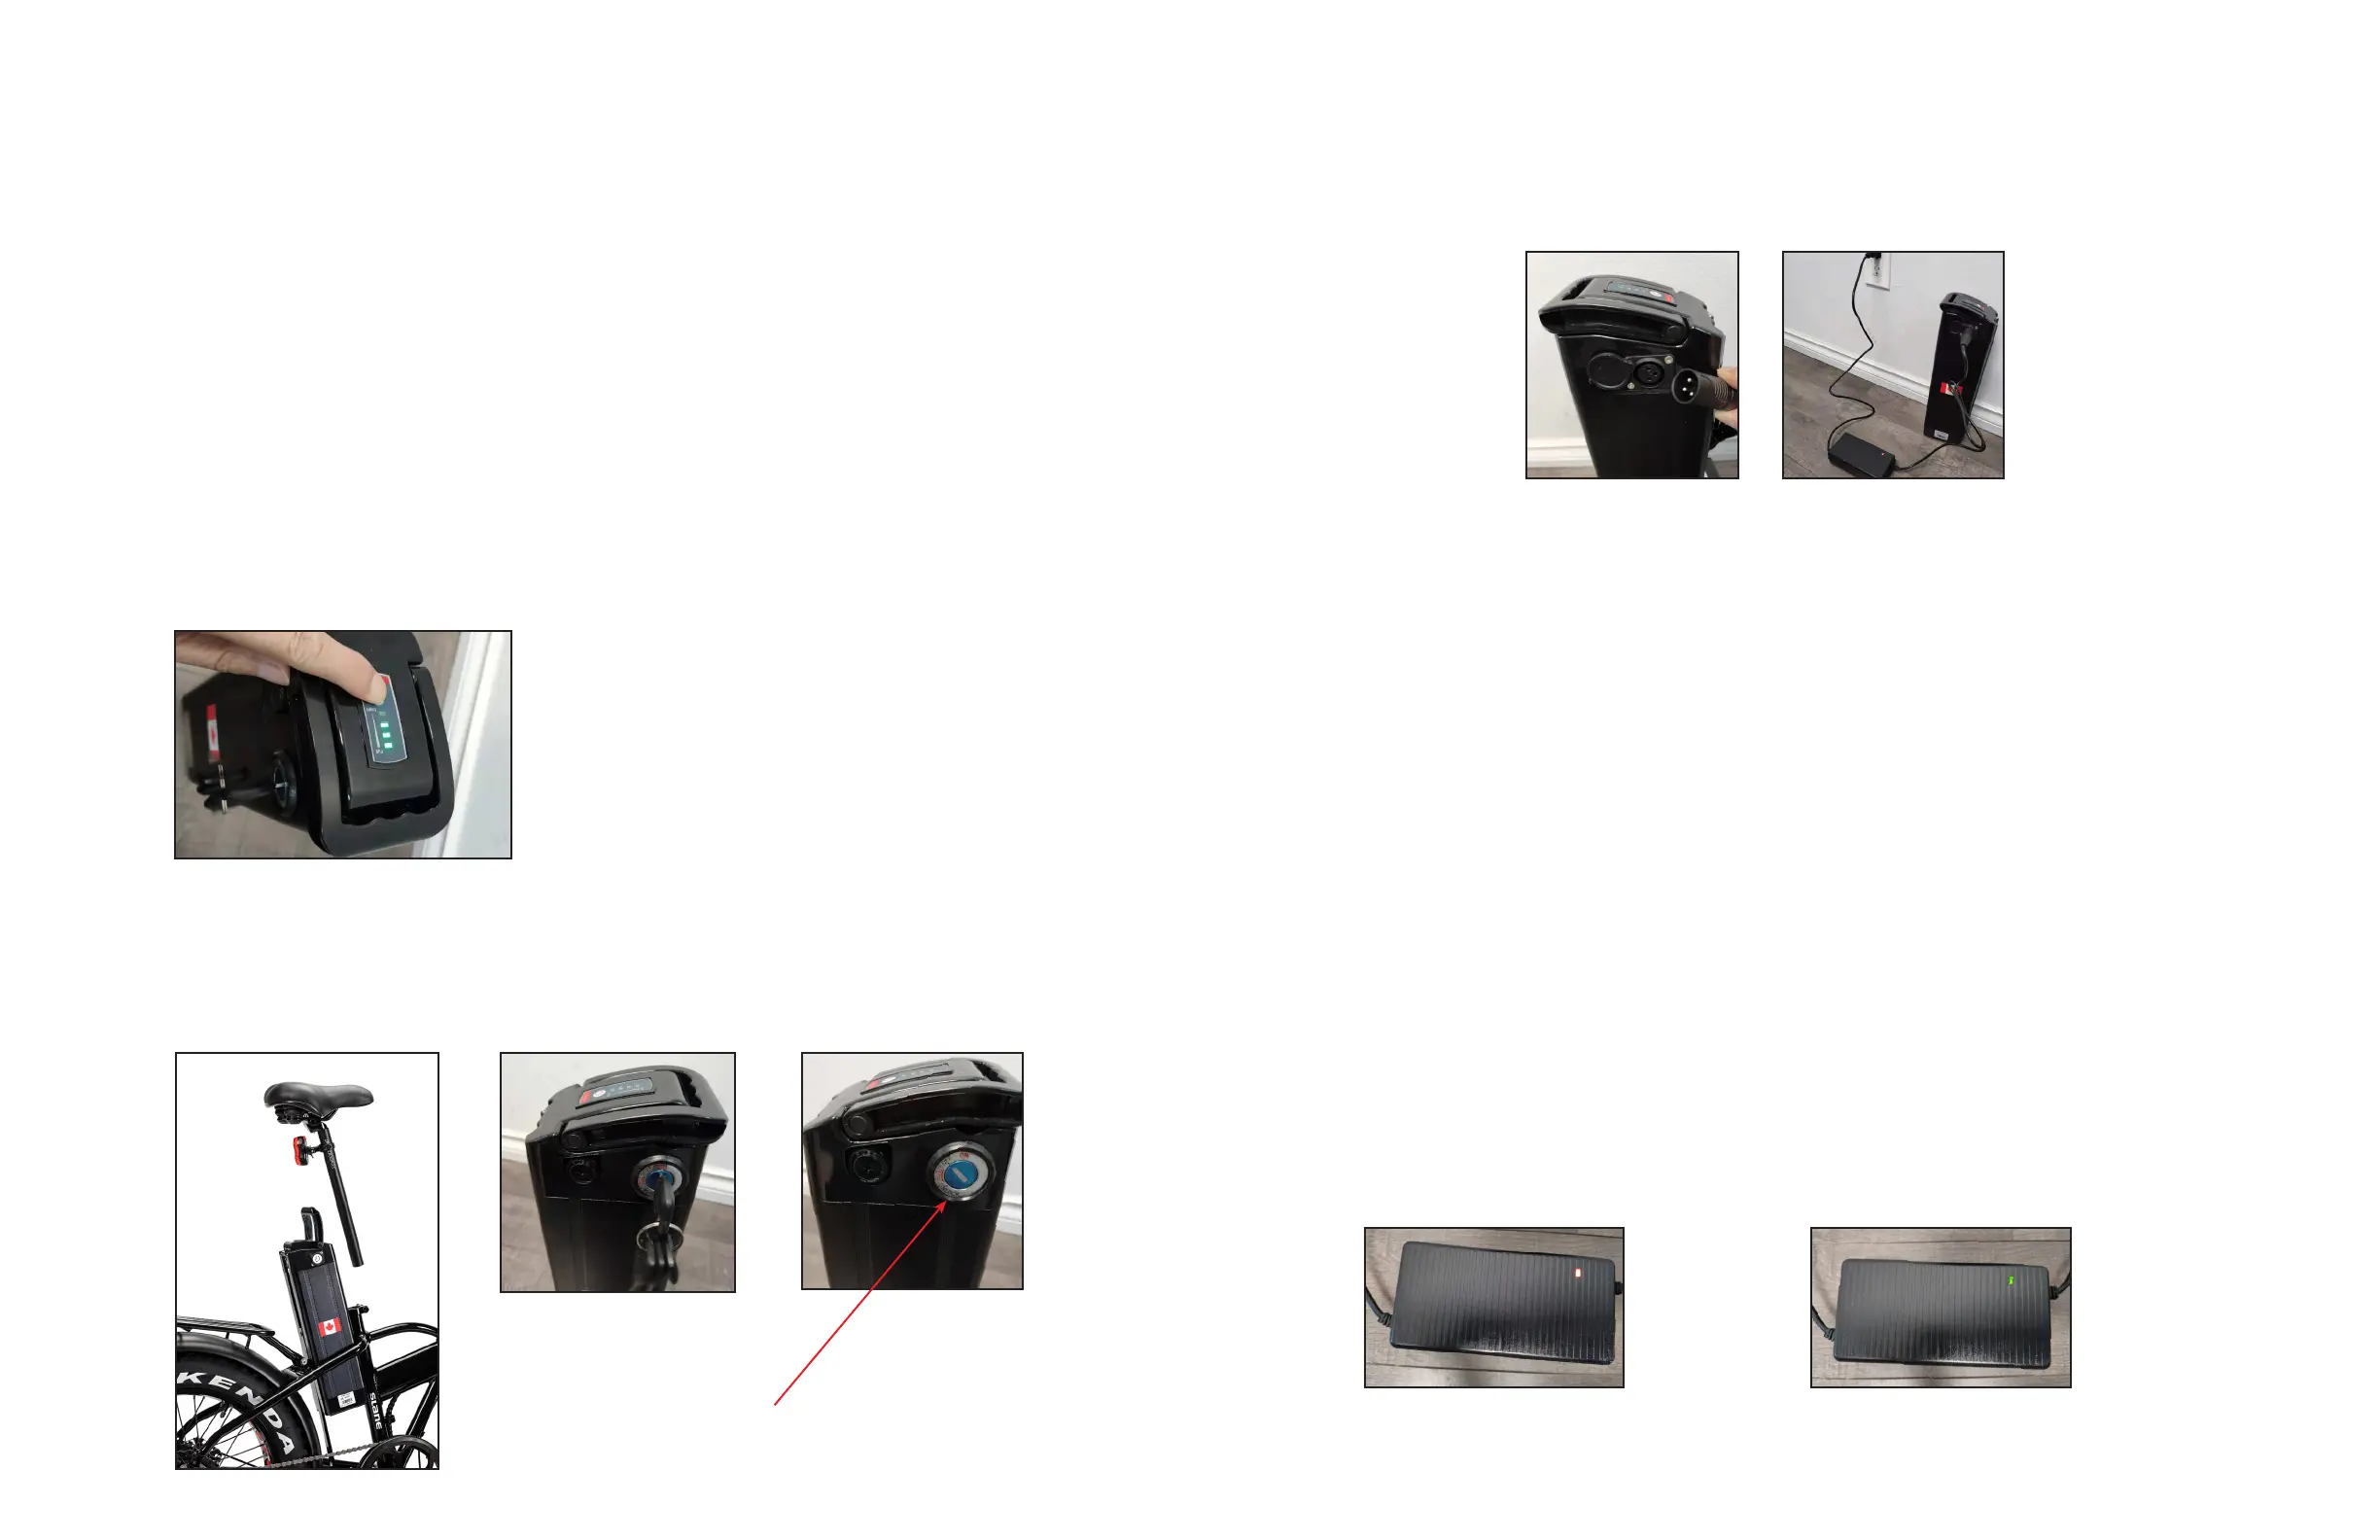
BATTERY CHARGING
DURATION OF BATTERY CHARGING
• When the input and output terminal are connected, the charger’s red indicator light
will light up to show that the power is connected.
• It will take 5-8 hours to charge the battery for the first time. When the charger’s
indicator light turns green, showing that the battery is fully charged, it will switch to
trickle charge mode to prevent over-charging. It takes 2-8 hours for regular charging.
• This charger has a protection device for over-charging. Long-time charging should
not be more than 24 hours because it will affect the lifetime of the battery.
Check the battery pack before using it for the first time.
• The charger doesn’t need to be grounded.
• During charging, place the charger in a safe location out of the reach of children
• The battery pack is supplied partially charged. To ensure full battery pack capacity,
completely charge the battery pack before using it for the first time.
• Retailers should charge the batteries as soon as receiving the E-Bike from the supplier.
• Even with proper care, rechargeable batteries do not last forever. Every time a battery
is discharged and subsequently recharged, its relative capacity decreases by a small
percentage. You can maximize the life of your battery by following the instructions
in this manual (see PAGE 17).
• Fully charge the battery once you receive it for the full recommended charge times.
Lithium battery recommended charging time: 6-8 hours.
• For a complete,100% charge, leave the battery on the charger for one full hour after
the charger indicator light turns green.
• Never charge batteries for longer than 24 hours.
• Li-ion batteries do not have a “memory.” Partial discharge/charge cycles will not harm
the battery’s capacity or performance.
Red Light
Indicator:
Charging
Green Light
Indicator:
Charged
ALWAYS KEEP
BATTERY IN UPRIGHT
POSITION
• Always be sure to turn the bike power switch to “OFF” after each use. If you leave
the power switch in the “ON” position or your product has not been charged for an
extended period, the battery may reach a stage when it no longer holds a charge.
• Do not use other brands to charge this battery. Do not use this battery for a different
brand of E-Bike.
• The charger has a 110V circuit; please do not dismantle.
• When the charger is being used or stored, prevent liquid or metal from entering the
charger. The charger should be free from falling over to avoid injury.
• When using the charger, it should be left unobstructed.
• The charger is for indoor use only. When in use, keep it in a dry, well-ventilated area.
• If you detect an unusual odour or the temperature is too high during charging, stop
charging immediately and send it back to the sales department for inspection/repair.
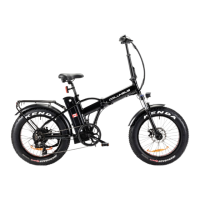
• Switch off power and remove the key.
• Remove (rotate to open) rubber stopper in the charging hole. Plug the output plug
of the charger into the socket of the battery box. Then plug the power input plug
(110-220V) into a household power socket to start the charging process.
• After charging is finished, pull out the power input plug (110-220V),
then pull out the output plug.
WARNING! USE THE ATTACHED CABLES OF THE BATTERY CHARGER
FOR THE BATTERY-CHARGER ONLY!
NOTE: YOU CAN CHARGE THE BATTERY WHILE IT’S ON THE BIKE
(DURING RIDING SEASON)
OR REMOVE THE BATTERY AND CHARGE IT INDOORS
(IN COLDER WEATHER/WINTER MONTHS).
UNLOCKING AND REMOVING THE BATTERY
• Open the quick-release lever on the saddle tube and remove seat and seat post.
• Insert key on the battery case and turn to unlock position.
• Lift the handle on the battery case and carefully lift the battery out.
Before every ride, always check the battery
capacity display on top of the battery case
Turn Key to UNLOCK