3.
Setting Up The Instrument
Editing System Parameters
WARNING: LOCATE A SUITABLE TESTING AREA WITH A THREE-PRONG, GROUNDED OUTLET. BE SURE
THAT THE THREE PRONG OUTLET HAS BEEN TESTED FOR PROPER WIRING. MAKE SURE YOU READ THE SAFETY
CHECKLIST OF THIS GUIDE BEFORE USING THE INSTRUMENT.
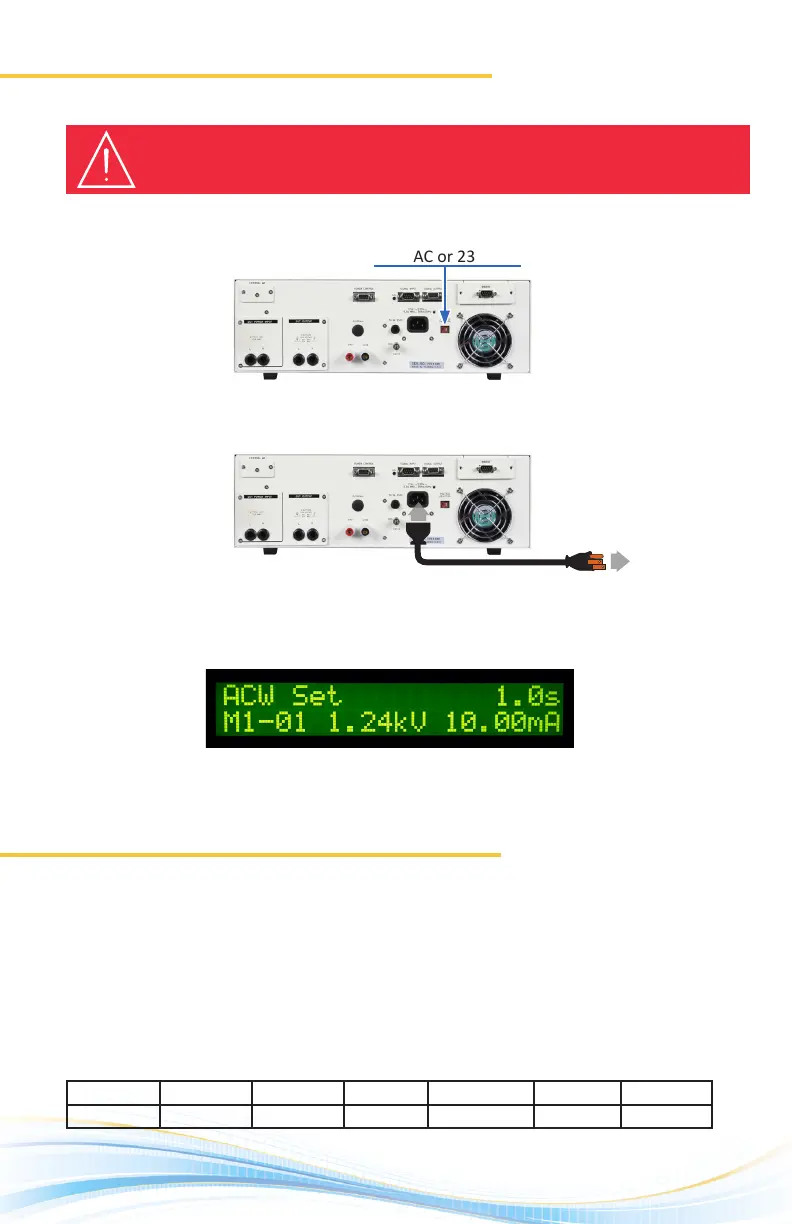
1. Adjust the line voltage select switch on the rear panel of the instrument to the
appropriate input voltage rang, either 115 VAC or 230 VAC.
2. Connect the female end of the standard NEMA style line power (mains) cord into the
input power receptacle on the rear panel of the instrument and plug the male end of
the cord into a grounded power source.
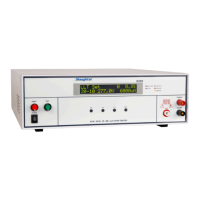
3. Turn the instrument power switch ON. Upon power up, you will see the Slaughter
Company name, Model Number, and current soware version briey appear on the
LCD display and then you will see the default test parameters as follows:
Congure the instrument system parameters to your preferences. The instrument
system parameters are global and will aect all tests that are performed regardless of
memory locaon and memory step.
1. Press EXIT from the Perform Test screen to edit the system parameters.
2. Press the SET key to toggle through the parameters and use the up or down arrow
keys to edit the parameters.
Default system parameters shown below:
(Perform Test Screen)
To Grounded
Power Source
PLC Remote Single Step Fail Stop Lock Memory Lock Alarm DUT-HV Set
OFF OFF OFF OFF OFF 5 ON


 To Next Page