Installation instructions – wireless door activated light switch 23
releasingthebutton.IftheLEDbeginstoashwhilepressingthebutton,
then the wireless switchable lamp socket is not linked.
6. Press ‘Code’ and then press ‘Generate new code’.
7. In the upper right corner of the screen, press ‘V’ (Android) or ‘Save’ (iOS) to
conrm.Themessage‘Theswitchhasbeenaddedsuccessfully’appears.The
wireless switchable lamp socket has been added.
Adding the magnet contact to the HomeWizard
1. Open the HomeWizard app on your Smartphone or tablet and press the
‘Menu’ button in the upper left corner of the screen.
2. Tap on ‘New Sensor’.
The category screen appears.
Tip!Moveyourngeracrossthescreentosearch.
3. Press ‘Contact sensor’.
4. Tap on ‘Name’.
Fill in a preferred name for the device and press ‘OK’ (Android) or ‘Ready’
(iOS).
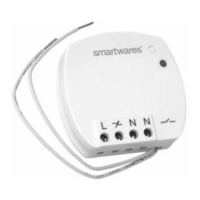
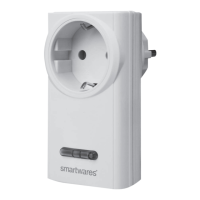
Adding the wireless switchable socket to the HomeWizard
To perform the steps in this chapter, you must be in possession of a
HomeWizard. Both the HomeWizard and the HomeWizard App need to be
installed and functioning. For more information, see the manual of your
HomeWizard.
To add the wireless switchable lamp socket to the HomeWizard, do the
following:
1. Open the HomeWizard app on your Smartphone or tablet and press the
‘Menu’ button in the upper left corner of the screen.
2. Tap on ‘New Sensor’.
The category screen appears.
Tip!Moveyourngeracrossthescreentosearch.
3. Tap on ‘Switch’.
4. Tap on ‘Name’.
Fill in a preferred name for the device and press ‘OK’ (Android) or ‘Ready’
(iOS).
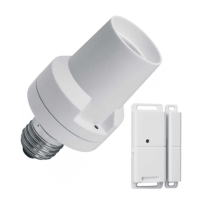
5. Press the button on the wireless switchable lamp socket for 3 seconds and
thenreleaseit.TheLEDwillstartashing.Thewirelessswitchablelamp
socket is now in connecting mode. Note! TheLEDmightashafter
22 Installation instructions – wireless door activated light switch
 Loading...