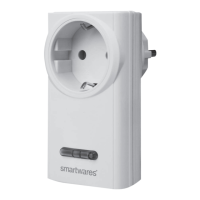
Adding the wireless switchable lamp socket to the HomeWizard App
1. In the Home screen of the HomeWizard app press ‘Switches & Dimmers’.
A drop-down list appears with the wireless switchable lamp socket that you
added.
2. Press ‘ON’ to turn on the wireless switchable lamp socket or press ‘OFF’ to
turn off the wireless switchable lamp socket.
User’s tip! Wireless switches can also be added with HomeWizard to:
1. A timer
Devices connected to HomeWizard can perform an action on a certain
day and moment in time determined by you.
Example: During the week, you don’t want to come home to a dark house
andyouthereforendtheideabrilliantthatthelightswillbeswitchedon
automatically. This can be done using a timer.
2. An action
With an action you can bring devices linked to HomeWizard to perform
one action.
Example: You have a contact sensor hanging at the front door. The moment
the door opens, you want the light of the corridor to switch on
automatically. This can be set in just one action. Via the HomeWizard you
can also set whether or not the action should be active: for example, only
when you are not at home.
5. Place the contact sensor and the magnet against each other.
6. Press ‘Code’ and then press ‘Learn code’.
7. Take the contact sensor and the magnet apart. The contact sensor has been
added when the message “The code was successfully received” appears.
Note! Keep the contact sensor near the HomeWizard while adding.
8. In the upper right corner of the screen, press ‘V’ (Android) or ‘Save’ (iOS) to
conrm.Themessage‘Thecontactsensorhasbeenaddedsuccessfully’
appears. The contact sensor has been added.
IInstallation instructions – wireless door activated light switch 2524 Installation instructions – wireless door activated light switch
 Loading...
