Doc. no. AMX-OMU0058-C
-19-
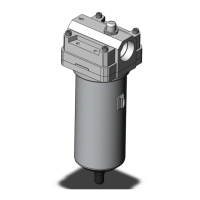
F) Remove the internal assembly which is mounted in the bowl.
G) Mount a new internal assembly for auto drain to the bowl.
Note: Mount the internal assembly so that the octagonal corners are not stuck to the square
hole of the bowl.
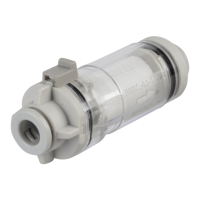
H) Mount the removed drain port spacer.
I) Rotate the new drain cock assembly in the direction shown by the arrow below by hand, and
tighten it lightly.
J) Rotate the lock nut by using a spanner or monkey wrench while lightly holding the internal
assembly (chamber head).
Tightening torque of the lock nut is 2N・m.
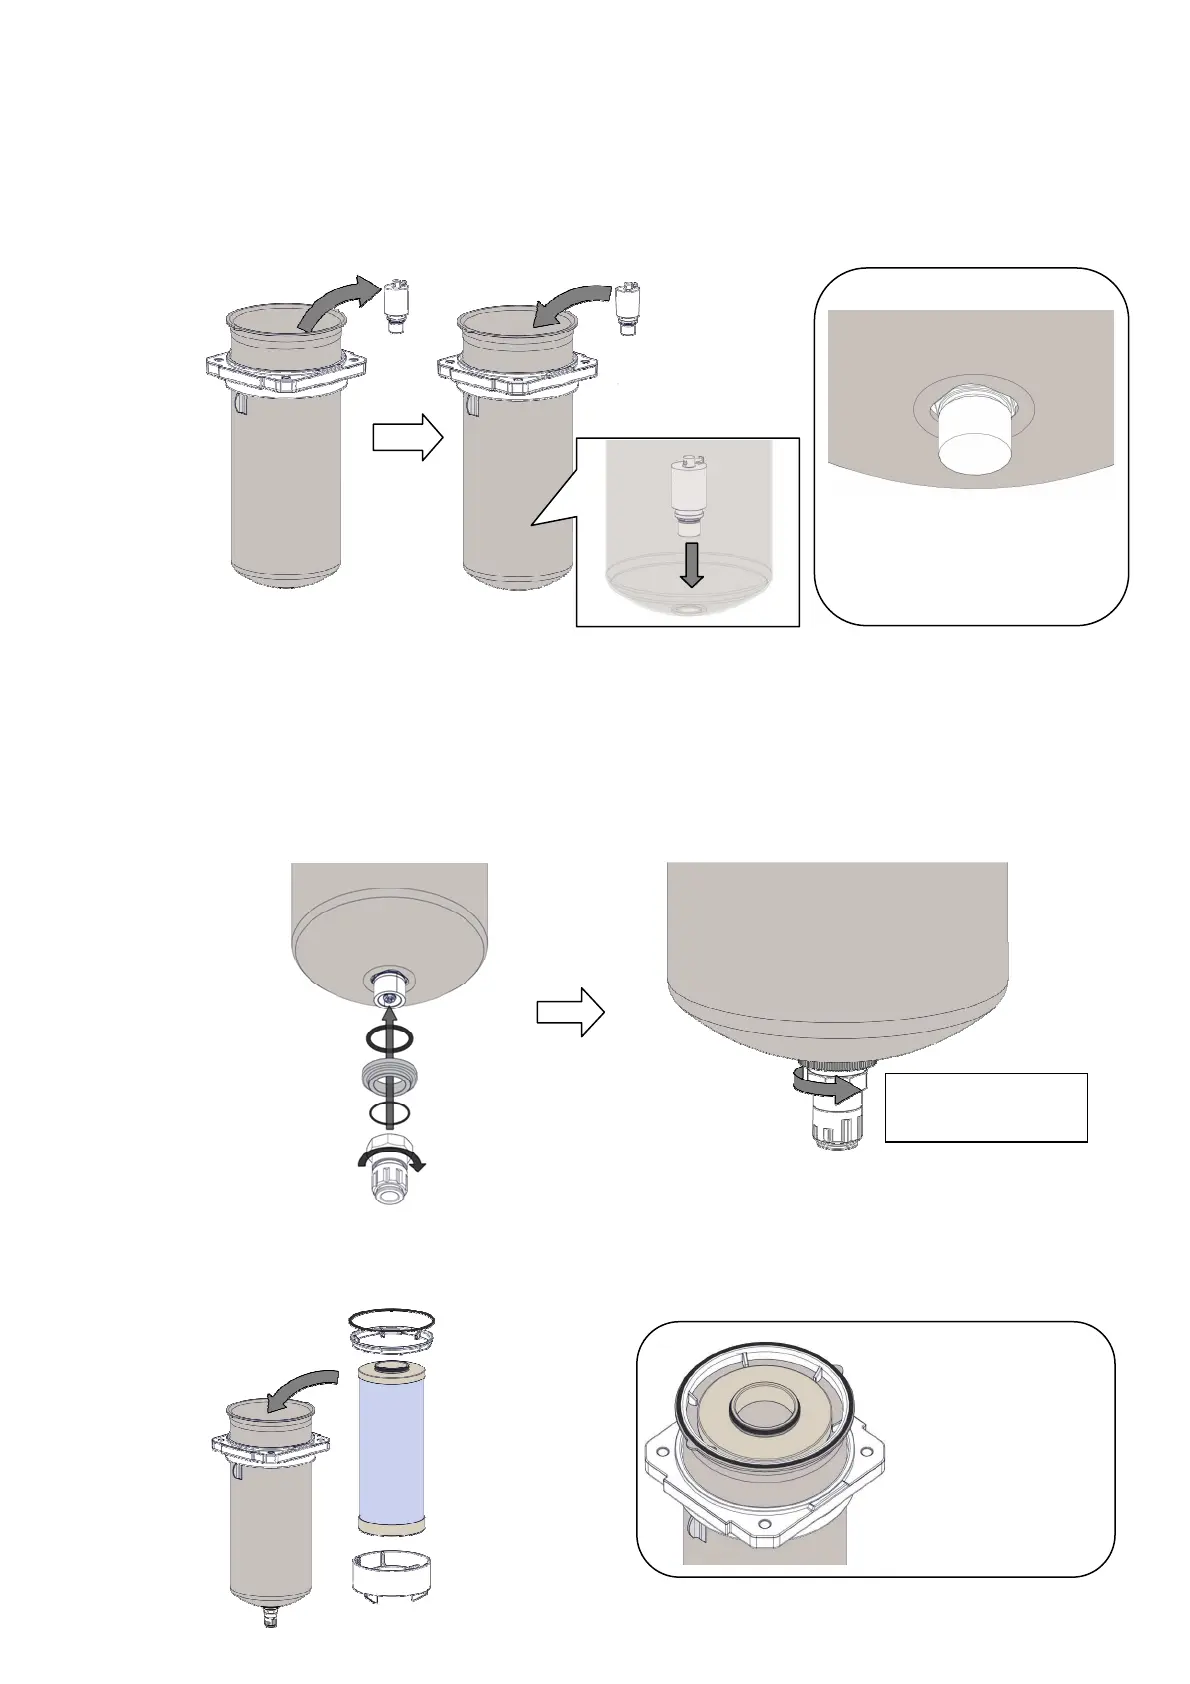
K) Insert the guide and element in order, and mount the O-ring for the bowl.
If the support ring was removed, mount the support ring before the O-ring for bowl.
Note: Ensure that the element inserting direction is correct.
F)
G)
~Point~
Make sure that all the octagonal
corners of the internal assembly
are exposed from the square
hole of the bowl.
【Tightening torque】
2N
・
m
H) I)
J)
Tighten lightly.
K)
Guide
O-ring for the bowl
Support ring
~Point~
Make sure that the
O-ring for the element
is facing upward.
 Loading...