EasyManua.ls Logo

Smith R200F - User Manual

Default Icon
2 pages
Print Icon
To Next Page IconTo Next Page
Loading...
1. Assemble Hose To Tank
IMPORTANT: Do not attempt to heat or alter
hose, hose nut, or barb prior to assembly.
1. Align hose barb tabs, push hose barb into tank
until it stops (See Figure A).
2. Slide hose nut into place and turn clockwise to
tighten. (See Figure B).
NOTE: Do not use tools to tighten hose nut.
Figure A Figure B
3. Assemble Shut-o to Wand
Screw on Wand Assembly to end of Shut-o
and tighten securely. (See Figure D)
Figure D
2. Assemble Wand & Nozzle
Place nozzle onto the end of the
wand assembly and tighten securely.
(See Figure C)
Conguration for
nozzle tip sprayers
Figure C
SETTING UP YOUR FOAMING
R200F SPRAYER
190456
Question and Answer IconNeed help?

Do you have a question about the Smith R200F and is the answer not in the manual?

Summary

Setting Up Your Foaming Sprayer

Assemble Hose To Tank

Connect the hose barb to the tank, aligning tabs, and hand-tighten the hose nut clockwise.

Assemble Wand & Nozzle

Attach the nozzle securely to the end of the wand assembly.

Assemble Shut-off to Wand

Screw the wand assembly onto the shut-off mechanism and tighten securely.

Parts Included

Major Assemblies

Components like the shut-off assembly and the 21" stainless steel wand assembly.

Nozzle Components

Includes various nozzle tips (high volume, low volume, high foam) and the nozzle cap nut.

Accessories and Documentation

Contains carrying strap, foaming nozzle card, flat seal, and warranty card.
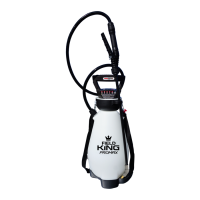
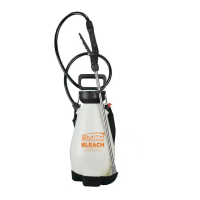
Smith R200F Specifications

General IconGeneral
BrandSmith
ModelR200F
CategoryPaint Sprayer
LanguageEnglish

Related product manuals