ZBJP1B rev B 06/11/2014
UJP1 - Operating Instructions
Universal Joint Installation
(Refer to the safety information section for required safety instructions.)
1. Securely support the drive shaft yoke assembly.
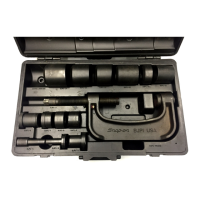
2. If necessary, select one or a combination of adapters (BJP1-1A, BJP1-7A, BJP1-8A) to assist in
replacing the new U-joint.
3. Carefully follow the manufacture’s instructions for lubrication of the new U-joint.
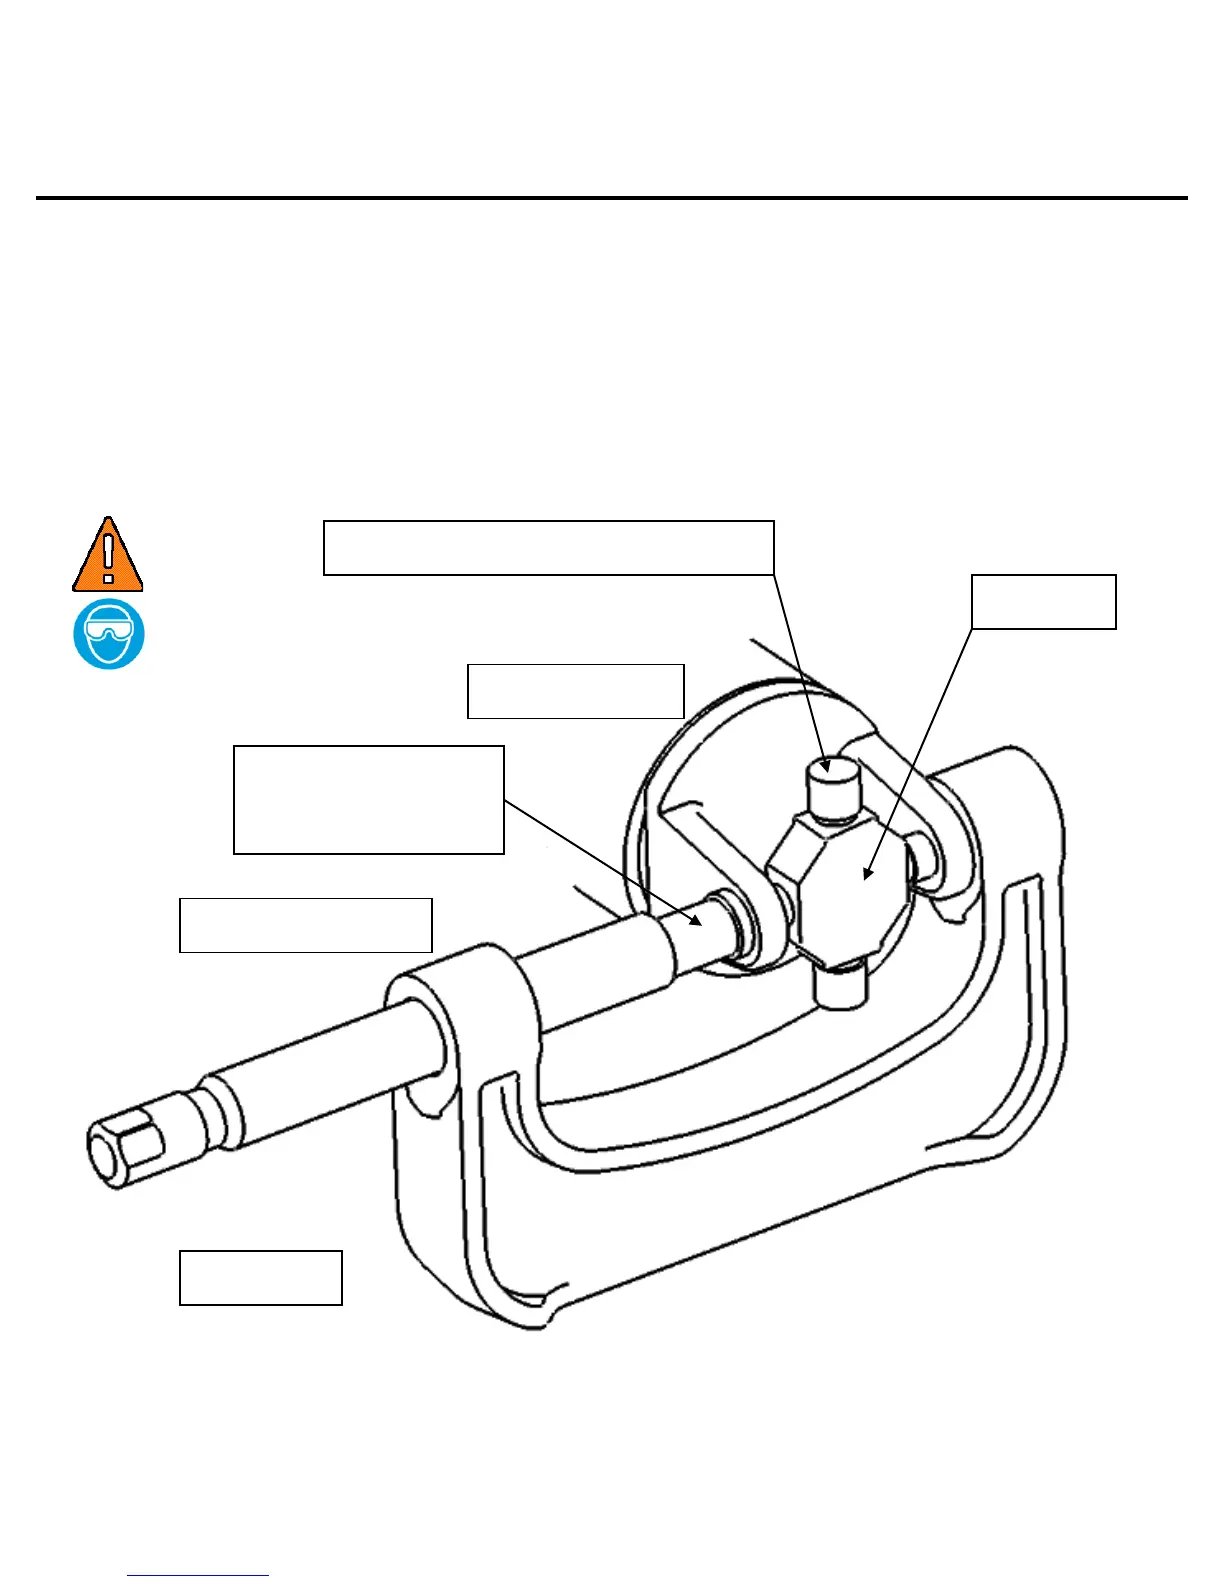
4. Position press assembly around drive shaft yoke and align pressure pad with face of needle
bearing caps, as shown in FIG. 7.
5. Tighten pressure screw until one side of U-joint has been completely pressed into assembly.
6. DO NOT OVER TIGHTEN. Damage to U-joint and reduced service life may occur.
7. Reposition press assembly, in the same manner as step-4, and tighten screw until the other
side of the U-joint has been completely pressed into yoke assembly.
WARNING
Snap-on is a trademark of Snap-on Incorporated
©2004 Snap-on Incorporated. All Rights Reserved.
Kenosha, WI 53143 Printed in U.S.A.
U-JOINT NEEDLE BEARING CAPS
BJP1-4A
U-JOINT PRESSURE
PAD