snapnrack.com
21
Module Installation
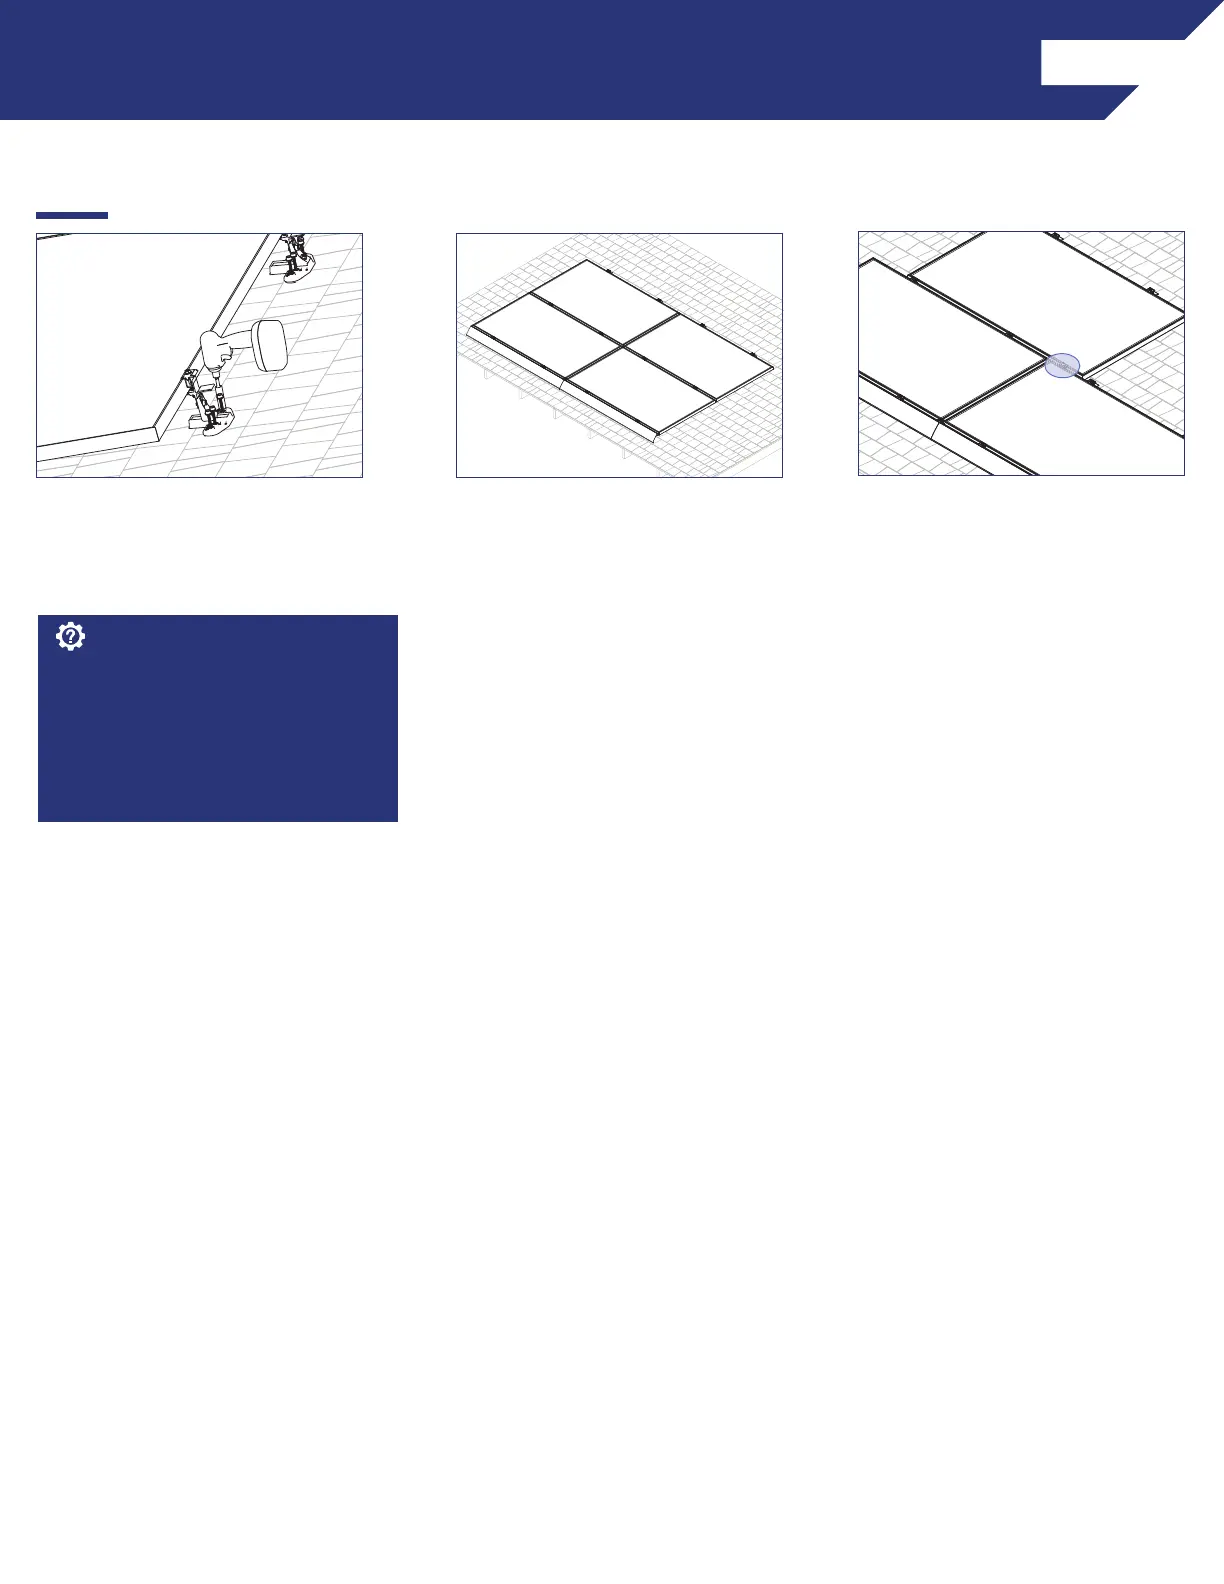
INSTALLATION INSTRUCTIONS - BOTTOM ROW
5) Lower the module to the roof and
drive the (4) pre installed Snapnrack
#14 Wood Screws with 1/2" hex
head into the roof sheathing.
6) Repeat steps 1 through 5 for
additional modules in the array.
Roof sealant should be expelled from both
vents of the TopSpeed™ Mount as it is
installed to assure the proper amount of
roof sealant has been applied. If sealant
is not expelled from both vents, remove
TopSpeed™ Mount, add more sealant to
the cavity, then reinstall.
Install Note:
7) For staggered arrays and arrays
with mixed orientation, use the
TopSpeed™ Clamp as needed to
support the modules.
When installing a TopSpeed™ Clamp
for support of an over cantilevered
module, the clamp shall be installed
2-6” from the edge of the upslope
(cantilevered) module.
 Loading...