snapnrack.com
24
Maintaining the Grounding Bonding When
Removing a Module
JUMPER ASSEMBLY INSTRUCTION & INSTALLATION
CAUTION: Do Not Remove the Module until the Jumper is installed
3) Before the module is removed,
attach the assembled bonding
jumper. Depending on where the
module will be removed and choice
of ground lug, jumper attachment
locations will vary.
• SnapNrack Ground Lug part
no. 242-92202 or Ilsco SGB-4
lugs can be attached to module
frames or anywhere on the
TopSpeed™ Mount.
• DynoRaxx DynoBond™ is
approved and appropriate
when a short bonding jumper is
needed from module to module.
1) Identify the existing ground path
at the location of module removal
and choose an appropriate length of
#10 bare copper to bridge the soon
to be broken ground path.
2) Attach one ground lug to each
end of #10 bare copper wire. See
recommended options below:
1. (2) SnapNrack Ground Lug part
no. 242-922022
2. (2) Ilsco part no. SGB-4
3. (1) DroRaxx DynoBond™
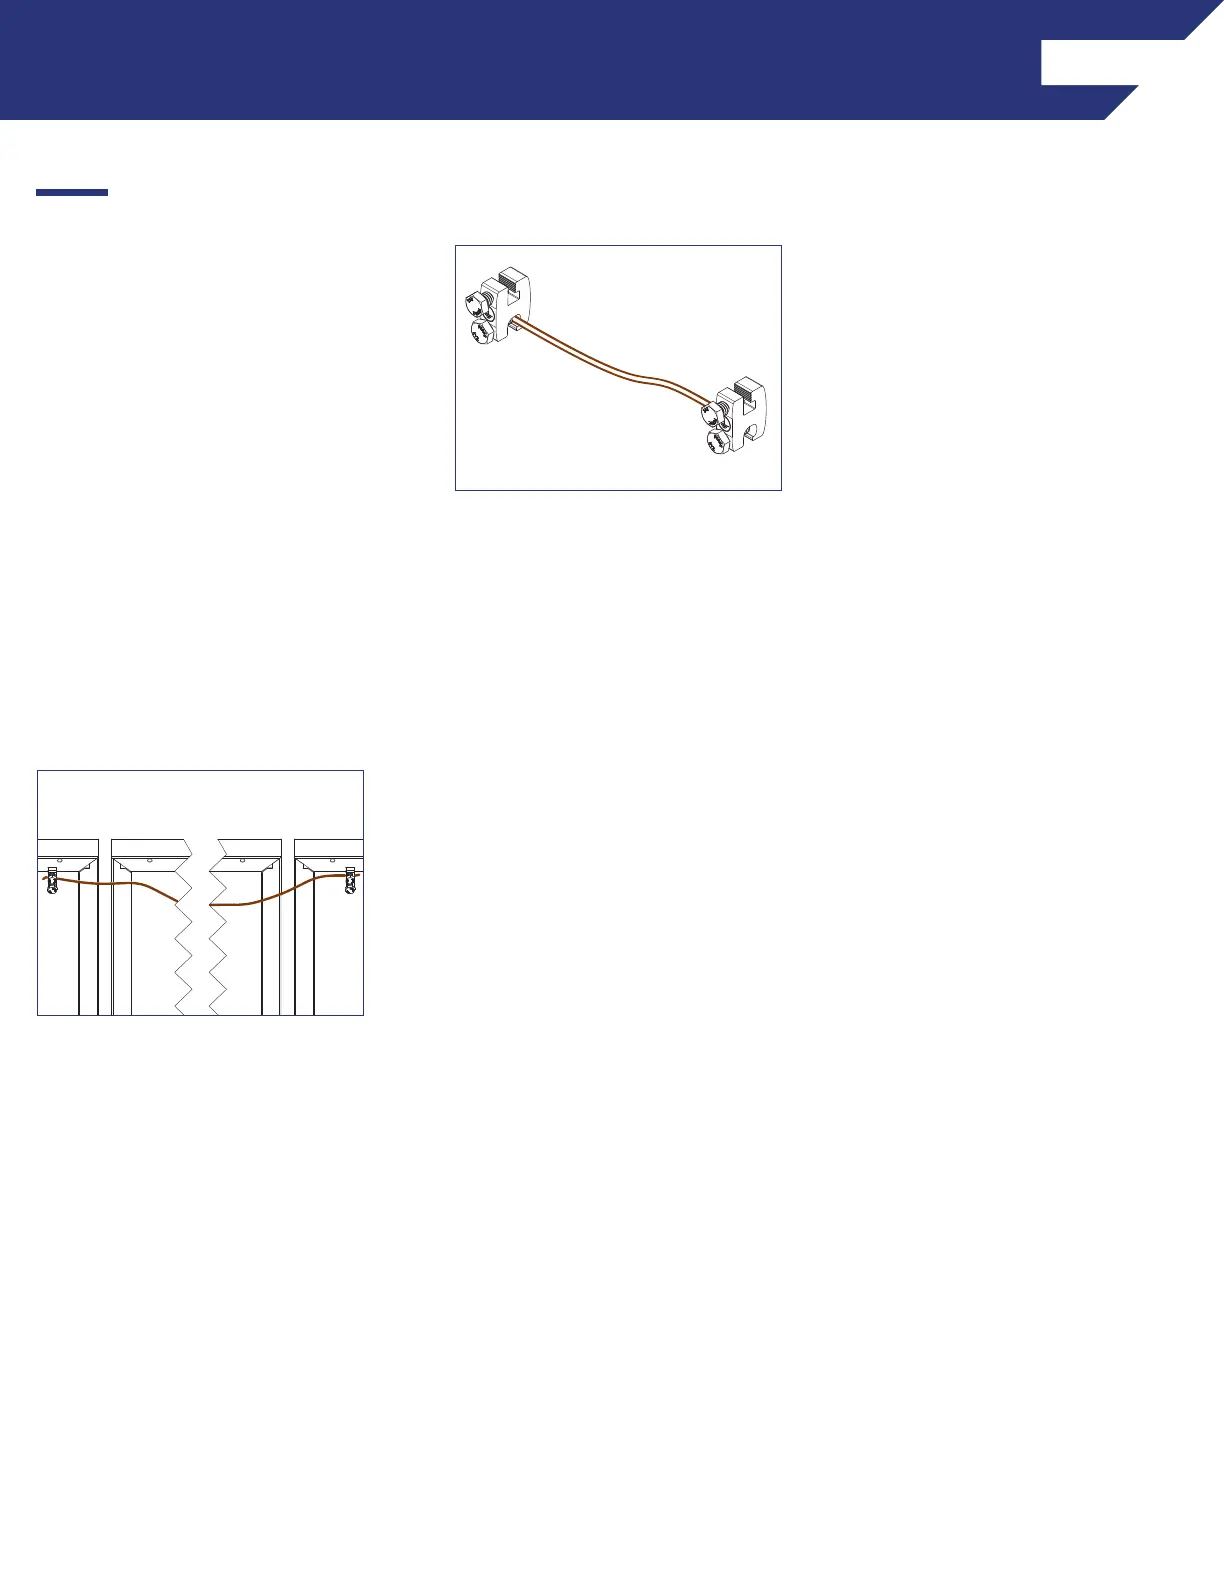
Example of assembled
bonding jumper using (2)
SnapNrack Ground Lugs
4) Service the array. With the
bonding jumper installed, it is now
safe to remove the module for
service or maintenance.
5) After Servicing the array reinstall
the module and original ground
path. Only then Remove the bonding
jumper.
Caution: Do not remove the bonding
jumper until original ground path is
established.