32
Section 4 - ADJUSTMENT & REPAIR
WARNING
Never attempt to charge the battery while it is
installed on the machine. DO NOT use “BOOST”
chargers on the battery.
4.5.5. BATTERY TESTING
1. Remove battery. Refer to section “BATTERY
REMOVAL”.
2. Using a voltmeter, check the battery’s state of
charge by comparing the voltmeter reading with the
chart below. (Remember to hook the positive (red)
lead of the voltmeter to the battery’s positive terminal,
and the negative lead to the negative terminal.)
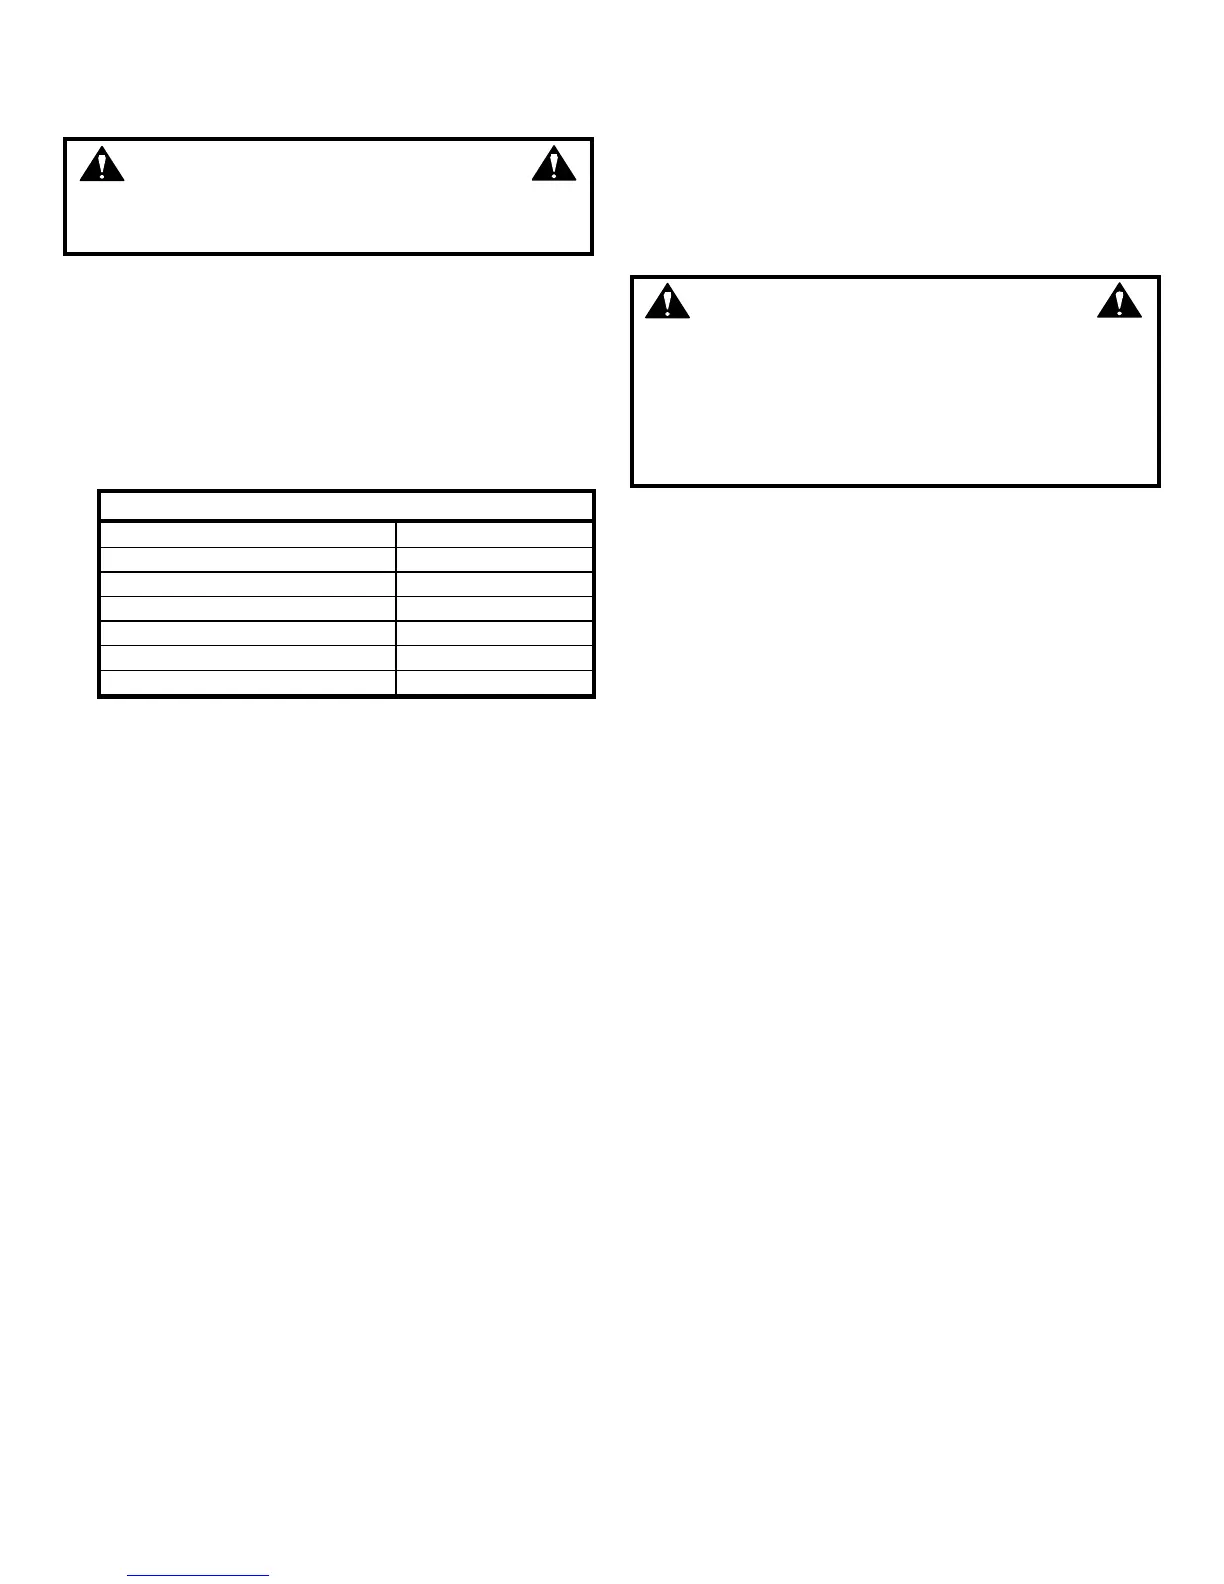
Battery Condition Chart
State of Charge Digital Voltmeter
100% Charged w/ Sulfate Stop 12.80v
100% Charged 12.60v
75% Charged 12.40v
50% Charged 12.10v
25% Charged 11.90v
0% Charged Less than 11.80v
4.5.6. NEW BATTERY PREPARATION
1. Remove battery from carton.
2. Place battery in a well ventilated area on a level,
non-concrete surface.
3. Check date on battery label. If battery is placed into
service after the date shown, charge battery. Refer to
section “BATTERY CHARGING”.
4. After charging (if required), slide battery partially
into battery housing.
5. Connect positive (+) cable (red) first, from wiring
harness to the positive terminal (+) on battery using
bolt and nut provided in hardware bag. Connect
negative (-) cable (black) last, to negative terminal (-)
on battery using bolt and nut. Apply a small amount of
grease over terminals to prevent corrosion.
6. Insert battery completely into battery housing.
7. Reinstall seat assembly.
WARNING
Shield the positive terminal with terminal cover
located on battery harness. This prevents metal from
touching the positive terminal, which could cause
sparks. Cables must be connected to battery
terminals in the proper position. RED (Positive) cable
must go to the ( + ) terminal. BLACK (Negative) cable
must go to the ( - ) terminal.

 Loading...