V: 12/19/2024 - 1 ©2024 Snom Technology GmbH 4/19
Short User Manual
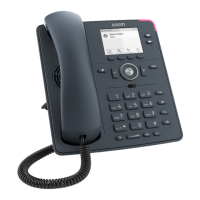
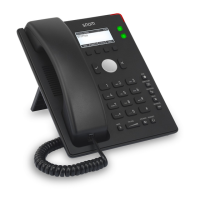
Preparing the D140 / D150 for use
(1) Attaching footstand and handset
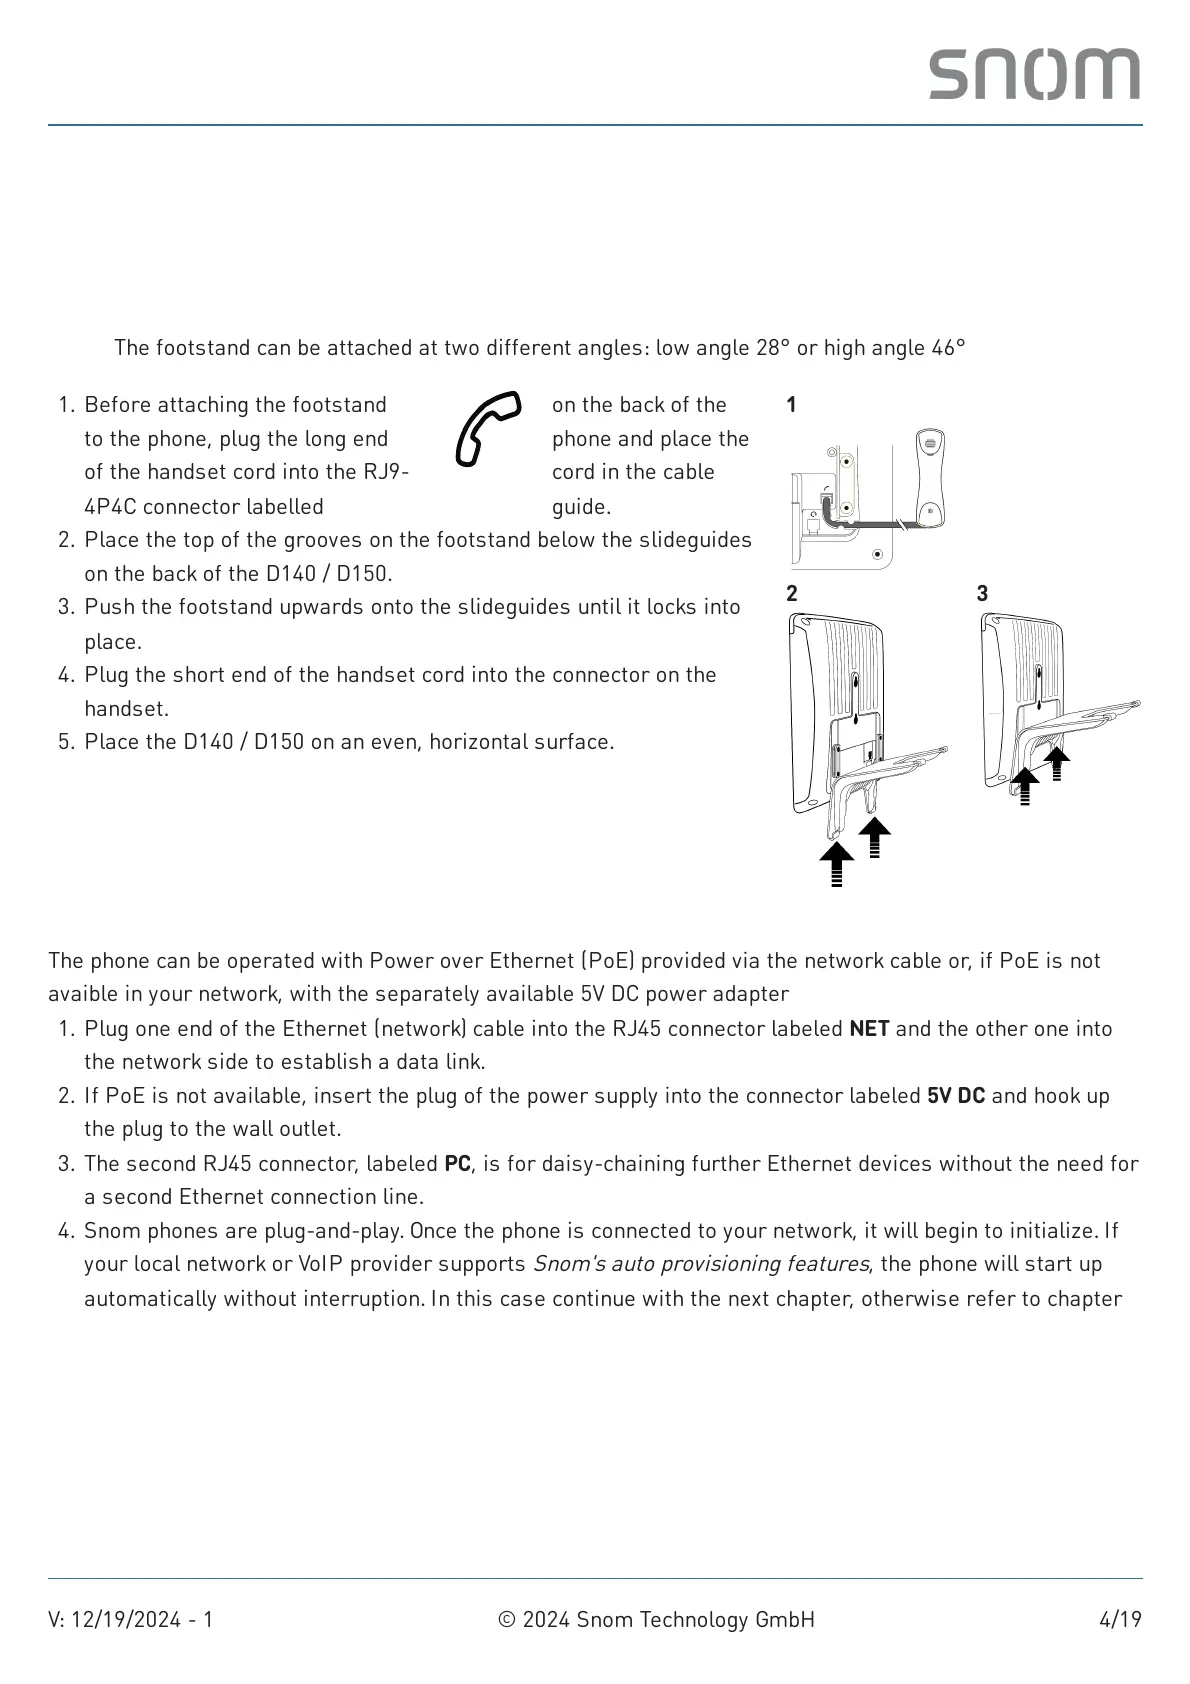
Note: The footstand can be attached at two different angles: low angle 28° or high angle 46°
(2) Connecting and powering up the phone
The phone can be operated with Power over Ethernet (PoE) provided via the network cable or, if PoE is not
avaible in your network, with the separately available 5V DC power adapter
1. Before attaching the footstand
to the phone, plug the long end
of the handset cord into the RJ9-
4P4C connector labelled
on the back of the
phone and place the
cord in the cable
guide.
Place the top of the grooves on the footstand below the slideguides
on the back of the D140 / D150.
2.
Push the footstand upwards onto the slideguides until it locks into
place.
3.
Plug the short end of the handset cord into the connector on the
handset.
4.
Place the D140 / D150 on an even, horizontal surface.5.
1
2 3
Plug one end of the Ethernet (network) cable into the RJ45 connector labeled NET and the other one into
the network side to establish a data link.
1.
If PoE is not available, insert the plug of the power supply into the connector labeled 5V DC and hook up
the plug to the wall outlet.
2.
The second RJ45 connector, labeled PC, is for daisy-chaining further Ethernet devices without the need for
a second Ethernet connection line.
3.
Snom phones are plug-and-play. Once the phone is connected to your network, it will begin to initialize. If
your local network or VoIP provider supports
Snom's auto provisioning features
, the phone will start up
automatically without interruption. In this case continue with the next chapter, otherwise refer to chapter
Putting the D140 / D150 into operation
4.
 Loading...