Chapter 6 – Batteries
14 TM12 – 8210027
6. Plug the battery charger into a properly grounded
outlet (115 volt AC, 60 Hz) using a 3 conductor, 12
gauge or larger extension cord. The extension cord
must be as short as possible (no longer than 50′) and
in good electrical condition.
Note
Do not operate any of the aerial platform functions while
the battery charger is plugged in.
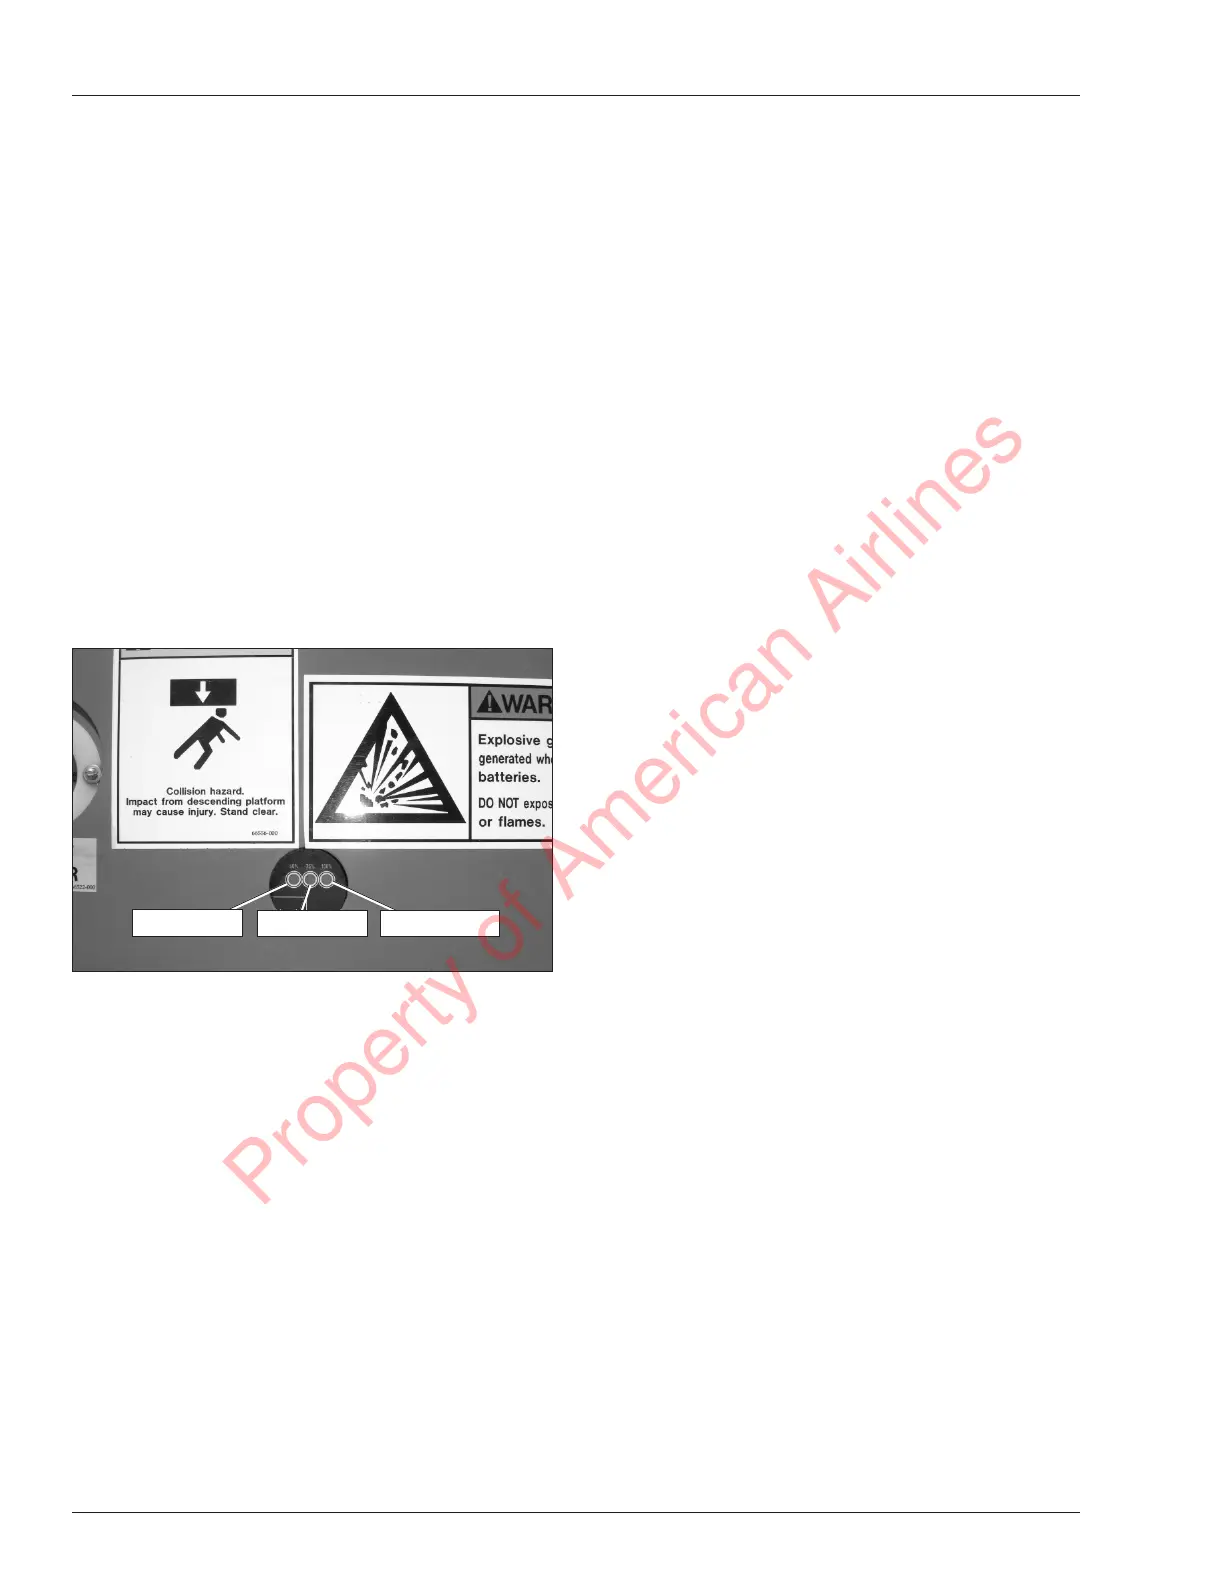
7. Visually inspect the battery charge indicator for proper
charging rate (refer to Figure 6.2).
The charger will turn on three to ve seconds after
a complete electrical connection is made.
As the batteries become charged, the indicator
light for each level of charge will blink until its level
is reached and then it will remain lit.
When the batteries are fully charged, all three
lights on the battery charge indicator will be lit.
Figure 6.2 – Battery Charge Indicator Lights
•
•
•
8. Leave the battery charger plugged in until it shuts
itself off.
Note
If the charging cycle exceeds 16 hours without the bat-
teries being fully recharged, unplug the charger and have
the batteries checked.
9. After the battery charger turns itself off, unplug the
extension cord from the battery charger and allow
the batteries to cool.
10. Remove the latch pin and slide the battery tray out-
ward. Remove the caps from each battery (refer to
Figure 6.1).
11. Visually check the battery fluid level making sure the
level is within ¼″ (6 mm) of the bottom of the filler neck
inside each hole. If needed, add distilled water.
12. Tightly replace the caps on each battery, slide the
tray back in the chassis and replace the latch pin.
50% Charge
75% Charge
100% Charge
Property of American Airlines
 Loading...