SET UP
INSTALLING THE CO
2
CYLINDER
SODASTREAM
®
CO
2
SCREW SYSTEM CYLINDER
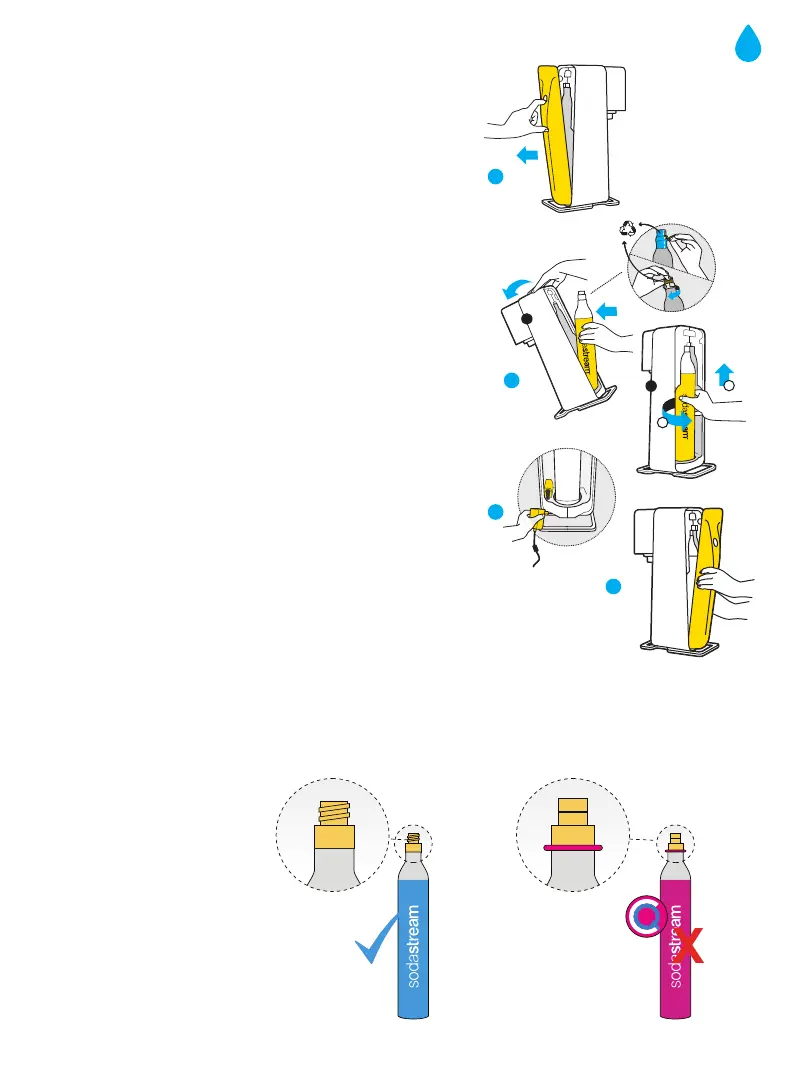
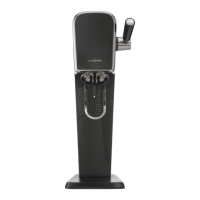
1. Place the SodaStream
®
Power
TM
Sparkling Water Maker
on a flat sturdy surface and remove the back cover.
2. Remove seal and cap from the SodaStream CO
2
Cylinder.
WARNING! Never insert or replace the CO
2
Cylinder while
a Carbonating Bottle is installed in the Sparkling Water
Maker. This can cause the Carbonating Bottle to be
ejected or burst. Tilt the Sparkling Water Maker forward and
insert the CO
2
Cylinder in the back of the Sparkling Water
Maker.
Gently raise the CO
2
Cylinder and tighten by turning to the
right until it is firmly held in place. WARNING! Hand-tighten
only. DO NOT use tools; this can damage the Sparkling
Water Maker or CO
2
Cylinder. This may result in an
uncontrolled flow of CO
2
gas, causing the Carbonating
Bottle to burst and result in personal injury or property
damage.
3. Connect the power cord to your Sparkling Water Maker. Run
the cord through the slots in the base. Insert the plug into the
wall outlet. The buttons will light up. Only use an original
SodaStream power adapter.
4. Reinstall the back cover. Now you are ready to create the
bubbles.
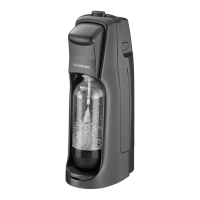
Please note that the
SodaStream
®
Power
TM
is
compatible with the
SodaStream
®
CO
2
Screw
System Cylinder and is NOT
compatible with the
SodaStream
®
Quick Connect
Cylinder.
1
3
COMPATIBLE SODASTREAM
®
CO
2
SCREW SYSTEM CYLINDER
NON-COMPATIBLE
CO
2
QUICK CONNECT CYLINDER
Use Only SodaStream
CO
2
Screw System Cylinder
1
2
4
A
3
1
2
B