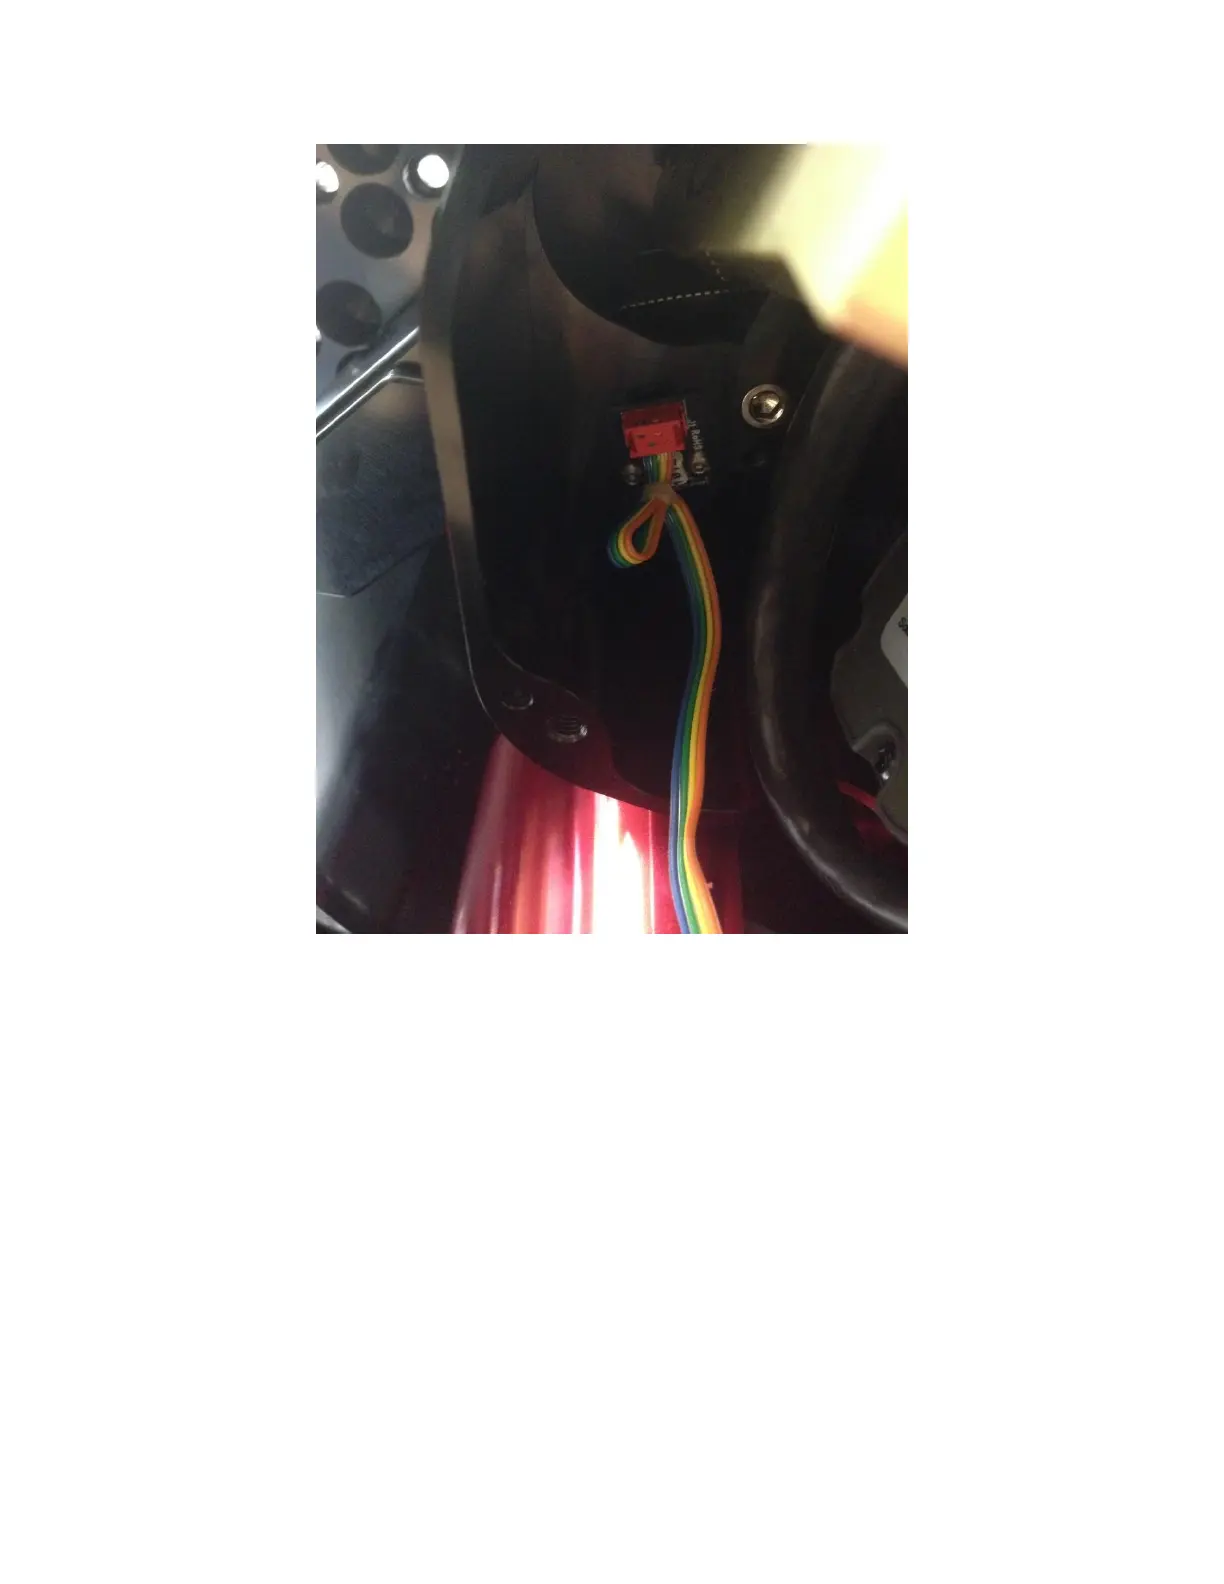
Figure 8: Declination half of the sensor cable.
Unplug homing sensors in both the right ascension and declination axes.
Step 3: Removing the Existing Cable
For the right ascension axis, feed the homing sensor down through the hole in the right ascension tube
then pull the remaining cable out of the mount from the void left by removing the Electronics Box (see
Removing the Electronics Box).
For the declination axis, remove the rear cover (Figure 10) by unscrewing the two thumb screws. Also
remove the two 8-32 SHCS with a 7/64 hex wrench from the declination axis hole cover (see Figure 9,
screws highlighted in blue).
Next, slowly rotate the declination axis the homing sensor cable is visible, then gently grasp and pull it
down through the declination tube axis hole. You may have to rotate the declination axis slightly while
pulling the cable out of the Electronics Box end in order to prevent the sensor connector from catching
on the other cables in the declination tube.