4.5 Cable Connection
4. Installation
4. Installation
18
19
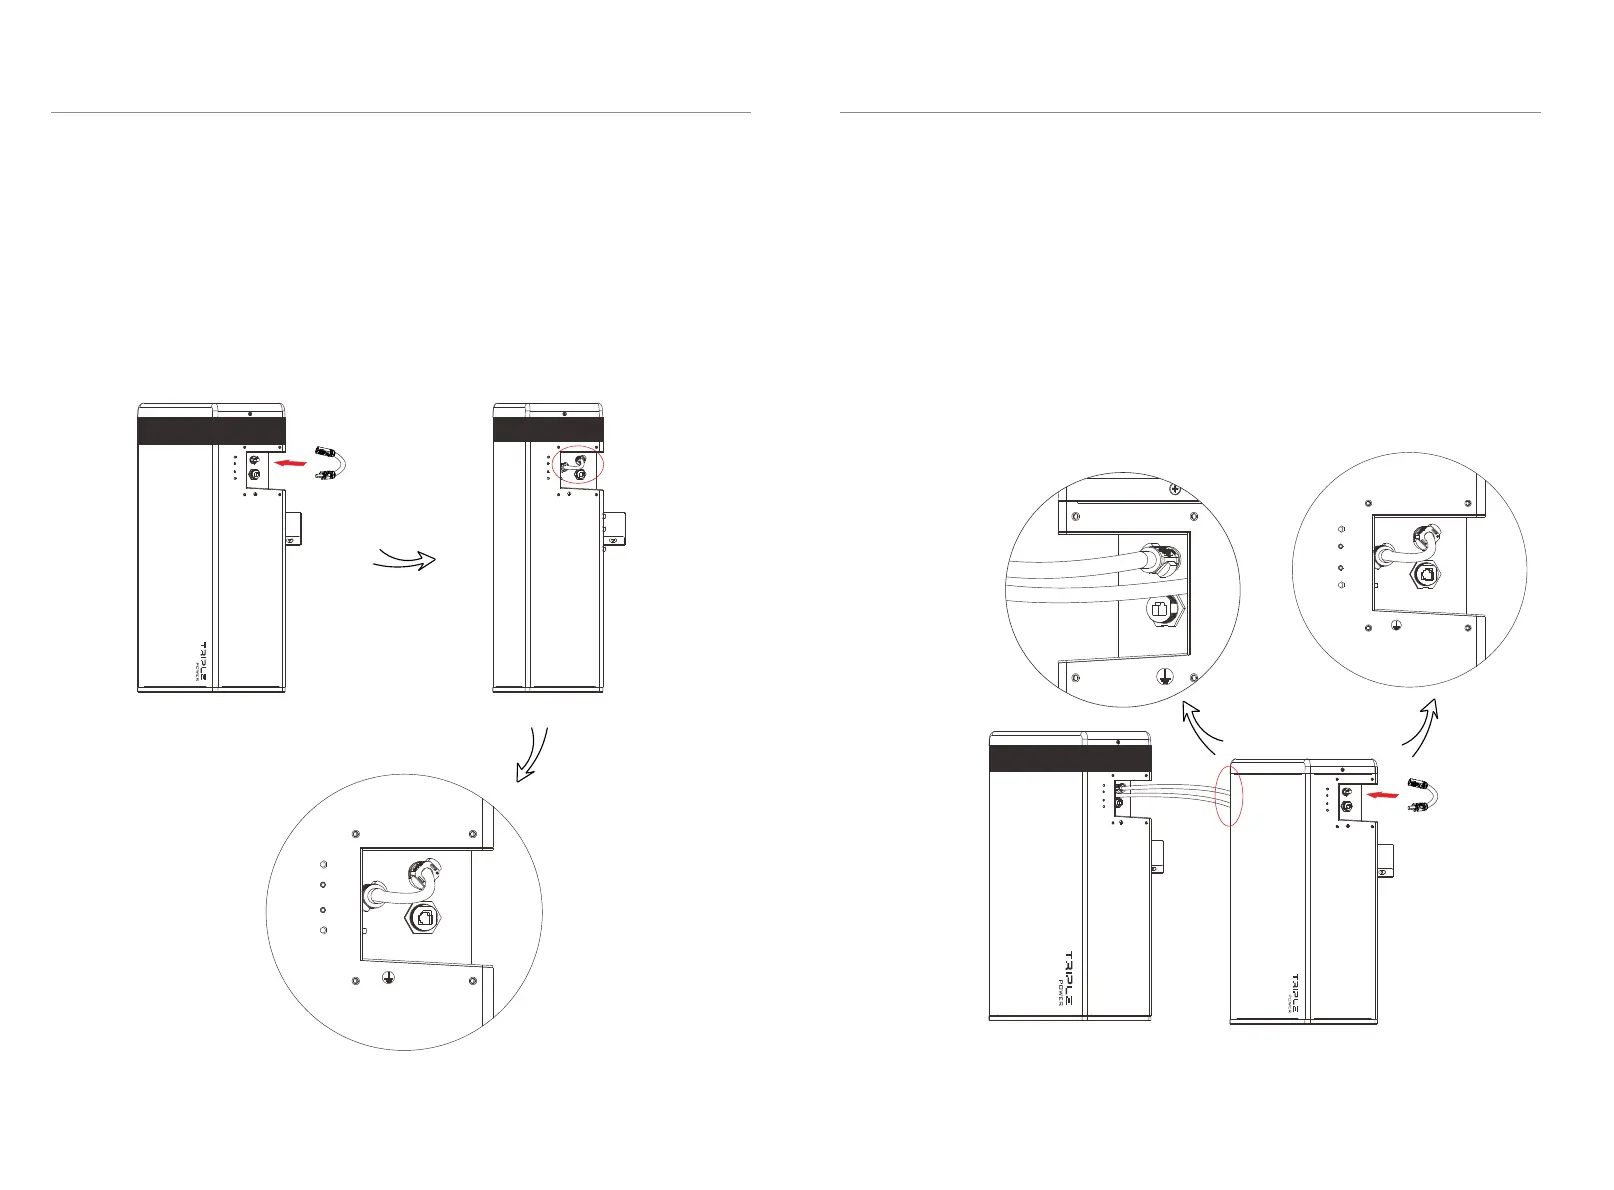
1. The only step of connecting power cable for T-BAT H 5.8 is connecting the
series-connected cable to “-” and “YPLUG” on the right side. The series-connected
cable is used to make a complete circuit.
-
YPLUG
RS485 II
-
YPLUG
RS485 II
-
YPLUG
RS485 II
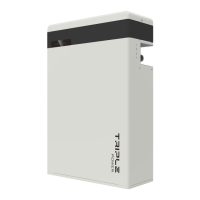
For T-BAT H 5.8 + 1~3 battery packs:
1. Connect “-” ( for T-BAT H 5.8 or for HV11550) on the right side V VI’
to “+” ( ) on the left side of the next battery pack. II’
2. Connect “YPLUG” ( for T-BAT H 5.8 or for HV11550) on the right side to VI VII’
“XPLUG” ( ) on the left side of the next battery pack.I
3. The rest battery packs are connected in the same way.
4. Insert the series-connected cable at “-” and “YPLUG” on the right side of last
battery pack to make a complete circuit.
-
YPLUG
RS485 II
-
YPLUG
RS485 II
4.5.1 Connecting Power Cables between Battery Packs
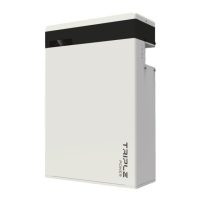
For T-BAT H 5.8:
XPLUG
+
RS485
-
YPLUG
RS485 II
 Loading...