ENGLISH 6
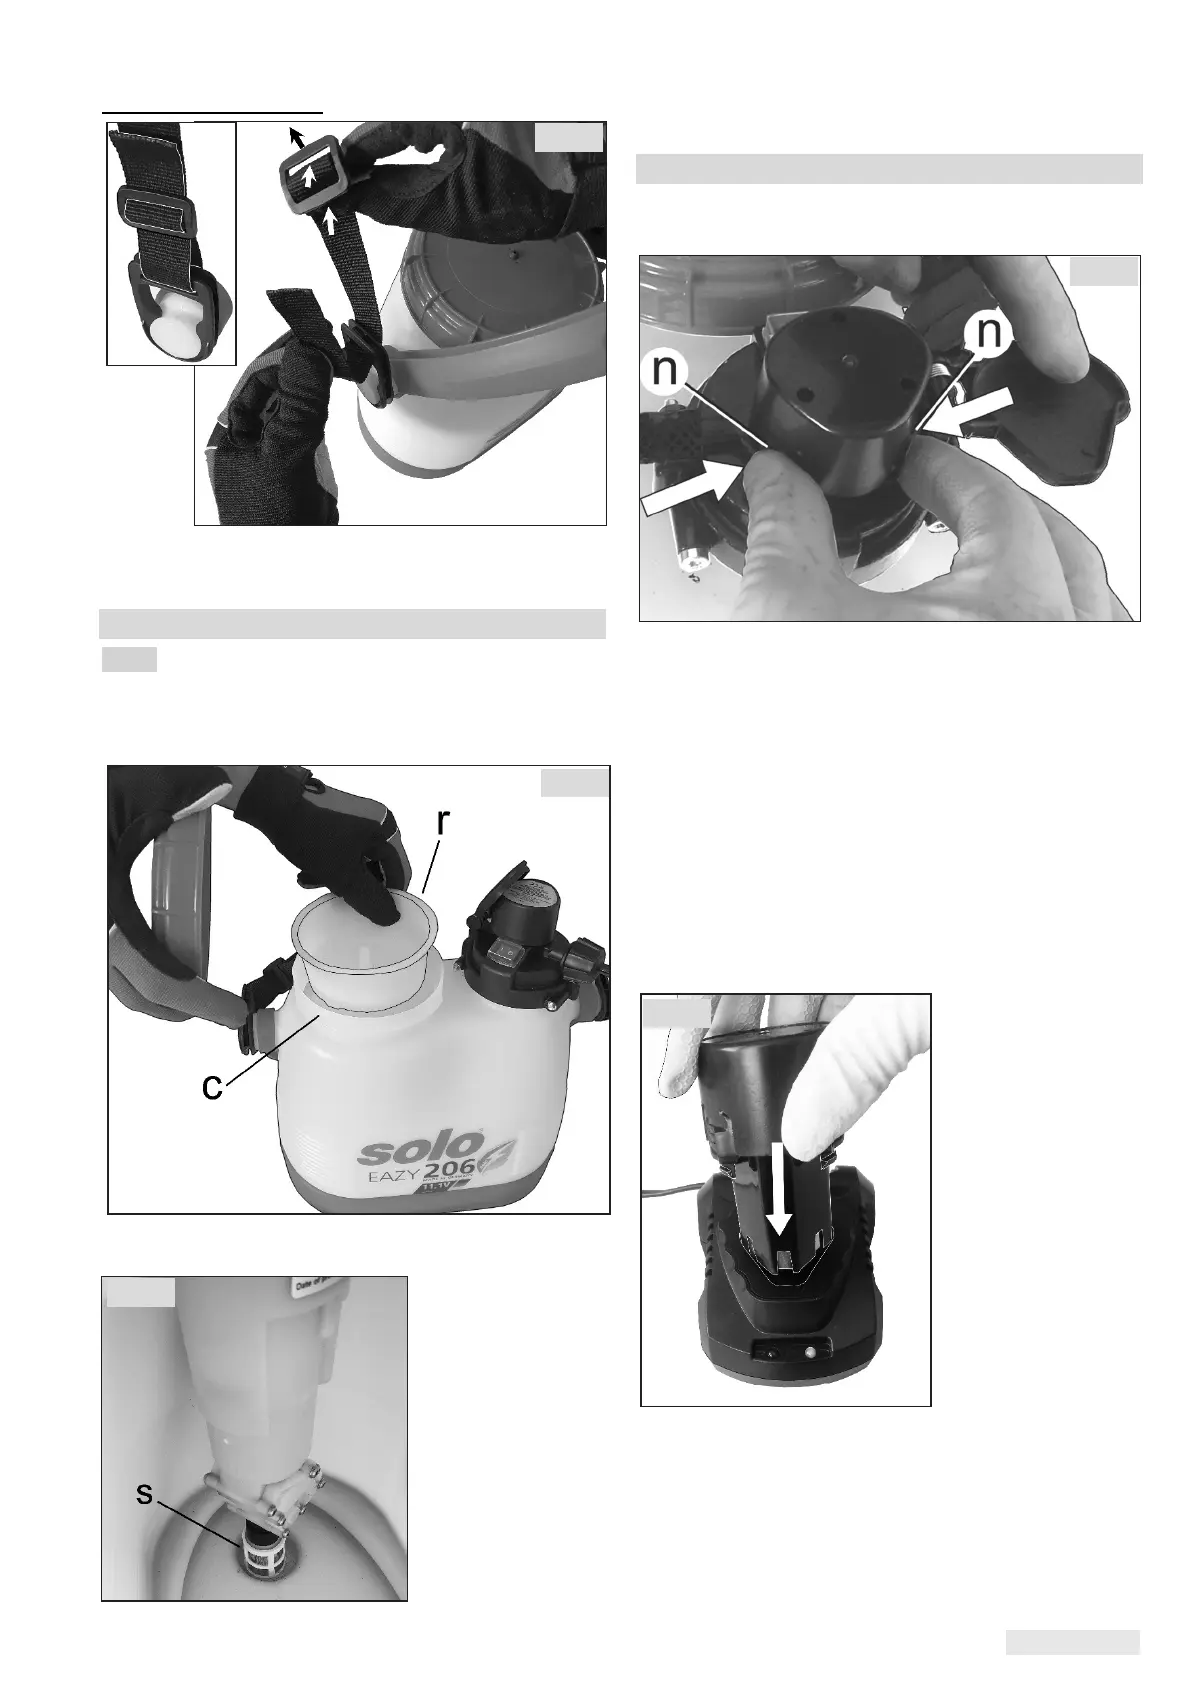
Assembly carrying belt
Attach the carrying belt to the side fastenings as
shown and adjust to the required length.
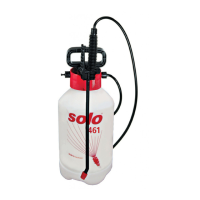
7.2 Filter, filling screen and intake screen
Fig. 2:
The nozzle assembly (i) includes a filter (q) insert
in front of the nozzle.
The basket in the filling neck (c) of the liquid tank
contains a filter screen(r).
The intake screen
(s) is pushed on
at the intake
manifold to the
pump of the
spraying agent
tank.
The filter (q), filling screen(r) and intake screen (s)
are required when using the device.
7.3 Charging the battery
Before removing the rechargeable battery from the
device, always switch the on/off switch to "0"!
To remove the rechargeable battery from the
device, compress the two latching levers (n) to
unlatch the battery, and then take out the battery
upwards.
The rechargeable battery needs to be charged
before you can use the pressure sprayer for the
first time.
Charging time: Approx 2 hours
Place the charger on a stable support and connect
it to a suitable mains.
Before replacing the battery, make sure that the
battery and charger contacts are clean, dry, and
free of foreign bodies.
Push the battery
into the charger in
the proper position
(according to the
figure).
While the battery is charging, the LED on the
charger lights up red. Once the battery is fully
charged, the LED switches to green.
After charging, remove the battery from the charger
upwards and disconnect the charger from the
mains.
Fig. 3
Fig. 4
Fig. 5
Fig. 6
Fig. 7