CLEANING
• Carefullycleansprayeraftereveryuse.
• Pourorsprayallremainingchemicaloutofsprayer.
• Pourasmallamountofwaterforwatersolublechemicals,ormineral
spiritsforoil-basedchemicals,intothetank.
• Pressuriseandspraythroughsystemuntilallliquidisgone.
• Repeatprocesswithwarmsoapywater.
• Repeatprocesswithwarmclearwater.
• Useanabsorbentclothtodryallinternalsurfaces.
• Followtherecommendationsofthechemicalmanufacturerfor
disposing of waste water and chemicals.
• Donotuseaggressiveorabrasivecleaningagents.
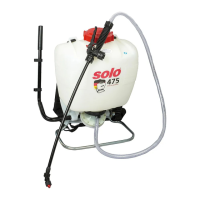
MAINTENANCE:
• Priortostorage,empty,cleananddrysprayer.
• Alwaysstorethesprayerinadryarea,protectedfromfreezing,heat
and sunlight.
• LubricateO-ringinpressurereliefvalvewithnon-watersoluble
grease* on a regular basis.
Disassembly:Unscrewpressurereliefvalvefromtankandpullthe
valve body out of the screw cap. Clean, lubricate, and replace.
• Pump Maintenance: Pump pressure sealing is accomplished with an
O-ring(5)onthepumppiston(4)whichmoveswithinthecylinder(3).
Periodically this O-ring should be greased with a non-water soluble
grease*. If worn, it should be replaced. A small umbrella valve at the
bottom of the cylinder prevents the formula from entering the cylinder.
Keep these parts clean and replace if worn.
Disassembly:Unscrewpumpassemblyfromtank.Carefullyremove
umbrellavalve(6)fromthebottomofcylinder(3).Whileholding
cylinderrmlywithonehandandthehandleofthepumppiston(4)
rmlyintheother,withthepistonfullyinsertedinthecylinder,pull
backonthepistonquicklyandforcefully.Tore-assemble,placethe
pistonassemblybackintocylinder,placeheelofhandsonopposite
sidesofthetankcap,whilekeepingcylinderinplacewithngers,tap
bottomofcylinderagainstaatpaddedsurface.Assemblywilllock
into place.
• Tank Cap: Asmallamountofnon-watersolublegrease*ontankcap
threadsandbothsidesofthegasketeasestighteningandloosening.
• Regular Inspection: Inspect and replace worn or damaged parts
promptly.Payparticularattentiontotankcapgasket,pressurerelief
valveandseal,inationvalve(iftted),umbrellavalveO-ringsand
seals throughout sprayer. Regular lubrication of O-rings and seals is
recommended.
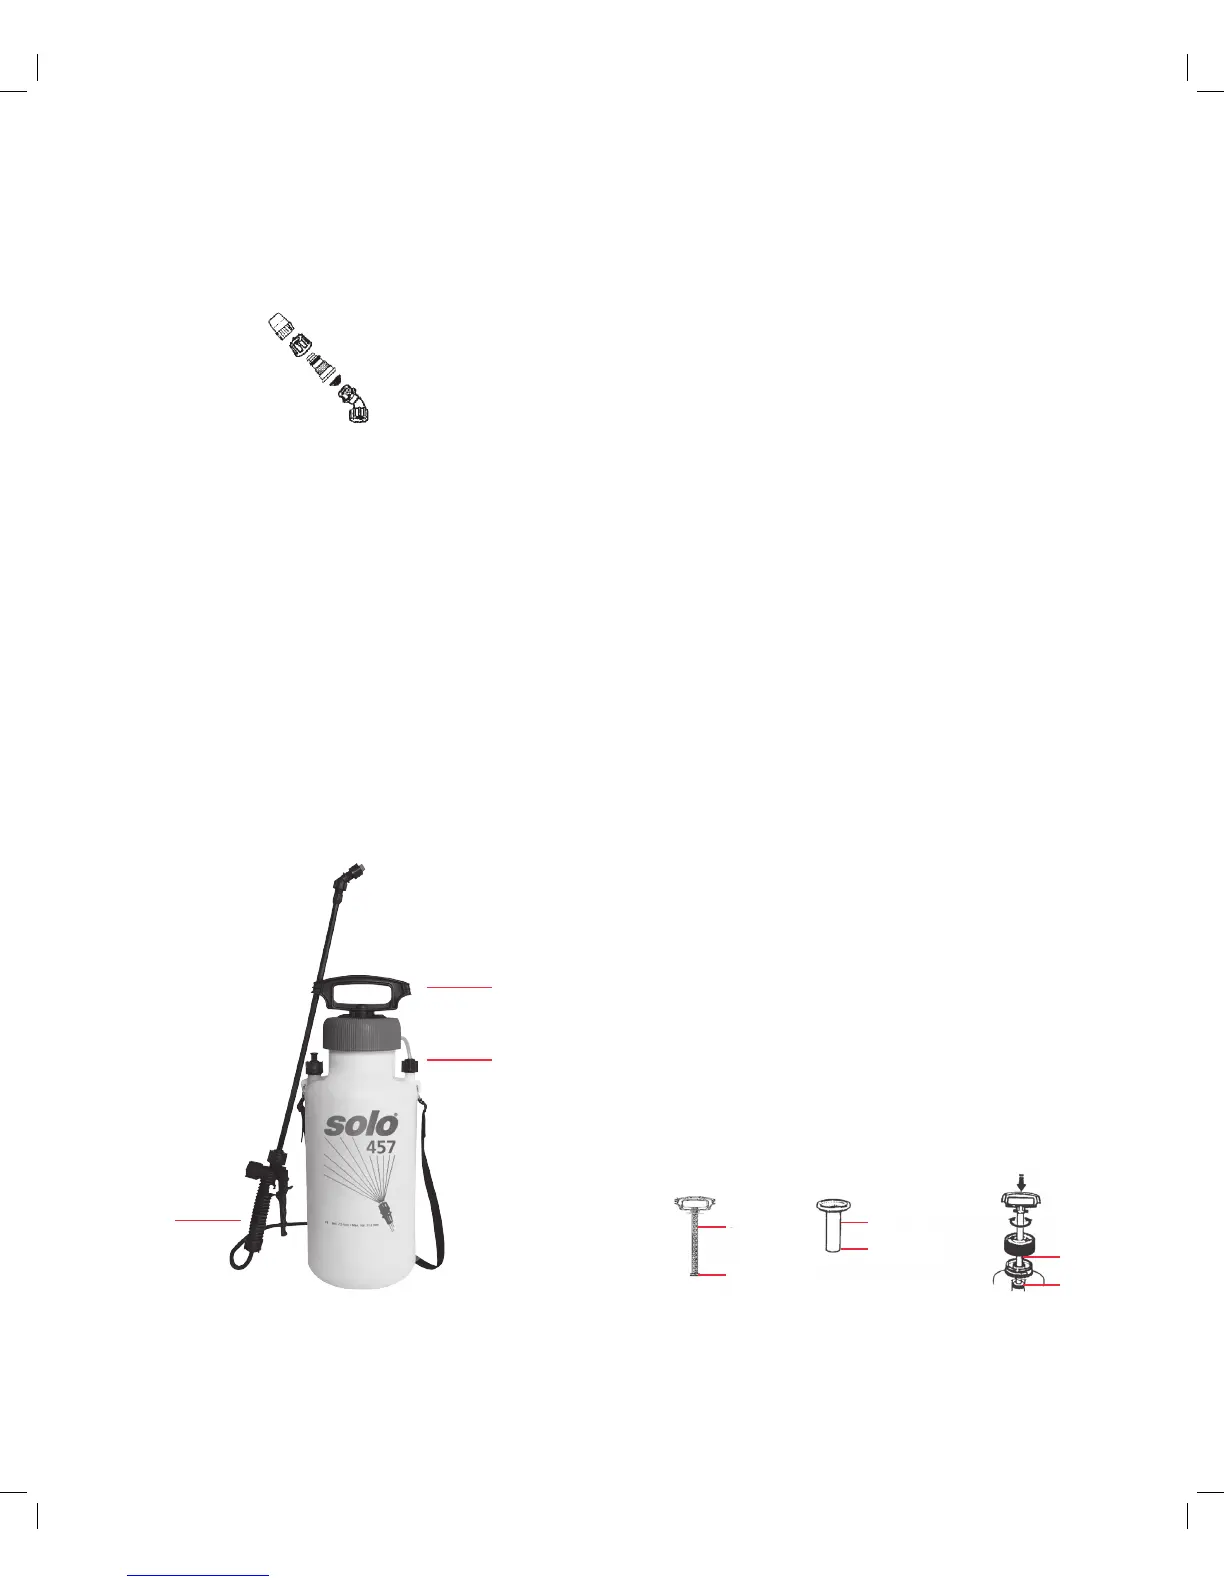
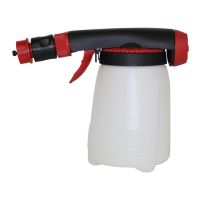
REMOVING THE NOZZLE
Unscrewthenozzlecap(1)fromthenozzlebody(3).Thisisbest
accomplishedwhiletheretainingnut(2)isfastenedtightlytotheelbow
(5).Next,unscrewtheretainingnut(2).Pushthenozzlebody(3)out
oftheretainingnut(2).Thelterwithgasket(4)willcomeoutwiththe
body.Toreinstallthenozzle,reversethe
above instructions.
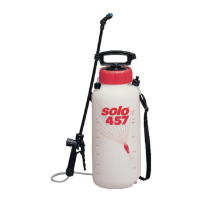
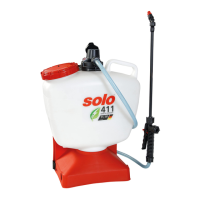
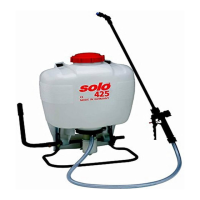
OPERATION
• Beforeusingsprayerwithchemicals,llsprayerwithfreshwaterto
assure that you have it properly assembled; pressurise and then
practice spraying. When thoroughly familiar with sprayer operation,
follow normal operating procedures.
• Turnpumphandlecounterclockwisetoremovepump.
• Filltankwithpremixedformulauptodesiredlevel.(Do not exceed
maximum fill mark.)Observerecommendationsofchemical
manufacturer.
• Tightencapandpumpassemblyforagoodseal.
• Pumptoamaximum45psior3barpressure.Thevalvestemonthe
pressurereliefvalvewillriseuptoventexcesspressureover45psi.
• Startorstopsprayingbysqueezingorreleasingtheleveronthe
shut-offvalve(3).Thespraypressurecanbemonitoredwithan
optional pressure gauge.
• Priortoeveryremovalofpump(1),releasepressurerstbypulling
uponthepressurereliefvalvestem(2).
1. Nozzle
2. Retaining Nut
3. Nozzlebody
4. FilterwithGasket
5. Elbow
1
2
3
*Petroleumjellyworkswell.
4
5
3
4
5
6
2