Maintenance and Care
ENGLISH 13
11. Maintenance and Care
For your own safety, remove the spark plug
cap from the spark plug prior to any
maintenance work or cleaning (12).
Any maintenance and care that go beyond the
described explanations need to be left to an
authorized Service Center.
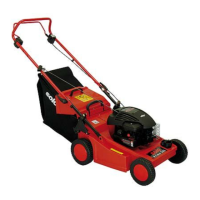
11.1 Cleaning the Mower
After each use, the mower needs to be thoroughly
cleaned. Special attention needs to be given to the
lower side, the blade and the cutting area circle.
Tip: To enable the lawnmower to be maintained and
cleaned with an empty fuel tank, fill only enough fuel for
the mowing job in hand. That way, the tank can be
quickly emptied after mowing has been completed.
After releasing locking screws (8), the mower can be
raised onto its rear wheels and be supported on the
lower handle. First pull the spark plug cap. The fuel tank
should be empty, if possible, to prevent fuel spilling from
the fuel tank cap. Catch any fuel running out of the
carburettor with a suitable rag.
Dirt and grass debris is removed easily immediately
after mowing. Imbedded grass debris and dirt on the
mower deck‘s lower section interrupt the grass
collection and affect cutting results. Imbedded dirt on
the blade and on the blower wheel lead to imbalance
and consequently to vibration. Check also for
cleanliness of the duct.
The ejection air duct can be cleaned with a small stick
or with a screw driver.
Do not spray the mower with a hose or high
pressure cleaning hose. The engine has to remain
dry. The outer deck parts can simply be kept clean by
wiping the unit off with a rag. Strong cleaning agents of
any kind are not to be used.
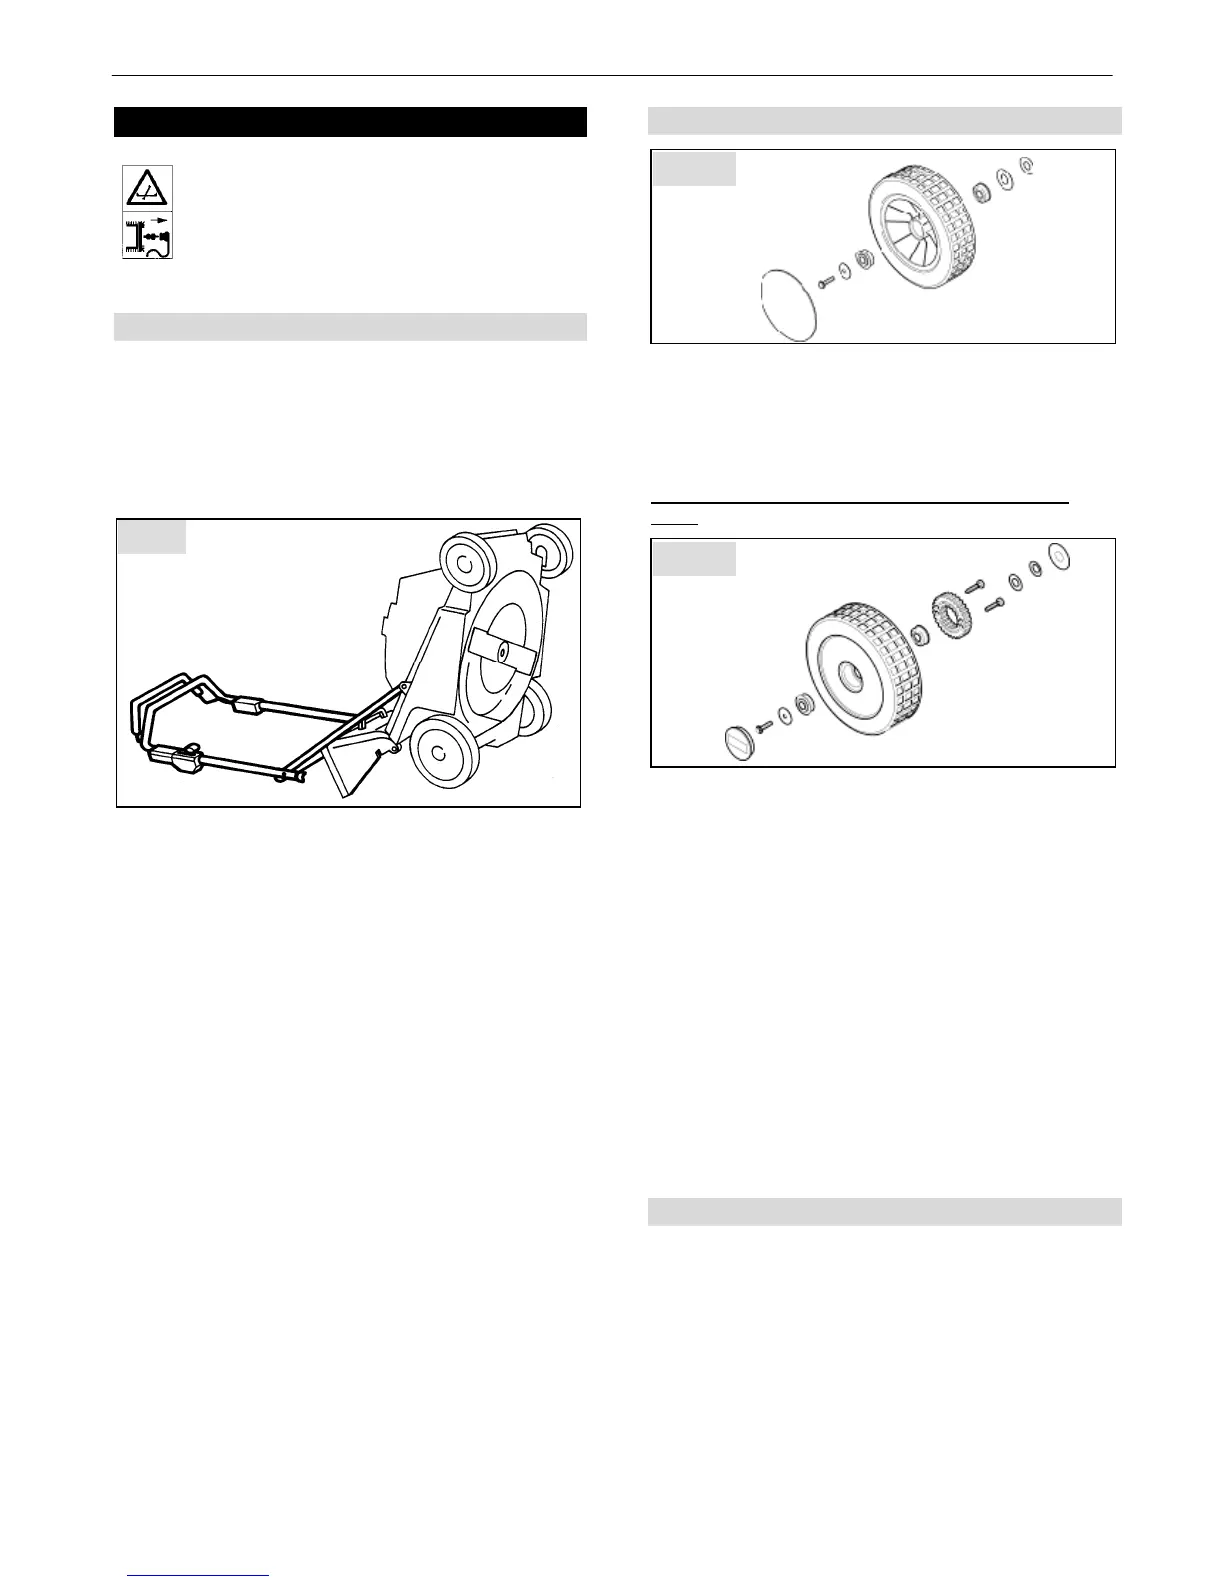
11.2 Wheel axles and wheel hubs
Wheel axles and wheel hubs are to be lubricated
occasionally (at least once a year). Remove wheel cap,
release screw and remove wheel. During disassembly
observe the sequence for the reassembly of the parts.
We recommend SOLO bearing grease, part no. 00 83
175.
Maintenance of the rear wheel-self-propelled drive
roller:
• After removing wheel caps and loosening fastening
screws, remove drive wheels.
• Remove grass debris and dirt from all drive wheel
areas.
Attention: Do not remove neutral gear pinions from the
gear shaft; however, check if they turn slightly counter-
clockwise to the drive direction.
• Lightly lubricate the two pinions (free wheel and
plastic pinion) with water-repellent grease which is
compatible with plastic, e.g. SOLO bearing lubricant,
part no. 00 83 175.
• Fill the space inside the drive wheel between both
taper bearings with the same or a compatible
grease.
• Also lubricate the wheel axles with grease.
• When refitting the drive wheel, ensure that both
pinions engage with each other; slightly turn the
wheel on its axle, if required.
11.3 Height adjustment
Before storing your lawnmower out of season clean and
lubricate the wheel adjuster spindle with grease (this
procedure is necessary at least annually).
For this, set the wheel adjuster to its highest position
(max), clean and lubricate the exposed part of the
spindle with grease
- then set the wheel adjuster to its lowest position
(min), clean and lubricate the remaining spindle with
grease. For this, we recommend SOLO bearing grease,
part no. 00 83 175.
Fig. 7
Fig. 8
Fig. 9